4 Steps To A Perfect Vinyl Flooring Installation
October 28, 2021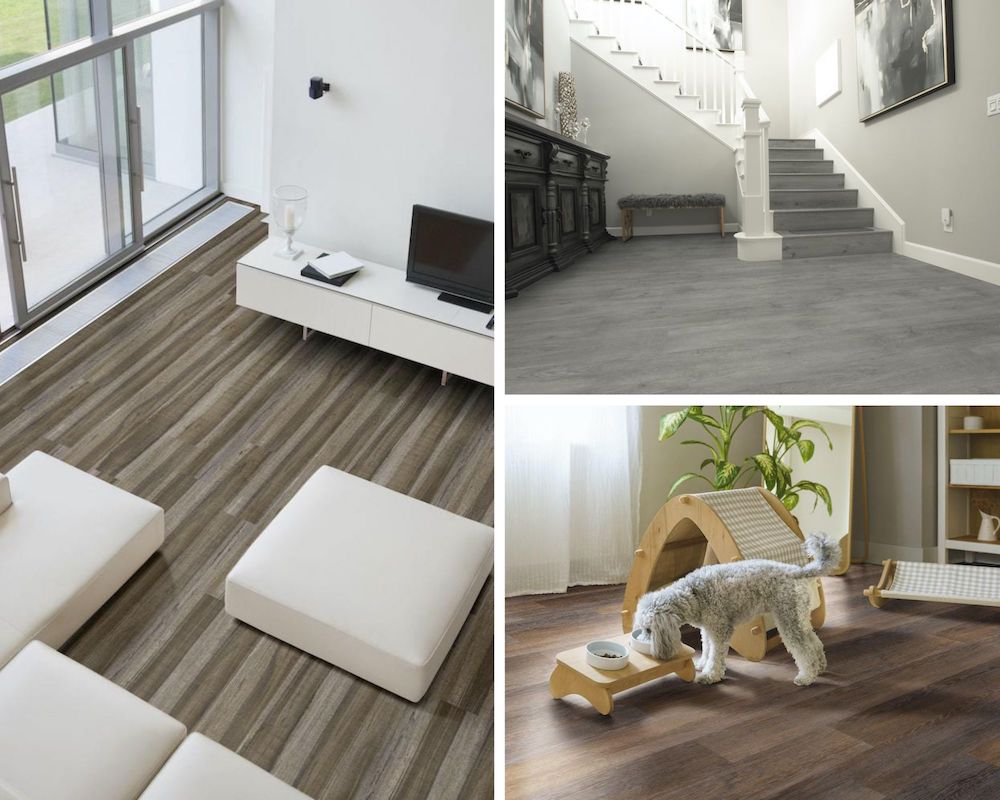
Wood-look flooring continues to gain traction, and luxury vinyl flooring sits at the top of the list! The super durable, 100% waterproof flooring can be installed on any level or room, including those wet spaces like kitchens, bathrooms, and laundry rooms. This leaves you with the ability to have continuous, seamless floors throughout your entire home or business.
One of the benefits of luxury vinyl planks like MSI’s Everlife Rigid Core is that it can even be installed the same day because it doesn’t need to be acclimated to the space. Instead, place the planks in the room to reach the current temperature, which ideally should be between 65 and 85 degrees Fahrenheit. With an extra 10% on hand for waste, you’ll soon be flying through your installation thanks to these easy installation guidelines. Follow the four steps below when adding beautiful vinyl flooring to your residential or commercial property.
Step 1: Preparing the Surface
One of the most important steps when installing vinyl flooring is preparing the surface. Since it’s a floating floor, it can be installed over a wood subfloor, concrete subfloor, or existing tile, so it’s crucial that your subfloor is solid and sound before moving on with the installation. Whatever you do, don’t skip these best practices for luxury vinyl flooring installation. Each subfloor type may require a little bit different preparations, but they all need to be as clean and level as possible so that your floating floor sits well on the surface.
For rooms with permanent fixtures, make sure to put those in place first. Install any cabinets, vanities, or tubs in the space prior to laying luxury vinyl flooring around them.
Step 2: Planning the Installation
For professional results, you’ll want to plan properly. Start by measuring the length of the room divided by the length of luxury vinyl planks. Then, measure the width of the room divided by the width of the planks. Both measurements need to take into account the 1/4-inch gap that you’ll leave all around the perimeter of the room.
To get a balanced look, avoid any length measurements less than 8 inches and width measurements less than half of the plank’s width. If your calculations do leave you with a smaller piece, then cut the first and last rows to be the same length or width in order to avoid only one skinny side or end piece.
Step 3: Installing the First Row
Once you’ve marked the proper measurements on your vinyl plank flooring, use a utility knife to score it and snap off the excess piece or a floor cutter to get a clean cut. Place your 1/4-inch spacers around the room to allow the planks to expand and contract over time.
 Hillsdale Hybrid Rigid Core Flooring
Place the first piece of the first row in the left-hand corner, and make sure that the tongue of the planks are facing the wall. Take your second plank and angle and click them together until they’re completely locked. You’ll know that they are when the flooring sits flat on top of the wood or concrete subfloor. Continue angling and clicking together your vinyl planks until you’re done with your first row.
For any irregular cutouts that need to be notched into your planks, you can use paper to trace out the shapes. Then, mark the planks along the lines of the paper and use your utility knife to cut into the plank. Now you have an accurately notched plank that fits around those little nooks and crannies.
Step 4: Installing the Second Row
When starting your second row, you’ll want to stagger it at least 8 inches from your first row. After you’ve measured, scored, and cut that first plank, angle and connect the plank on the short side first before connecting the long sides together. To help ensure a tight joint at the seam, use a tapping block when clicking planks together.
To create a more natural look, continue installing planks using a staggered pattern. If you have a wooden door casing, then you’ll want to cut it so that your luxury vinyl can slide underneath it.
 Grayton Luxury Vinyl Planks
However, never cut down a metal door casing. All of the cut edges will be finished with either new baseboard molding or quarter round, so you won’t see those unfinished edges. For any installations that meet with other types of flooring, add transitions for a seamless look.
You can also check out any one of our luxury vinyl flooring videos to get more detailed instructions or information.
Luxury Vinyl Flooring Care and Maintenance Guidelines
When it comes to floors, vinyl provides some of the easiest, simplest vinyl flooring care and maintenance routines on the market. Spaces with vinyl flooring installed not only look more hygienic but they feel cleaner, too. Because of the solid surface, it's perfect for homeowners who suffer from dust mite allergies, and they’re also excellent for commercial installations where strict rules exist for cleanliness, such as hospitals or doctors’ offices.
To tackle daily cleaning, bring out a broom or a vacuum with the beater bar turned off to help pick up any dirt or debris on the floor tile. For deeper cleaning necessities, try a wet mop on those extra dirty or sticky areas, and only use water with either a mild soap or manufacturer-recommended cleaner. If you need to help revive the shine of your vinyl floors, then look for a no-wax polish that’s made just for luxury vinyl tiles and planks.
Help keep your vinyl flooring in tip-top shape and protect the floors from possible damage by using some soft rugs or mats in high-traffic areas like an entryway, garage door, or kitchen sink area. Adding furniture pads under heavy furniture like couches, TV stands, beds, and tables will help protect the vinyl. And, don’t forget furniture that may be moved around more often like dining chairs, bar stools, ottomans, and toy storage. It’s also important to remember that vinyl can’t be refinished like real hardwood floors. However, replacing a cut or scratched plank or tile is fast and inexpensive.
Next-Generation Vinyl Flooring
Vinyl flooring comes in a wide range of on-trend wood looks that can be installed in any space with 100% waterproof floors that are no match for kitchens, bathrooms, and basements. The next-generation planks are affordable, easy to care for, and beautify any residential or commercial space. To get more information and installation tips, check out our guide to luxury vinyl flooring.
For more detailed information on vinyl flooring, including installation costs for Luxury Vinyl Flooring, visit our website for our entire line of luxury vinyl planks.
Are you ready to get your DIY project started? First, find the perfect Luxury Vinyl Tile and Luxury Vinyl Plank flooring by reviewing MSI’s expansive Luxury Vinyl Flooring Collection, then talk it over with one of our design experts! We're available via online chat, at your local MSI showroom, or find an authorized MSI retailer in your area.
More on Vinyl Flooring Installation
How To Install Vinyl Plank Flooring On Top of Tile
How to Get Professional Results Installing Luxury Vinyl Tile Flooring
How To Install Luxury Vinyl Tile Over Hardwood Floors
How To Measure Your Space for Luxury Vinyl Flooring