Don’T Ruin Your New Backsplash Tile With A Bad Install
December 13, 2018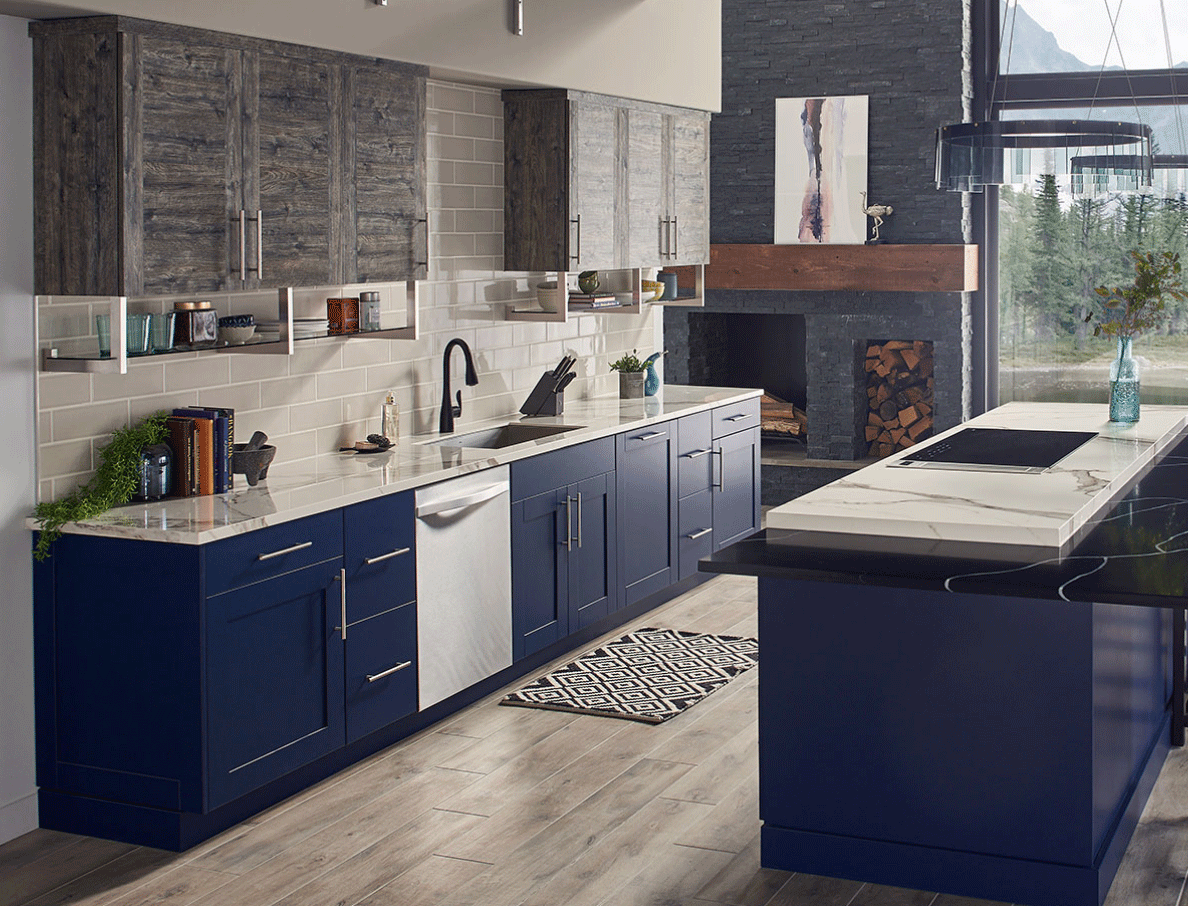
With hundreds of choices available for your kitchen backsplash, you may think that the toughest part is picking one out. After all, it’s going to last a long time, maybe the entire time you own your home. It can take you months to narrow down your options between contrasting kitchen backsplash ideas and more subtle designs that match the room’s other elements.
But there’s something even more frustrating than the search for the perfect backsplash tile — ruining it by installing it incorrectly!
You can prevent this by hiring a professional installer, of course. But, creating a backsplash can be an excellent DIY project, even if you’re not experienced. You just need to do your homework ahead of time to avoid common mistakes.
Here are a few “insider tips” you can follow to ensure your backsplash tile looks as great on the wall as it does in your imagination!
Use the Right Grout
Did you know there are different types of tile grout you can use on your project? Four types of grout are available on the market — unsanded, finely sanded, coarse-sanded, and epoxy. The two most commonly used for backsplashes are unsanded and finely sanded, so which should you use? Sanded grout offers more strength to bond spaces between tiles. However, it can only be used on tiles that are placed at least 1/8 inch apart. Sanded grout can also scratch materials such as glass and metal. Make sure you choose the right type for your installation.
Measure Carefully
Remember the old saying “measure twice, cut once.” Make sure you purchase enough tile for the project — and, just to be on the safe side, include a bit extra just in case you’ve underestimated the dimensions. You’ll also want to have a few extra tiles on hand to use for future repairs. Failing to do this step carefully can mean waiting months for your supplier to re-stock, or worse, finding out the style has been discontinued.
 Featured: Gray Glossy Subway Tile
Have the Right Tools
Different types of tile may need different tools. For example, larger wall tile needs a thicker layer of adhesive, so your trowel needs deeper notches. If you need to cut tile, consider renting or purchasing a diamond wet saw instead of a circular saw or multi-tool. Also, unless your backsplash designs are pre-assembled on a mesh, you’ll need tile spacers. Prepare the Surface Before you get going, take time to ensure the wall is dry, clean, and free from any cracks or uneven spots.
Be Ready for Tricky Situations
When installing backsplash tile over a countertop, the counter serves as a guide to make sure it’s even and bears some of the weight while the adhesive cures. But what if there’s a space with no counter, such as behind a stove? Secure a wooden plank across the space for the tile to sit on.
Don’t Forget the Edges
Leaving your backsplash tile without an edge not only looks messy, but it also leaves it vulnerable to chipping. Matching bullnose edge moldings are available for many types of tile, or you can choose an edge that looks similar or complements the design.
Although a lot can go wrong while installing backsplash tile, don’t be intimidated. Just take the time to prepare ahead of time with the right tools, materials, and planning and your DIY tile backsplash will look polished and professional.
For more detailed information on vinyl flooring, including installation costs for Luxury Vinyl Flooring, visit our website for our entire line of luxury vinyl planks.
Are you ready to get your DIY project started? First, find your backsplash tile by reviewing MSI’s expansive Backsplash Tile Collection, then find and visit an MSI Backsplash Tile Dealer in your area.
READ MORE ABOUT MSI BACKSPLASH TILE
Creative Backsplash Tile Patterns For Standard Tile Shapes
How To Remodel Your Kitchen With A Stacked Stone Backsplash
Enhance Your Kitchen Backsplash Tile With Dimension And Texture
Find Porcelain Tile Inspirations With Our Backsplash Tile Guide