How To Perfectly Align Porcelain Tile Flooring
November 16, 2017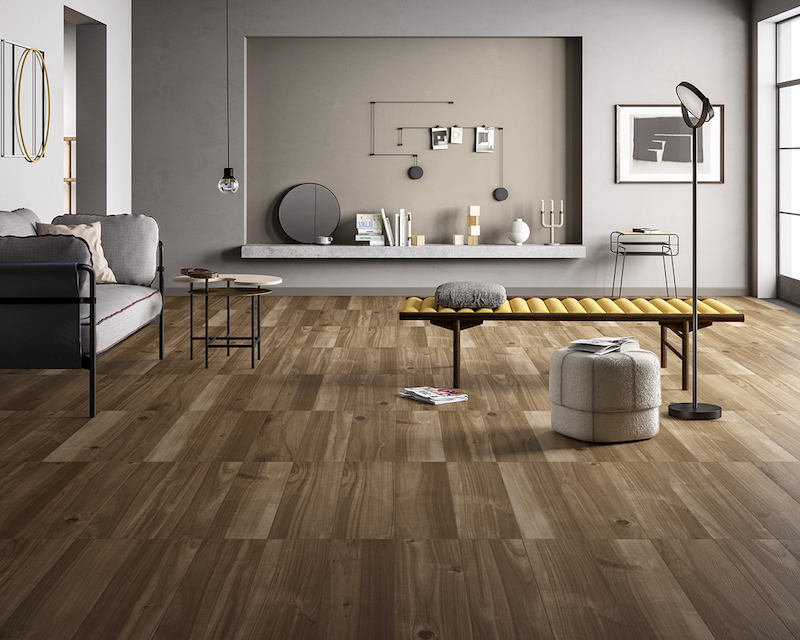
The hard work is done. You've poured over endless design options to select a porcelain tile and pattern, and now all that's left to complete your project is the tile installation. Don't make a critical mistake on this final step. Read through these easy tips to properly align your tile flooring and make your floor installation a breeze.
The first step in aligning your floor tile is to determine the center point of your room and mark the area. Once you have an idea of the center of the space, take a look at the walls. There is a good chance the walls may not be square, particularly in an older home. In this case, use the wall that is the most noticeable or prominent, and plan to run your tile parallel to that wall. This will cause the eye to follow the tile outward, making it appear well aligned.
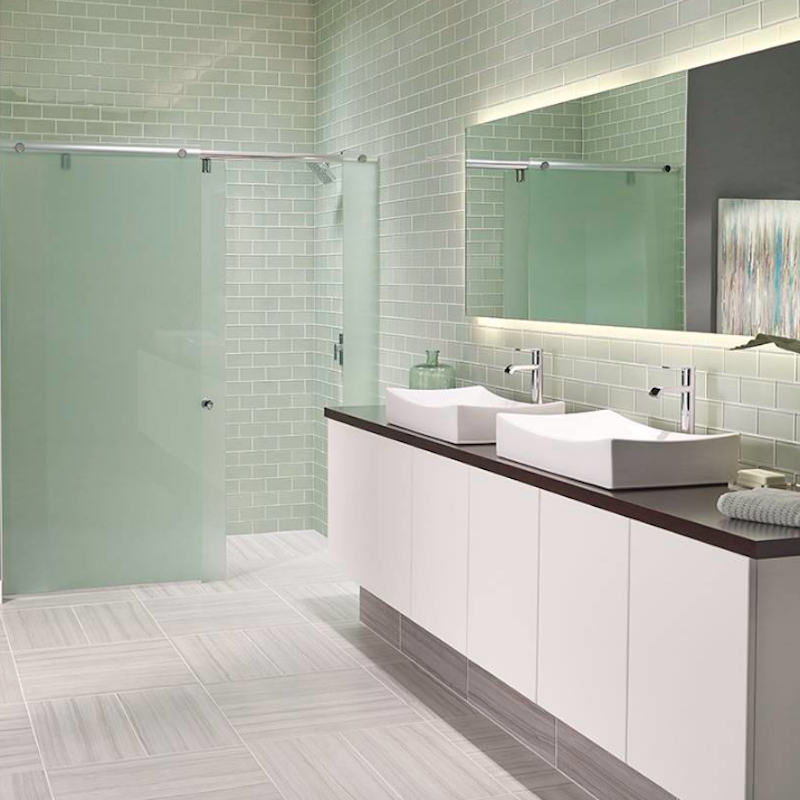 Featured: White Sophie Porcelain
Next, snap a pair of chalk lines intersecting at the center of the space and section the room into even squares. Begin your tile layout by starting the pattern in the center of the room and working your way out. You would do almost the same process when tiling a wall, except that you would use a level to mark a line that is plumb to the ceiling and then install downward from there.
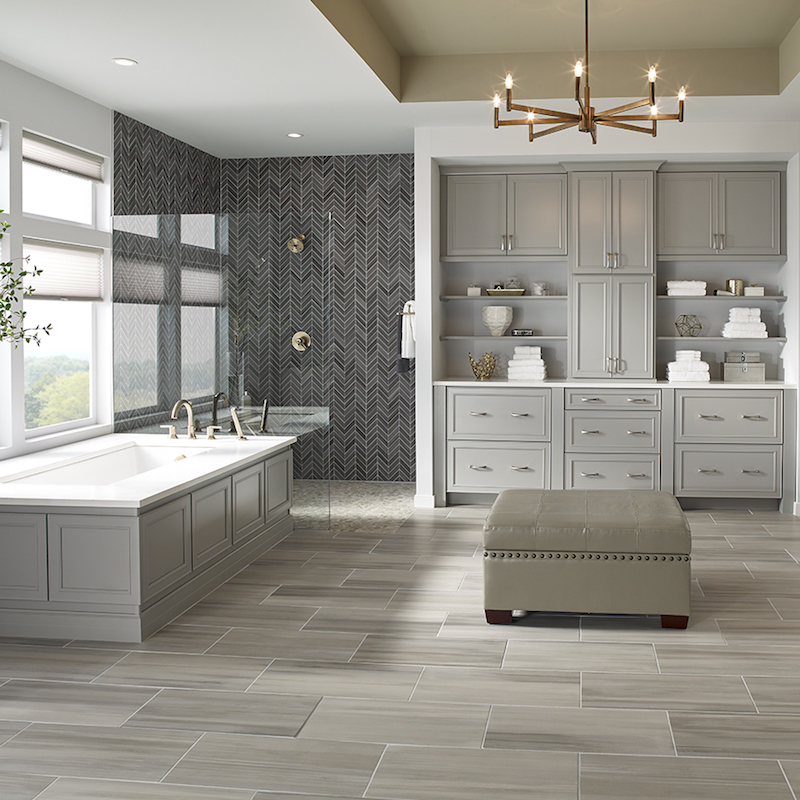 Featured: Grigio Watercolor Porcelain
Once you have the area sectioned off into manageable quarters, you can begin laying out your pattern. If you’ve chosen a more complicated tile pattern such as a herringbone or a pattern with different sizes of tiles, you may need to lay out the whole floor and carefully mark the area. Laying out the tile in advance allows you to catch any mistakes and make adjustments before you've set anything down permanently.
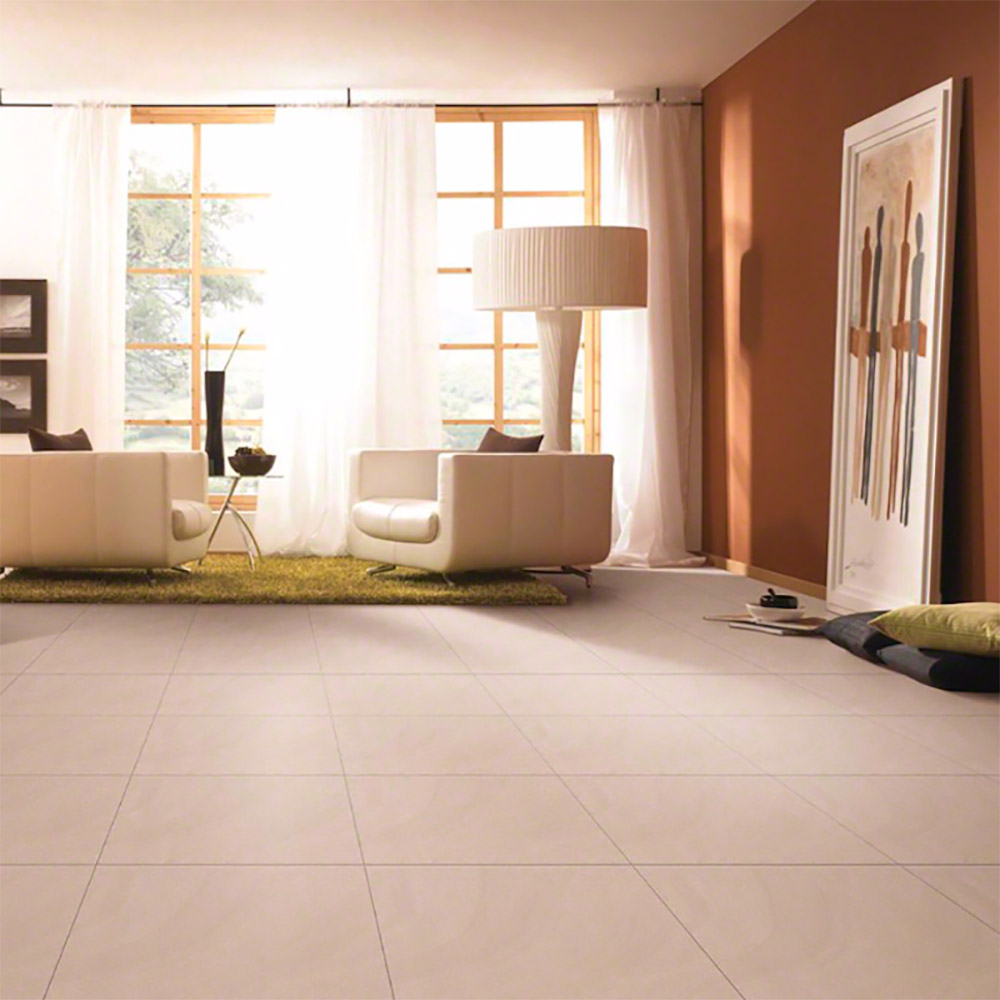 Featured: Cream Optima Porcelain
It’s also a smart idea to begin installation of a difficult pattern in a smaller area such as a powder room. Once you feel comfortable with the bathroom tile layout and confident that you have the technique down correctly, you can move on to a larger install like a kitchen tile installation.
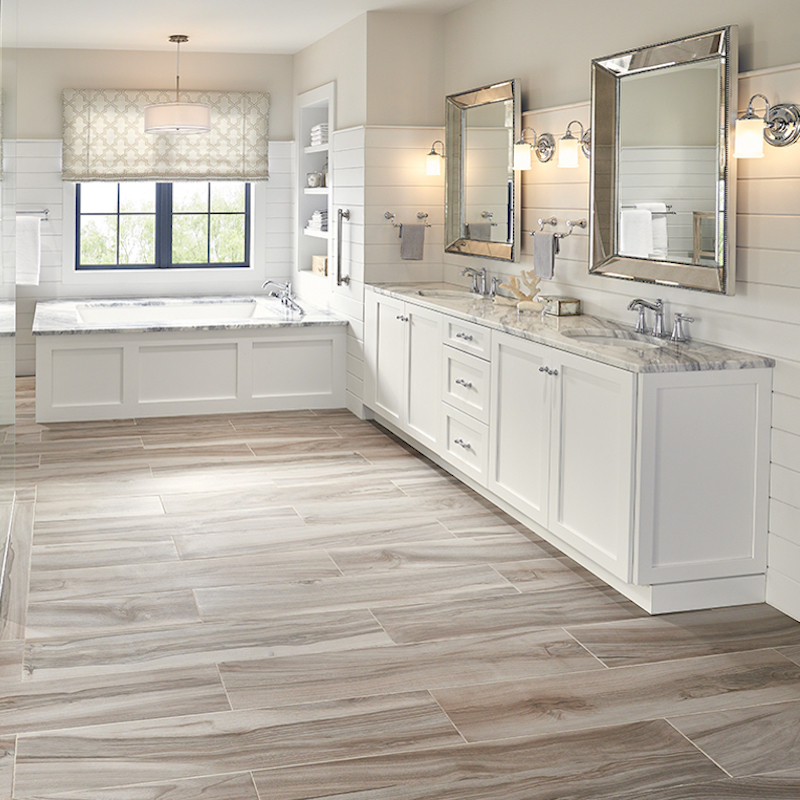 Featured: Ash Aspenwood Wood Look Porcelain
It may seem time consuming to use spacers to hold the tile and grout lines evenly throughout the layout, but the attention to detail will assure you of a perfect, polished outcome. Modern wood-look porcelain tile—such as Ash Aspenwood or Greige Upscape—requires an extra thin grout line for a natural looking install, and spacers can be key to achieving a professional look.
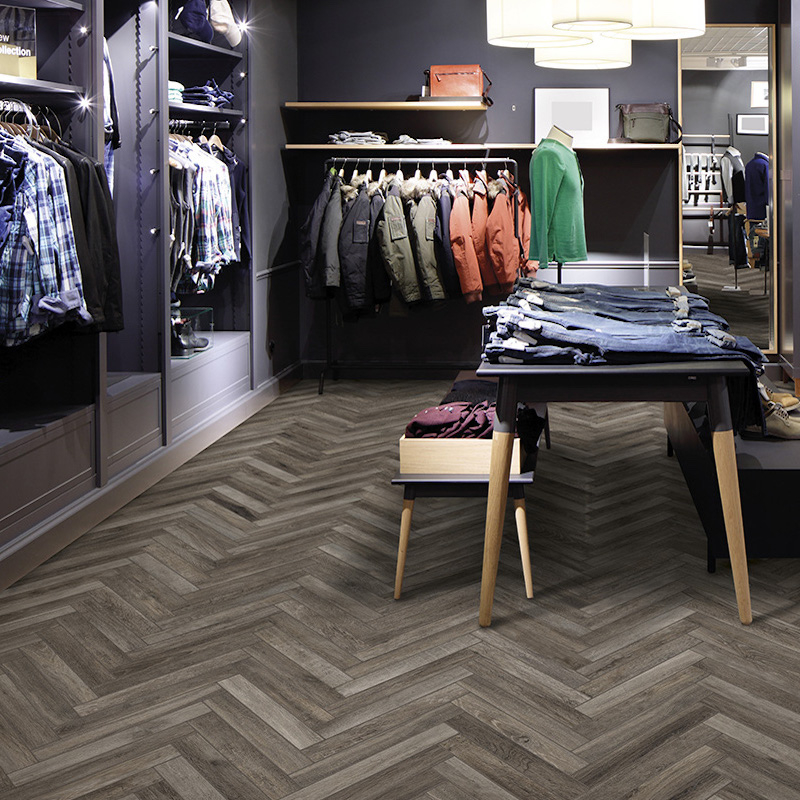 Featured: Greige Upscape Wood Look Porcelain
Offsetting your porcelain tile planks is also important if you're striving for a natural hardwood feel with wood-look tiles. A random or 1/3 offset is best for this application, and also helps to avoid creating the lip that can occur with a 1/2 offset pattern, in which the thicker center of a tile is butted up against the thinner edges.
For more porcelain tile layout ideas from kitchen tile to pool surrounds, check out MSI's Floor Visualizer tool. Or check out even more tips for tiling the bathroom floor.