Top Tips For Installing Wood Look Tile Like A Pro
November 18, 2016[Revised November 2024 – updated content and current products added]
MSI's porcelain wood-look tile is a great choice! It beautifully mimics natural wood. This makes it perfect for kitchens, baths, mudrooms, and other areas that can damage real wood floors. Just keep in mind that installing these stunning tiles requires attention to detail. If done incorrectly, those gorgeous inkjet designs won't look like real hardwood flooring.
Nature is wonderfully unique! Just like no two snowflakes or flowers are alike, every piece of wood has its own distinct grain. The key to a fantastic installation of wood-look tile is to arrange the tiles in a way that captures the random beauty of nature. Enjoy the process!
Here’s how:
Look for Color Variations
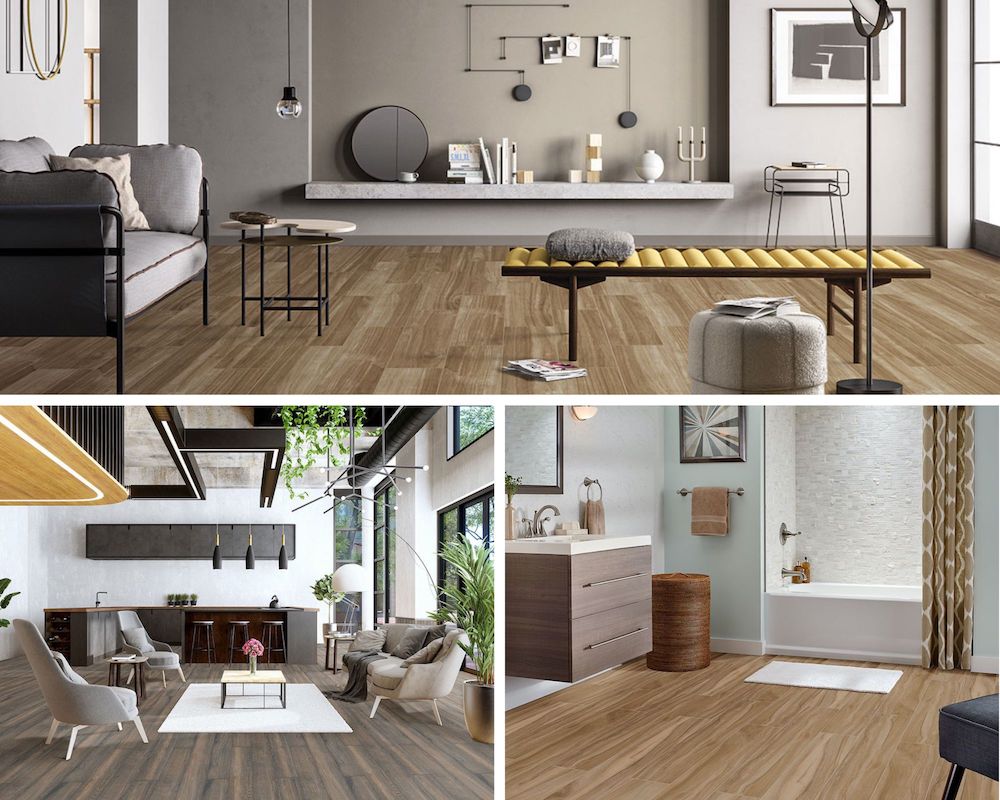
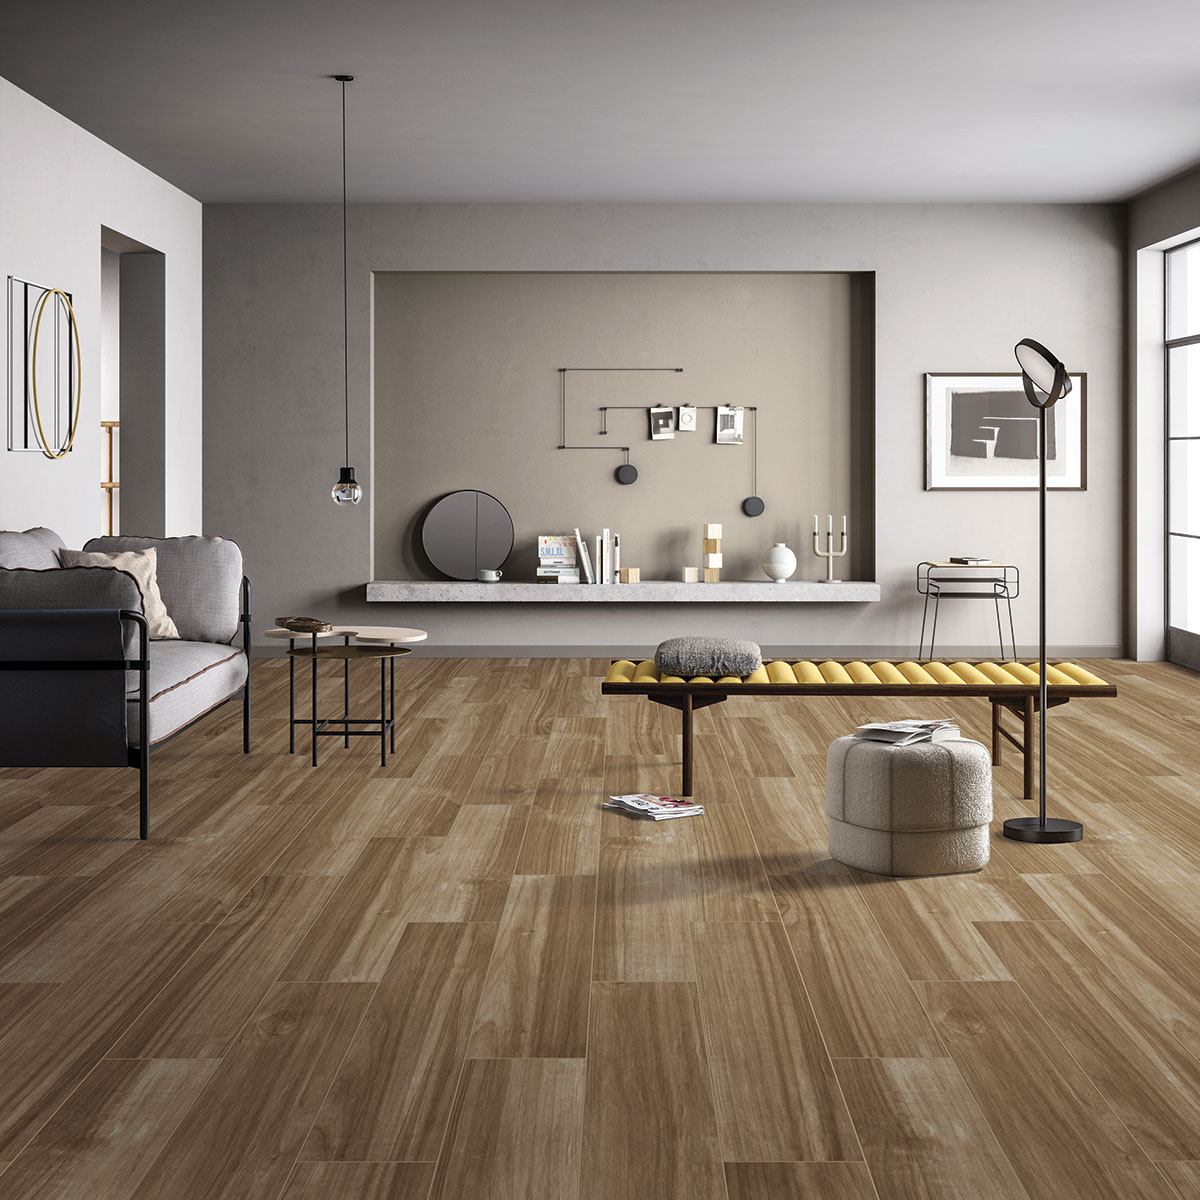
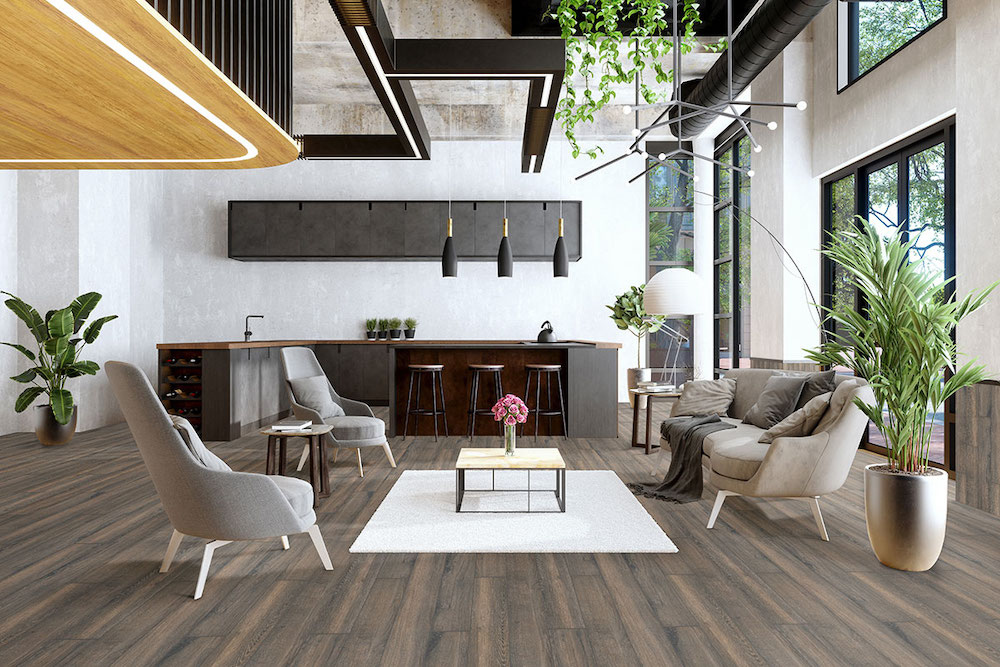 Antoni Nero Porcelain Wood Tile
For a natural vibe, choose wood-look porcelain tile with a gentle wood texture. Look for patterns that have some variation! When you're installing the tiles, mix things up by rotating their orientation. This will help hide any repeating patterns and create a beautiful, unique look.
Select Rectified Tile
 Amber Aspenwood Wood Look Tile
Did you know you have two great options for the edges on your porcelain tile? You can choose between rectified and non-rectified! Rectified edges are ground and shaped to be nearly identical from tile to tile. If you want a sleek, seamless look with very thin grout lines, rectified tile is the perfect choice for you!
On the flip side, non-rectified edges have slight variations. This gives you wider grout lines and a charming, rustic appearance—ideal for a classic style!
And here’s a fun tip: if you choose wood-look tile, rectified edges will make your floor look just like beautiful, long planks of real hardwood! How great is that?
Level Your Subflooring
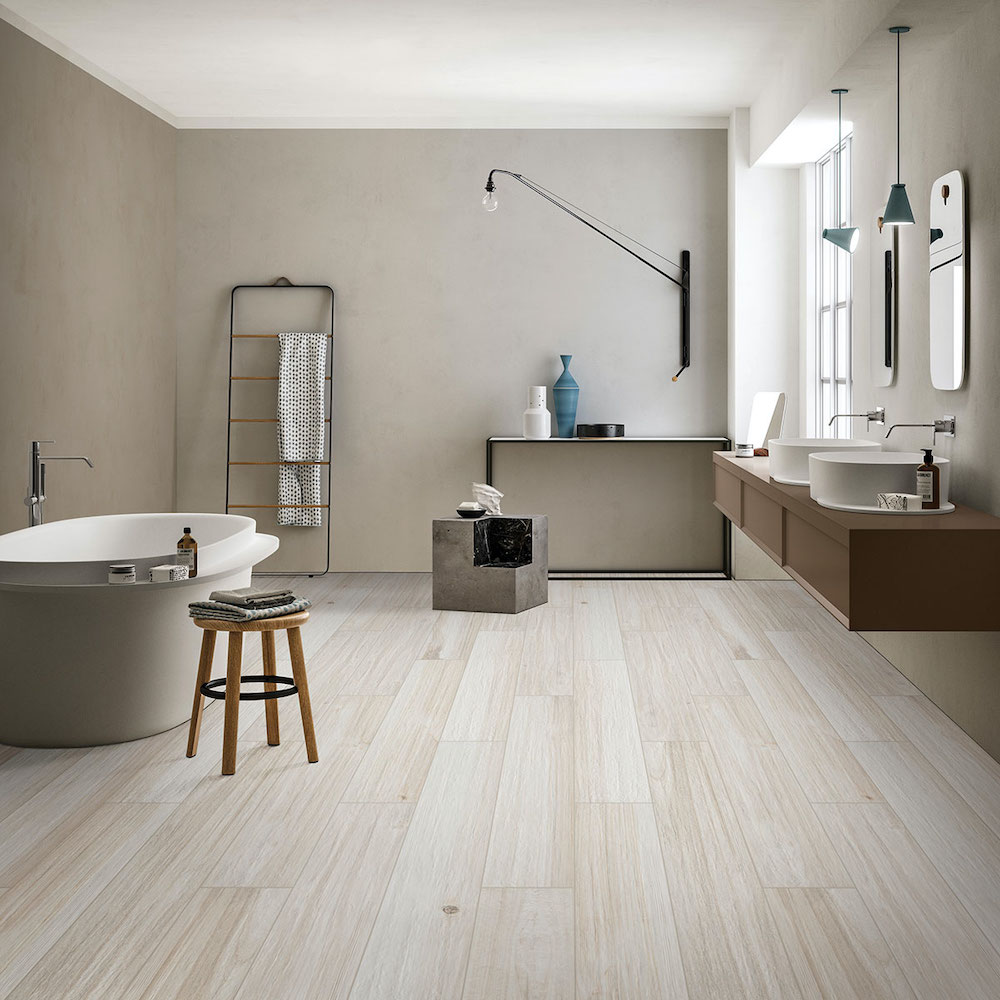 Dove Wood Look Tile
Tile floors should look flat and even. However, larger tiles can sometimes crown or bow. This means the center of the tile is higher than the edges. This effect is unavoidable. If your subflooring isn't level, it will make the tile floor look wavy.
The good news? You can easily avoid this issue! Start with a smooth and level subfloor. A great way to achieve this is by spreading a fast-setting substrate. This will give your porcelain wood tile installation a strong and flat foundation. Happy tiling!
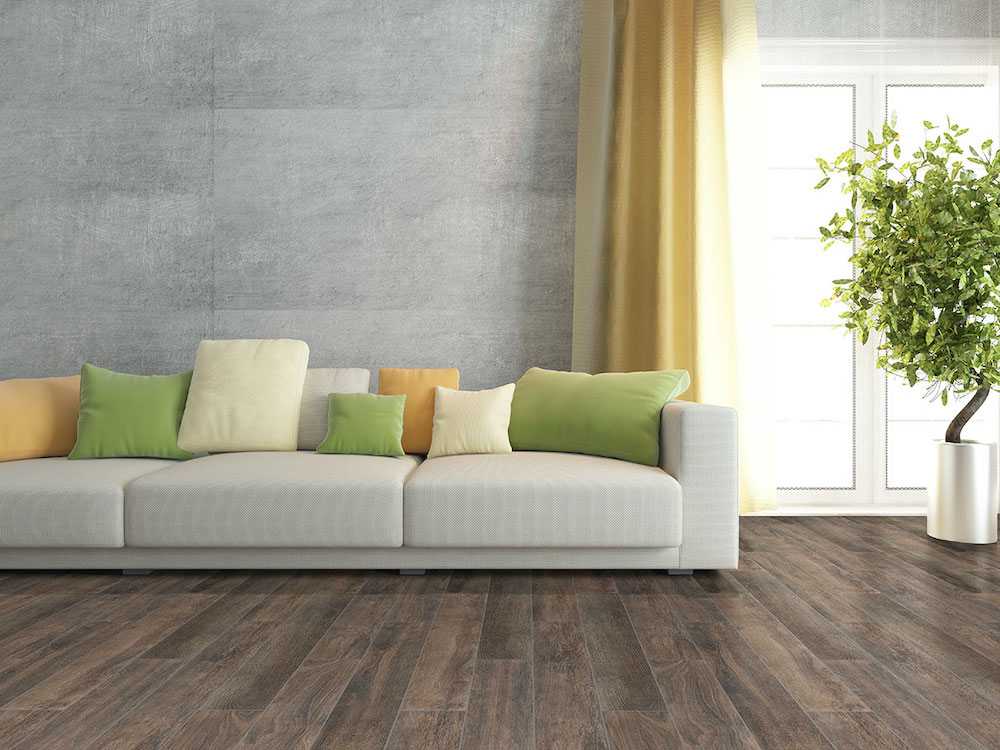
Take Care with Grouting
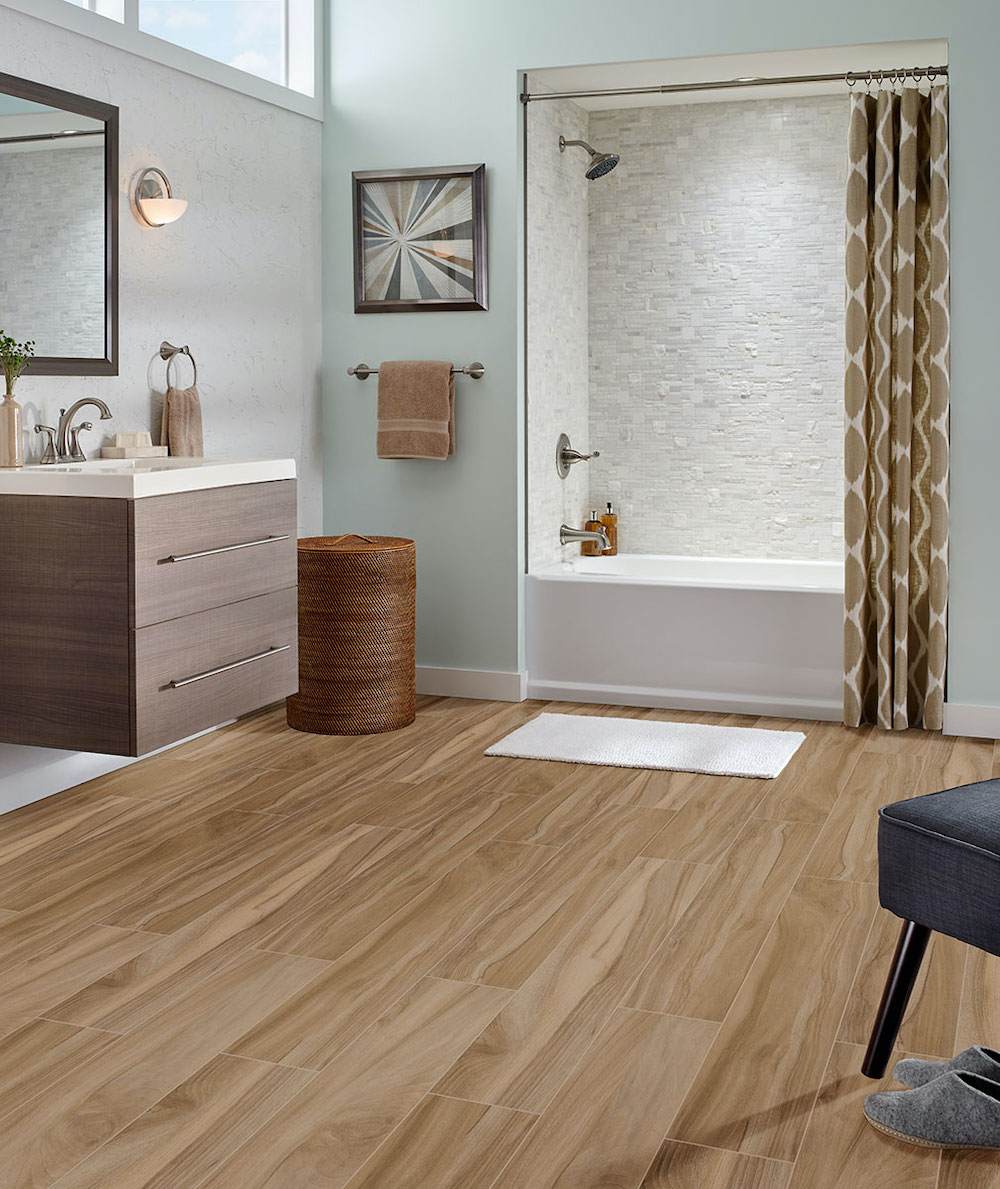
 Havenwood Saddle Wood Look Tile
Wood-look tiles are beautiful! They can mimic the look of real hardwood, but they come with a little challenge. The raised grains can make grouting tricky. Grout may cling to those grainy textures, making cleanup a bit of a task. That’s why it’s super important for you or your installer to quickly clean up any extra grout. You could also apply a sealer or a coat of grout release before installation for an easier process.
Here’s a fun tip: when picking a grout color, choose one that matches the darkest shade in your tile. This clever trick makes grout lines appear like shadows around the porcelain wood tile planks!
Set in a Random Pattern
 Upscape Greige Wood Look Tile
A random pattern can make your tile floor resemble real hardwood even more! If you’ve picked shorter wood-look tiles, why not try a herringbone pattern? It’s a fun choice that can give your room a charming old-world vibe! Of course, the classic offset pattern for your tile flooring is always a wonder choice.
Looking for "wood look tile near me"? The MSI team is ready to assist you! Chat with us online right now. You can also visit one of our MSI showrooms across the country. Don’t forget to reach out to a local authorized MSI retailer for more information, too.
READ MORE ABOUT WOOD LOOK TILE:
Lived-In Wood Look Tile Flooring
Fall Trends Favor Wood Look Tile
How to Nail the Wood Tile Look In the Bathroom
How to Get Perfect Grout Lines For Wood-Look Tile Flooring