Tips From The Trade: How Do You Install Subway Tile?
June 28, 2018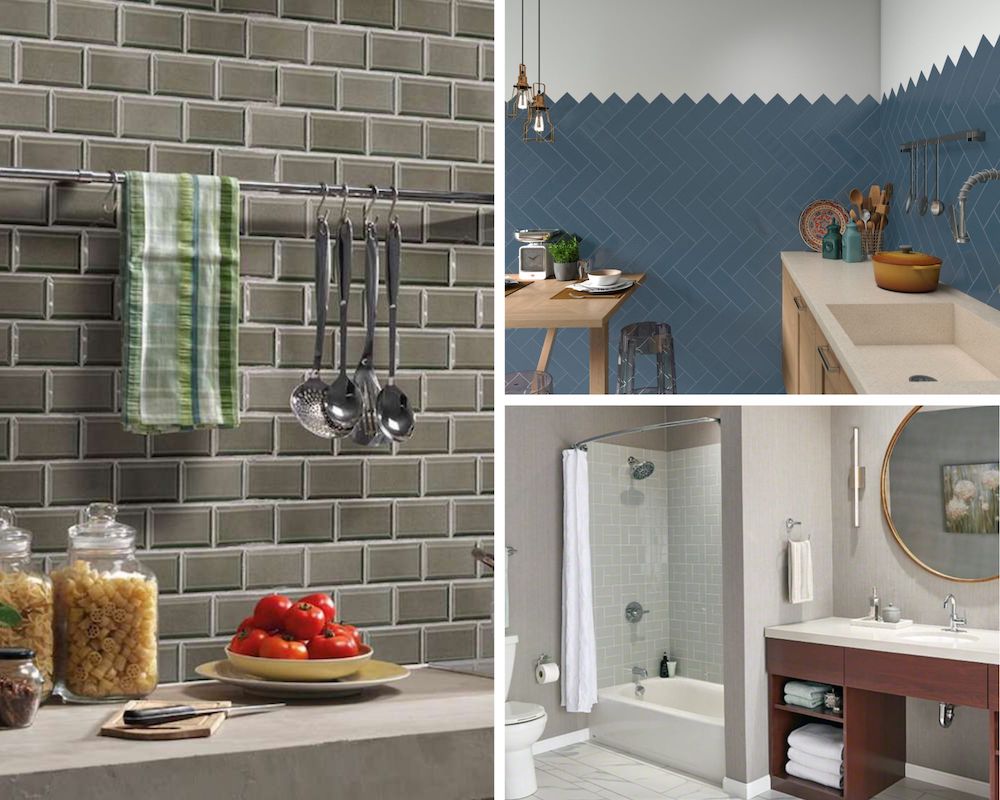
Updating your kitchen or bathroom is easy with the addition of subway tile. And in just a weekend or so, you can replace your old, tired tile or jazz up a blank wall without needing to hire a professional. You can complete this DIY project on your own because these step-by-step instructions will guide you through the process.
In just eight easy steps, you’ll learn how to prep, install, and clean up so that you end up with a beautiful subway tile installation.
While there are several backsplash designs and layouts to pick from, we chose to focus on the traditional offset pattern. This is the classic look of laid brick where one row of tiles is half way offset from the next.
You can also check out this article for more subway tile installation ideas. We’ll also provide you with some insider tips on how to get professional results. Now that you’re confident in your DIY skills, let’s get started with how to install this popular tile style!
What You Need:
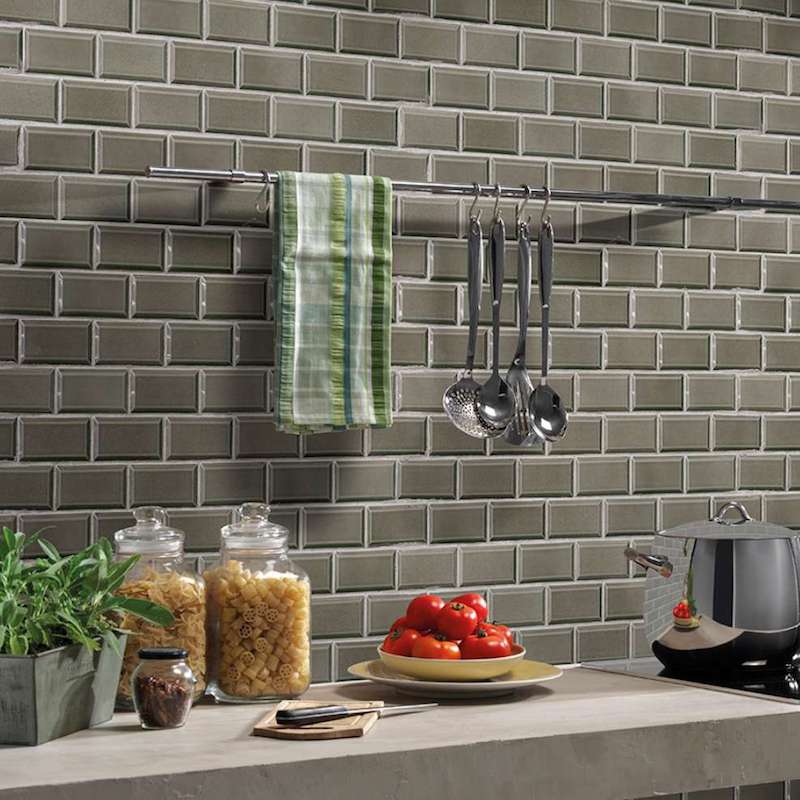 Featured: Charcoal 2x4 Subway
First, let’s cover what you’ll need for this DIY project. To help you with prepping your walls, you’ll need sandpaper, an all-purpose cleaner, a screwdriver, and painter’s tape. For your tile installation, you’ll need your favorite MSI subway tile, premixed thinset mortar, a V-notch trowel, a leveler, a wet tile saw, 1/16-inch tile spacers, and a microfiber cloth with some all-purpose cleaner.
When grouting your tile, you’ll need grout in the color of your choice and a rubber float. To clean and then caulk around your subway tile, you’ll need large sponges, a large bucket, warm water, tile caulk, a caulking gun, and an applicator tool.
#1. Prepping the Walls
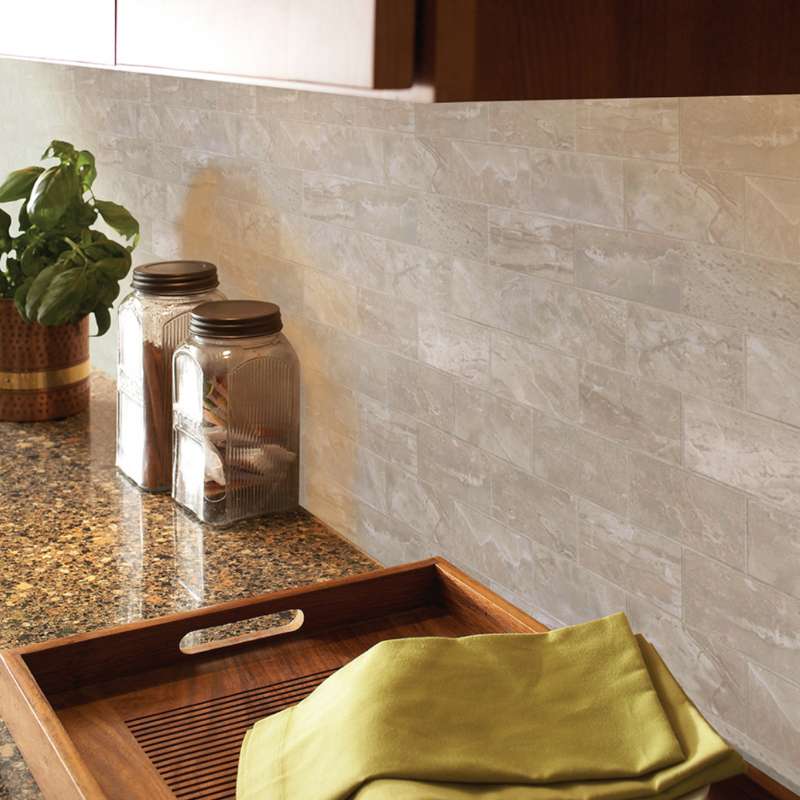
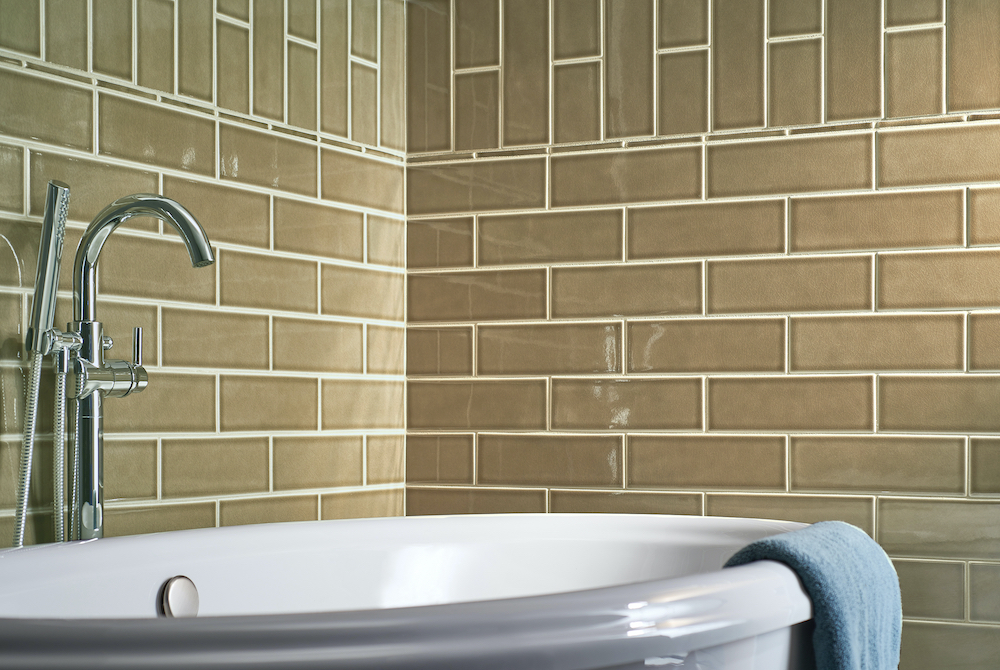 Artisan Taupe Subway Tile 4x12
Properly preparing your walls is an important step you won’t want to skip if you want to achieve a professional, clean look. Ensure that you’re working with flat, smooth walls; otherwise, your rows of tile will look uneven. Patch any holes and use sandpaper to smooth it out.
Clean the walls using an all-purpose cleaner. Then, unscrew any outlet and switch covers. Finally, use painter’s tape to mark the outer edging of your tile installation along the walls, vanity, or countertop.
#2. Attaching the Tile
 Featured: Gray Glossy 3x6 Subway
Applying your favorite MSI subway tile isn’t difficult. Use your V-notch trowel to add a thin layer of mortar to the wall. First, scoop up the mortar using the flat side and spread it using the notched side. Then, create parallel lines in the mortar on the wall by combing it with the trowel. Note that you’ll want to apply your mortar in small sections or else you’ll be working pretty fast!
Start installing your tile on the bottom and work your way up. Do not work from the top! Press the tile onto the wall one at a time. Note that you’ll want to check your lines with a leveler to ensure everything is straight. Cut tiles using the wet tile saw, and make sure to leave room for spacers. If some spots are too small to use your trowel, then apply a thin layer of mortar directly onto the back of the tile.
#3. Inserting Spacers
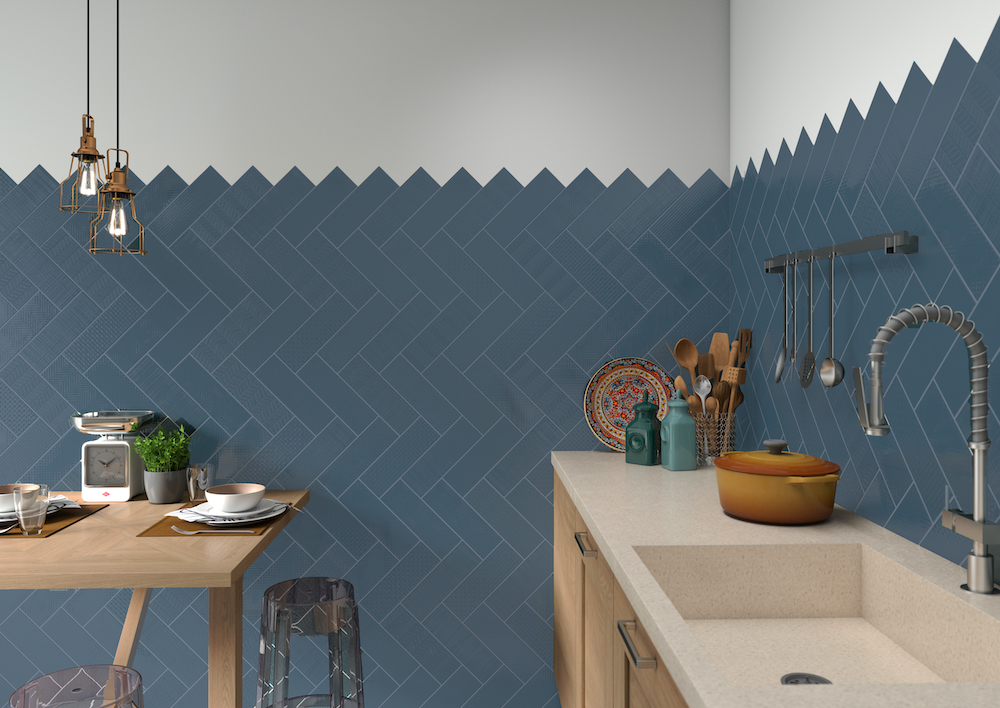 Urbano Navy 3D Mix Tile
Using two spacers for each tile side will help keep your tile installation parallel. Try to move the tile to ensure a snug fit, that way you end up with straight, even grout lines.
#4. Letting the Mortar Dry
Letting your bathroom or kitchen backsplash tile dry overnight is key so that everything sets properly. The next day, you can then clean up any surrounding areas that may have gotten some unwanted mortar on it before finishing up the job!
#5. Removing the Spacers
 Featured: Pearl Pietra 2x4 Subway
Removing the spacers may be quick or take longer depending on how small or large your subway tile install is. Next, give your tiles a good wipe using a microfiber cloth and all-purpose cleaner to make sure there’s no dust on the tiles.
#6. Applying the Grout
Using the rubber float, scoop some of the white or colored premixed grout and sweep it over the tile. Going over it in a 45-degree angle and then going over the same area but in multiple directions will help to get the grout into the narrow spaces.
#7. Cleaning the Tiles
After applying the grout, wait approximately an hour before cleaning your tile backsplash. Using your large bucket with warm water and a large sponge, clean the grout, rinse the sponge, and repeat. Note that it may take a few times to remove all of the grout from the same area.
#8. Applying the Caulk
Applying caulk will help give your backsplash a finished look. Tape off areas like where the tile hits the countertop, cabinets, or walls before caulking. Apply the caulk to those areas, and then go over the lines using an applicator tool for the best results. Note that you’ll want to remove the tape before the caulk completely dries.
For more detailed information on vinyl flooring, including installation costs for Luxury Vinyl Flooring, visit our website for our entire line of luxury vinyl planks.
Are you ready to get your DIY project started? First, find your subway tile by reviewing MSI’s expansive Subway Tile Collection, then find and visit an MSI Backsplash Tile Dealer in your area.