How To Create And Maintain A Garden Rock Border

June 22, 2021

how to create and maintain a garden rock  border

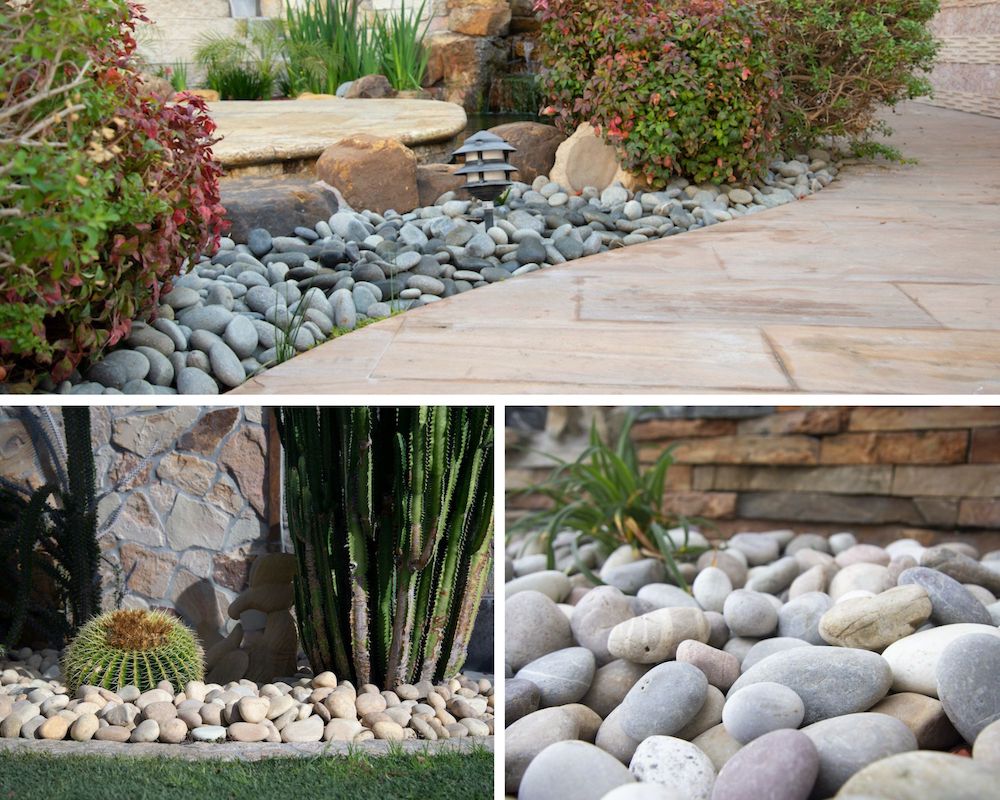
Are you looking for a way to take your home’s landscape from drab to fab? While many home improvement projects can seem daunting, creating a garden rock border isn’t one that should overwhelm you. 

Creating a garden rock border is a great way to enhance the overall look and appearance of your yard. With the right tools, you can easily create your desired look in less than a day. Seems too good to be true? Here’s a quick guide for creating and maintaining the perfect garden rock border.

How to Create a Garden Rock Border

Ready to tackle your next home landscape design project? Follow these steps to lay the ideal landscape rock border surrounding your garden.

Design Your Garden Border

garden draining hardscape for conservation

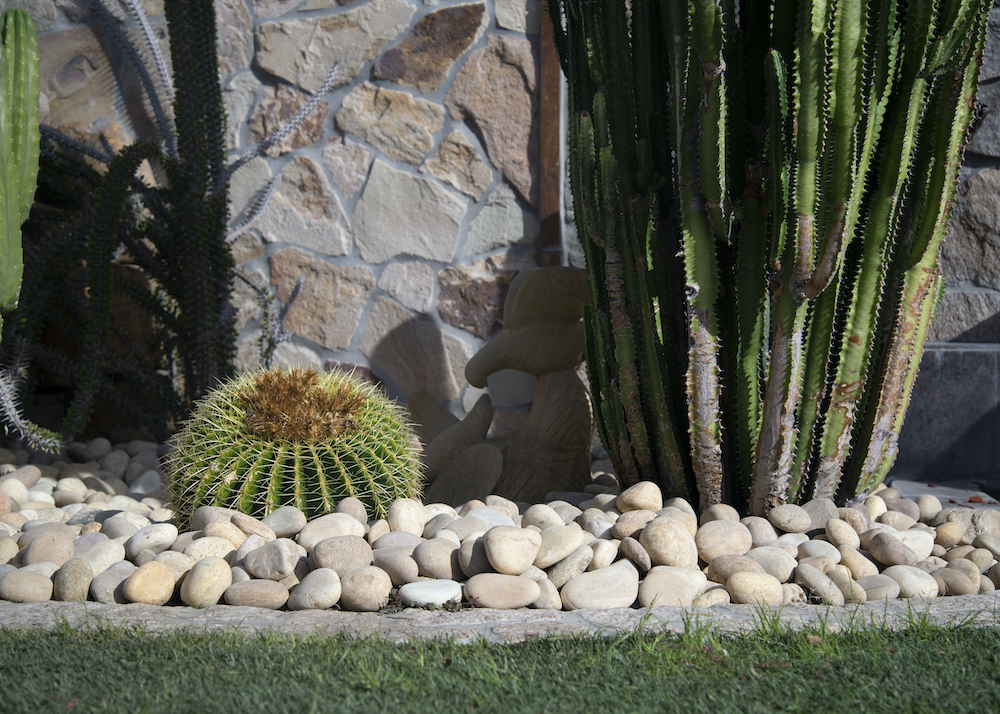
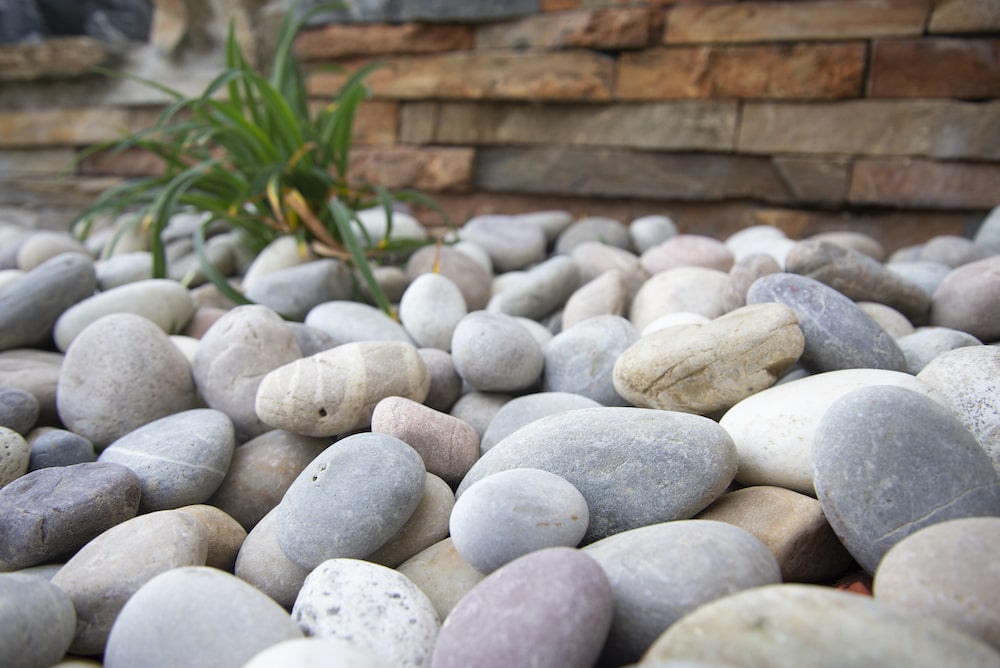
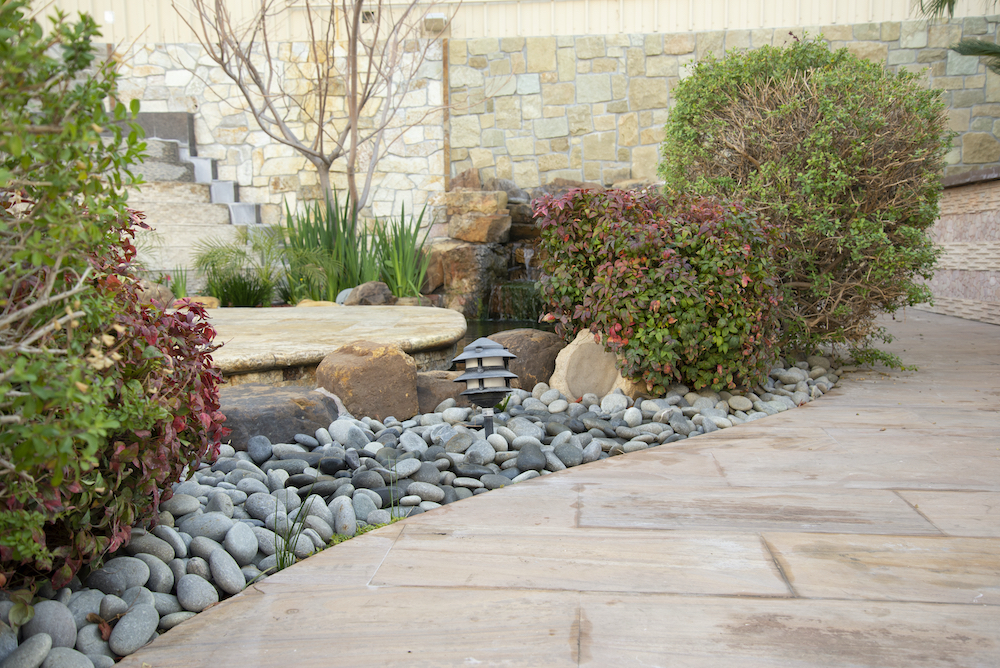
Before diving into the project, you need to design your garden rock border so you can accurately calculate how many feet the border will cover. Once you have the measurements, you need to decide on your preferred look. Do you want the rocks to be laid out individually along the border? Or do you like the look of stacked rocks? Your choice of the rock pattern will determine how much material is needed to complete the desired look.

Choose the Type of Rocks

Now that you know how much material is needed, it’s time for the fun part — choosing the type of landscape rock for your garden! If you plan to lay the rocks in a single row, you may opt for rounded river rock, pavers, or various types of outdoor patio tile to complete the look. But if you’re planning on stacking stones to create a small wall as your garden rock border, consider flat stocks such as fieldstones, flagstones, or stepping stones.

Here is an example of MSI’s collection of Piedra Pebbles that are a wonderful choice for various hardscaping applications:

Dig a Trench Around the Garden

For the rocks to stay in place come rain or shine, you need to create a trench along the border of the garden where the rocks will be placed. Use a shovel to create a trench that is around 3 to 5 inches deep and wide enough to accommodate whatever type of rock you chose for your garden rock border. Keep in mind that if your yard isn’t level, you may need to accommodate the depth of the trench to be deeper in certain areas. The most important thing is to make sure that the bottom of the trench is level to ensure the rocks lay nicely in place and don’t become displaced.

Utilize a Weed-Stopper

If you’ve been maintaining your landscape for some time, you know how frustrating it can be when weeds make an appearance. Avoid having weeds peek up through your beautiful new garden rock border by being proactive with a wedding-stopping barrier. Before placing your rocks in the freshly dug trench, line it with a water-permeable garden liner to discourage weed growth.

Lay Your Rock In the Trench

mini boulder garden borderImage Source: Houzz

Once your rocks have been selected and the weed-resistant trench has been created, it’s time for you to begin bringing your garden rock border vision to life. Keep in mind that you can lay your garden in a single row, in a specific pattern, or as a stacked wall that surrounds your garden. However you decide to lay them out, make sure that you are mindful of the space between stones — each rock should be touching to prevent mulch, grass, or weeds from getting between them. If there are gaps in the border, even small ones, the mulch and grass in the surrounding landscape are more likely to get displaced.

Set the Rocks In Place

Although rocks have some weight to them, they aren’t immune to getting displaced or dislodged — ruining the appearance of your newly installed garden rock border! To ensure that they are set in place and aren’t going to budge, there are some precautions you can take. Using a hose, gently spray down the border with enough water to only dampen the soil. Once damp, use a rubber mallet to lightly tap the rocks into the soil so they are set in place in the soil. Be mindful not to tap them too hard or you may cause the rock to break and need to be replaced. After the soil dries, check the stability of your garden rock border. If any of the rocks do not remain firmly in place when touched, consider repeating the process (only on the weaker areas) until you feel that the rock border is secured in place.

garden rocks and pebbles
Image Source: Houzz

How to Maintain a Garden Rock Border

Every so often you may need to perform maintenance on your garden rock border to keep it looking its best. Follow these steps to bring your rock border back to glory:

1. Gently remove the rocks from the trench and set them about a foot away from the trench on the garden side. Doing so provides you with enough room to perform maintenance and keeps the rocks in an easily accessible area for when they’re ready to be put back in place.

2. Using a small garden cultivator or shovel, rearrange the soil in the trench to fill any holes that were created by the rocks to create a level trench bottom.

3. Once the trench has been leveled again, you can begin placing the rocks back in the place where they were.

4. Using a similar approach to creating a garden rock border for the first time, you should use a hose to dampen the rock border and set the rocks in place so they don’t become dislodged.

Choose MSI Surfaces for High-Quality Hardscaping Materials

Ready to get started on your garden rocker border project? We’re here to help! MSI’s assortment of hardscaping materials, including river rock, garden rock, and stepping stones, can help you bring your dream-space to life. Whether you want to create a single-layered garden rock border or a stacked rock wall, MSI can help you create your ideal outdoor space.