How Do You Align Porcelain Tile Flooring?
May 27, 2018
Placing your order for porcelain tile may be hard work, but there’s still more to do before you can enjoy your beautiful new floors! And when it comes to the perfect DIY tile install, there are four major elements to consider: Quality materials, proper prepping of the area, proper alignment and install, and curing time.
It’s important to start with quality porcelain that will not only stand up to your indoor or outdoor needs but also provide you with the versatile and elegant look you’re after. While prepping your space is important, there are key steps to aligning and installing tile that you don’t want to skip out on.
Take a look at these tips on how to align your tile and ensure a successful install.
#1. Find the Center
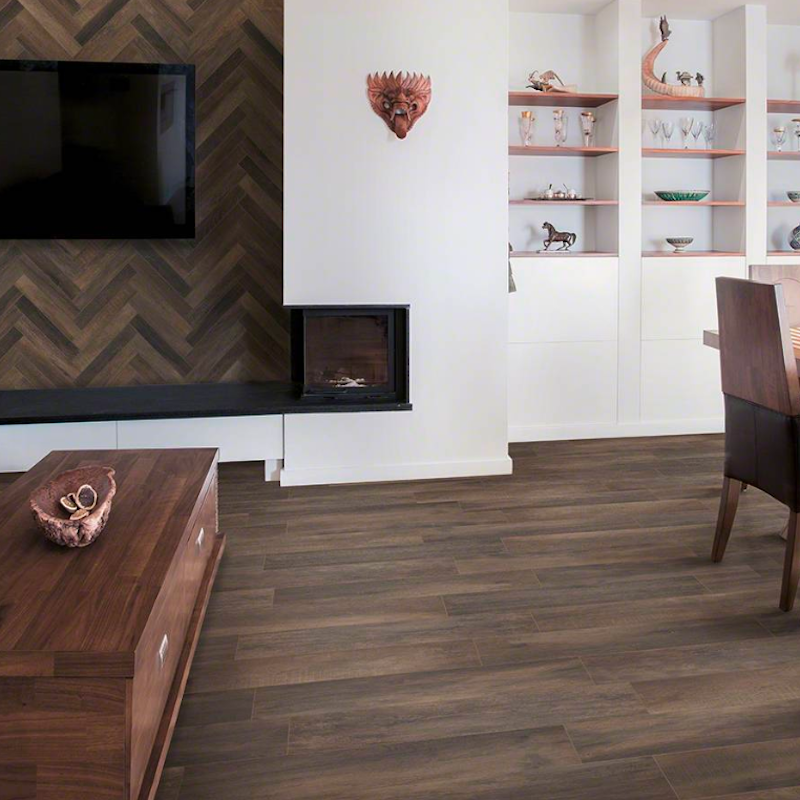
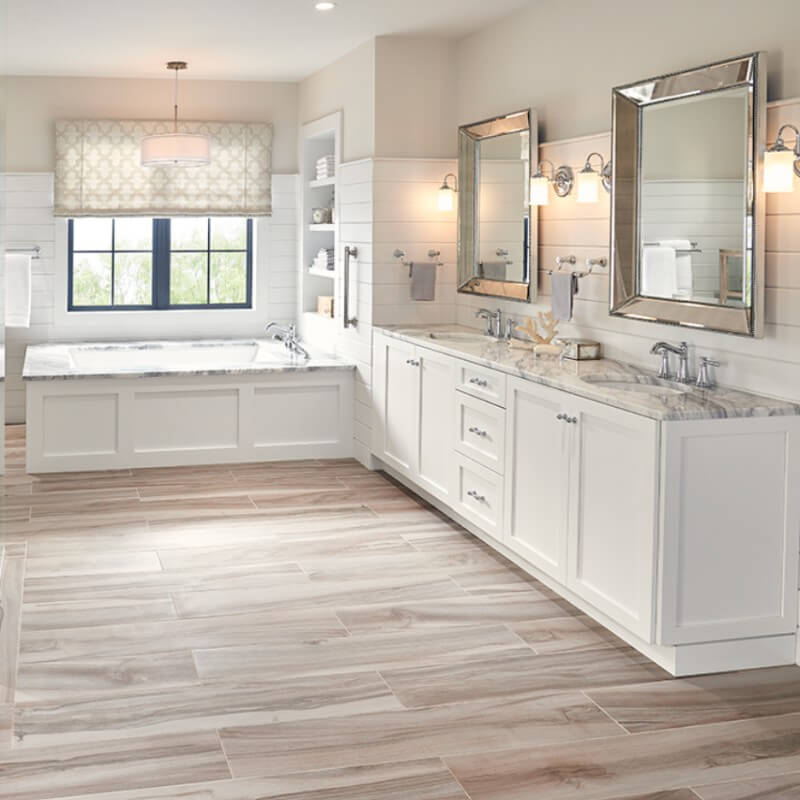 Featured: Ash Aspenwood Wood Look Porcelain
The first step to align your porcelain tiles is to find the center point of the room. To do so, measure the four walls in the room to find and mark the midpoint.
Then, use two chalk lines to mark the alignment by snapping one from the midpoint of two opposite walls and the other from the midpoint of the other two walls. The intersection of the chalk lines will give you the center point of the room.
Note: if your room is not square, which can be common, you will need to adjust one of the lines.
#2. Plan Out Your Design
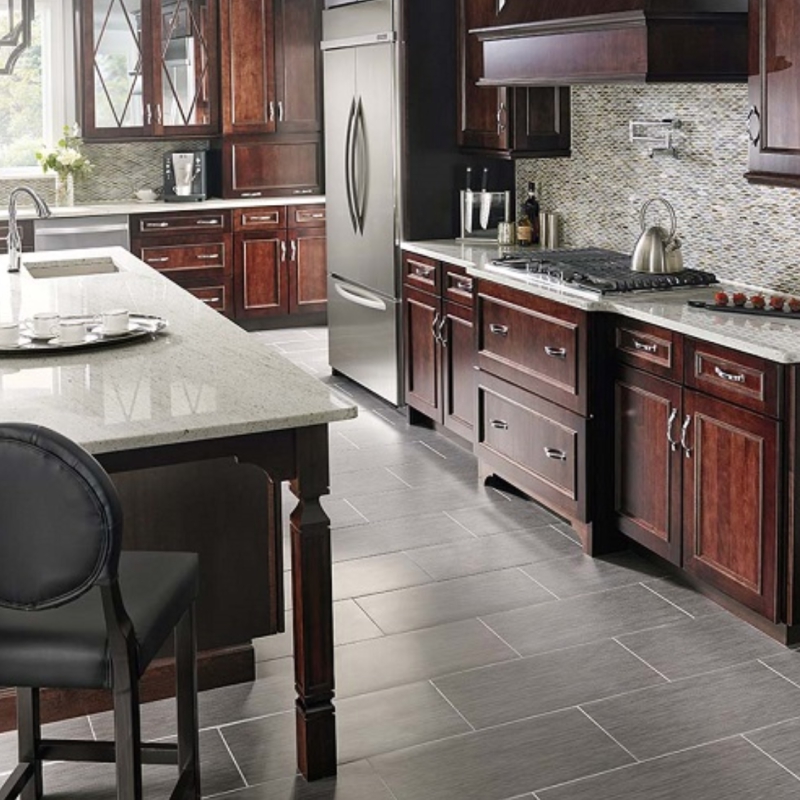 Featured: Focus Graphite Porcelain
Laying down your tile first without thin-set will help to double-check that your alignment is correct before making a costly, more permanent mistake. Start by placing a single row of tile at the center point and work your way in both directions until you can no longer lay down full tiles.
You should end up with enough room for even half tiles on both sides. However, if the remaining space is less, then you’ll have to adjust your chalk lines so that you don’t end up with an off-center alignment.
Note: more complex pattern installs like herringbone or Versailles may require laying out the entire floor instead of just one row.
#3. Mix Your Thin-Set
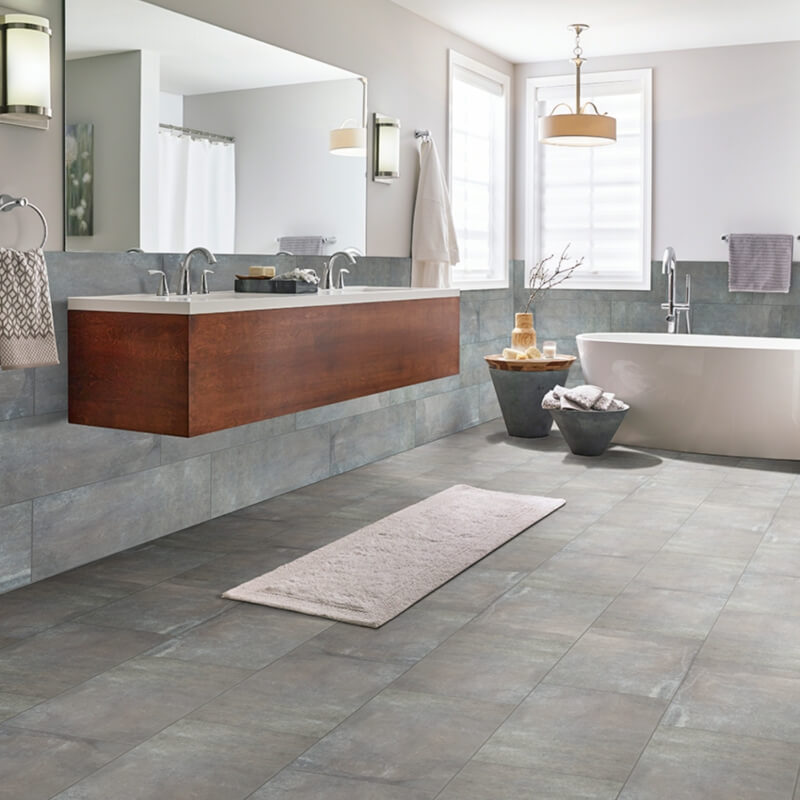 Featured: Napoli Cemento Porcelain
For porcelain floors, you must always use a polymer modified thin-set in order to get the strong bond you need to adhere tile to the backer board or concrete subfloor.
Mix your mortar in a large bucket using a drill with a mixing paddle. Then, allow your mixture to stand five to 10 minutes so that the chemicals can activate. Don’t mix too much mortar at once because it could dry out faster than you can spread it.
Note: for installations on a backer board, it’s important to mist the wood using a spray bottle so that the backer board doesn’t soak up water from the thin-set, which would make it dry too fast.
#4. Apply Thin-Set to Tiles and Floors
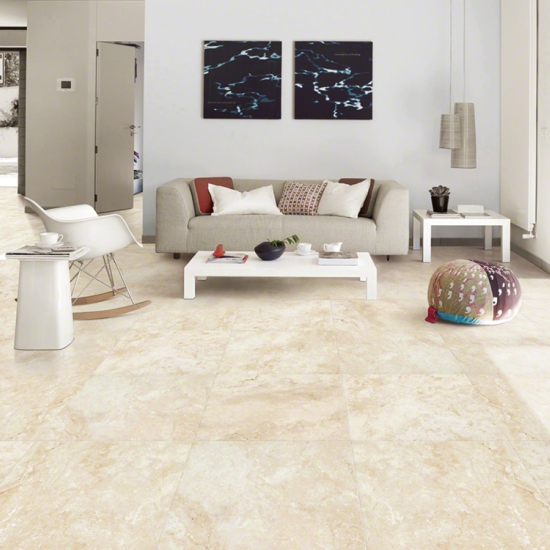
 Featured: Orion Pietra Porcelain
Your first tile should be installed at the room’s center point in one of the quadrants. Use the smooth edge of the trowel to spread a generous amount of mortar onto the subfloor and spread it by pressing at a 45-degree angle.
Then, use the notched edge of the trowel to comb the thin-set by holding at, again, a 45-degree angle. It’s a good idea to also apply thin-set to your tile in order to ensure the recommended coverage. This is called back buttering where you add a thin layer of thin-set to the back of the tile using the smooth edge of the trowel.
Using a level on top of the tile will make sure your surface will be flat.
Note: it takes 24 hours for thin-set to harden, so don’t work yourself into a corner or walk on any tiles before this time has passed.
#5. Use Spacers
Featured: Tierra Ivory Porcelain
Spacers help make your porcelain installation look perfect and professional. To achieve those equally spaced lines between your tiles, place one spacer on each side of where you’ll add another tile.
Note: how you place your spacer is important later on when you’re removing them. Be sure to position them sticking up and out instead of on their sides so that they don’t become stuck in the thin-set.
#6. Work in Quadrants
 Featured: Bruno Upscape Wood Look Porcelain
Laying your porcelain flooring one quadrant at a time will help keep everything properly aligned. Once you’ve finished laying all of the full tiles in the first quadrant, you can finish laying the rest in the other three before adding the cut. Adding your cut tiles, removing spacers, and adding grout will be some of the last steps.
Note: it’s important to stay off of the tiles for the typical 24-hour curing time.
If this is your first time installing porcelain, then you might want to start with something small like a DIY bathroom tile installation.
Once you’re confident in your aligning and installing skills, you can move on to bigger projects like redoing the floors in your kitchen or living room.
READ MORE ABOUT THE DIFFERENT TYPES OF PORCELAIN TILE
Timeless Look Of Encaustic Porcelain Tile: MSI’sKenzzi Collection