Specialty Shape Backsplash Tiles Make A Modern Statement
June 28, 2019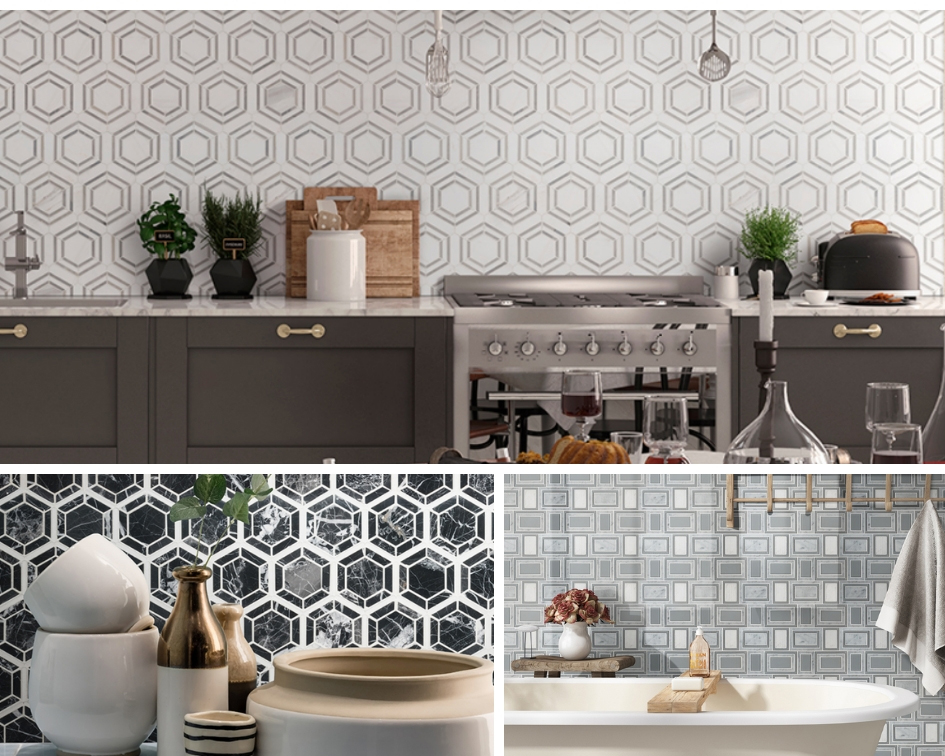
Are you hunting for backsplash tile to that will transform the personality of your kitchen or bathroom? Today’s modern tiles feature intricate patterns, textures, colors, and materials that add a contemporary spark to any design. Specialty shapes including, hexagons, Arabesques, and basketweave tiles, have a high-end and on-trend look that will stand the test of time. Let’s dive in and look at some of our newest (and hottest!) tile patterns available now.
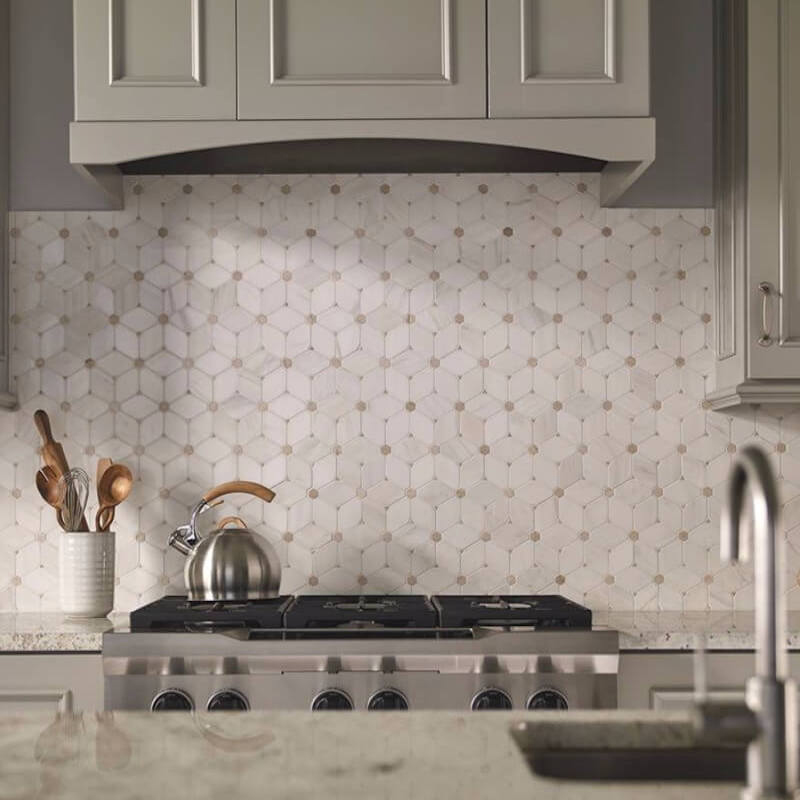
Meet Cecily Pattern Polished tile that melds a contemporary pattern with traditional material to create a timeless and sophisticated backsplash design. Cecily is crafted from natural marble tiles, and the tone-on-tone color scheme lends itself to design styles from traditional to modern. Lovely white marble is accented by creamy marble pieces that highlight the intricate pattern of this wall tile. If you love white kitchens but long for a hint of color and an exciting shape, Cecily just may be the tile you’ve been looking for.
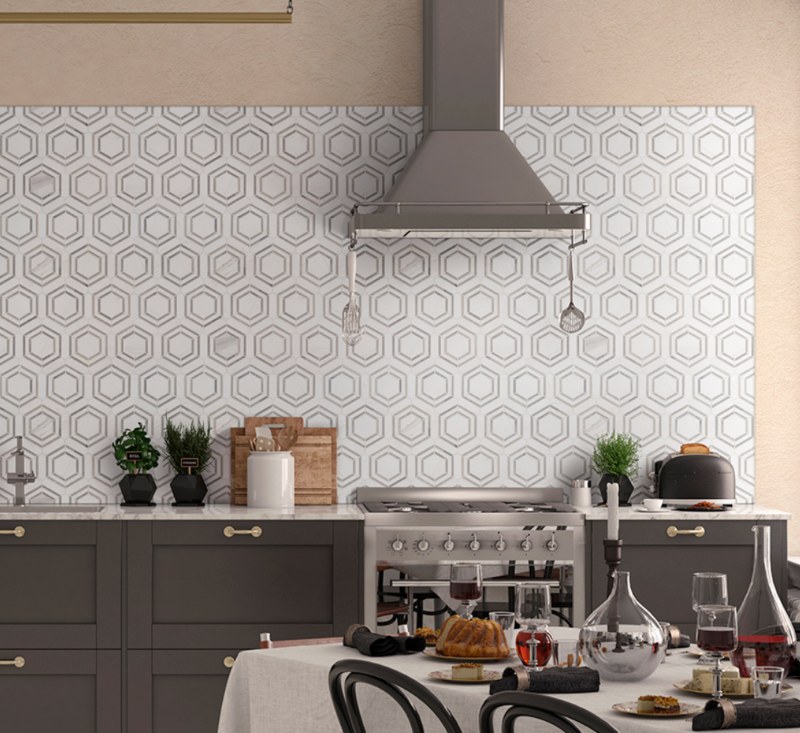
Or perhaps, you’d prefer a more geometric backsplash rich in texture and character. Our Georama Grigio Polished wall tile fills that desire effortlessly. From a distance this tile’s pattern evokes a sense of refinement and order; but when you look at it closely, you’ll discover natural marble’s distinctive movement and texture. The gray and white marble tiles complement one another beautifully, with the tone of the light gray veins playing off the thin gray marble tiles providing a modern aesthetic. This modern tile is a perfect complement to modern and contemporary designs.
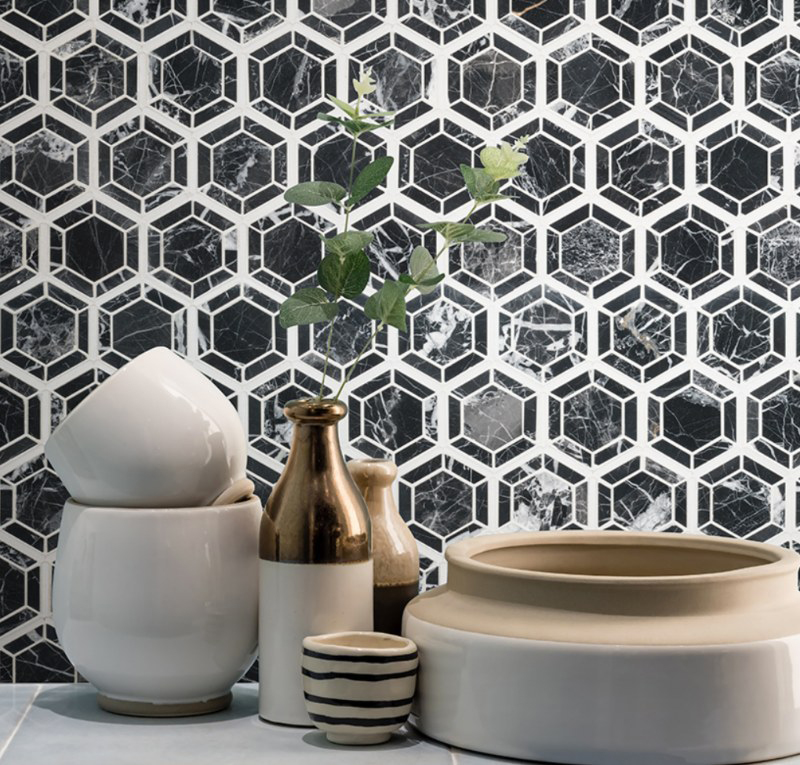
Hexagono Nero Polished
Or maybe you want to be bold with your backsplash! Meet Hexagono Nero Polished tile that is anything but subtle. Make no mistake—this tile won’t settle for 2nd place—it will demand to be the star of your kitchen or bath. The natural black marble features dramatic white veins that are perfectly complemented by the white marble that outlines the intricate pattern. And Hexagono Nero is bold, the black, white, and hints of gray, are all neutral tones that complement a wide range of countertop and cabinetry colors to complement your style.
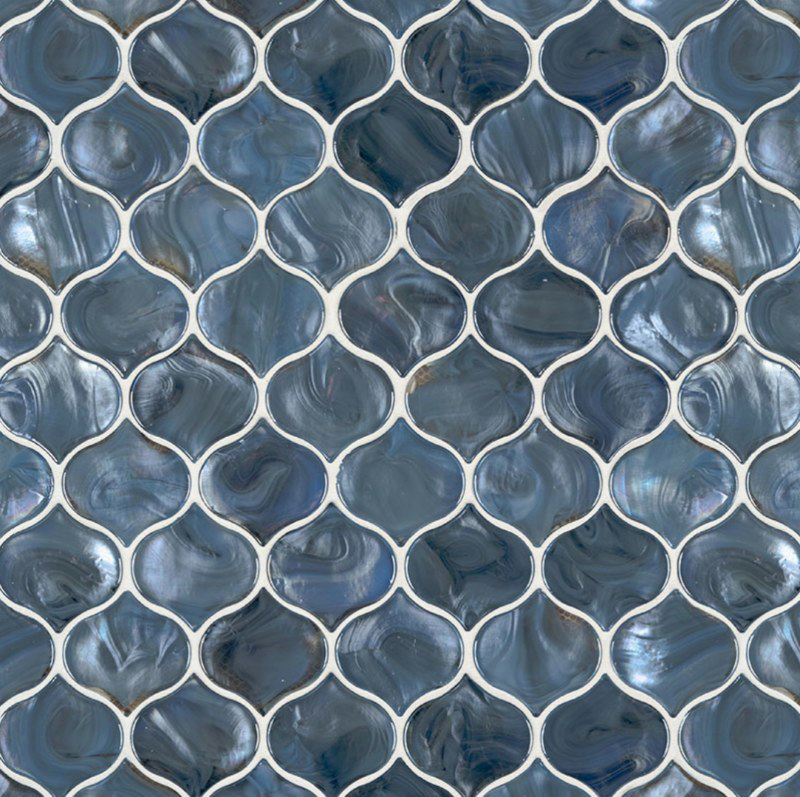
Let’s move away from neutrals and dive into this luscious and shimmery blue Arabesque tile. Glass backsplashes reflect light adds a touch of glam and our Blue Shimmer Arabesque is sure to create a showstopping accent wall in your kitchen or bathroom. This exquisite tile is ripe with pearlescent blue swirls reminiscent of a moody ocean or stormy sky that are accented by hints of steely grays and touches of bronze. Using blue in a kitchen is gaining in popularity as it visually cools a space while adding a healthy dose of sophistication.
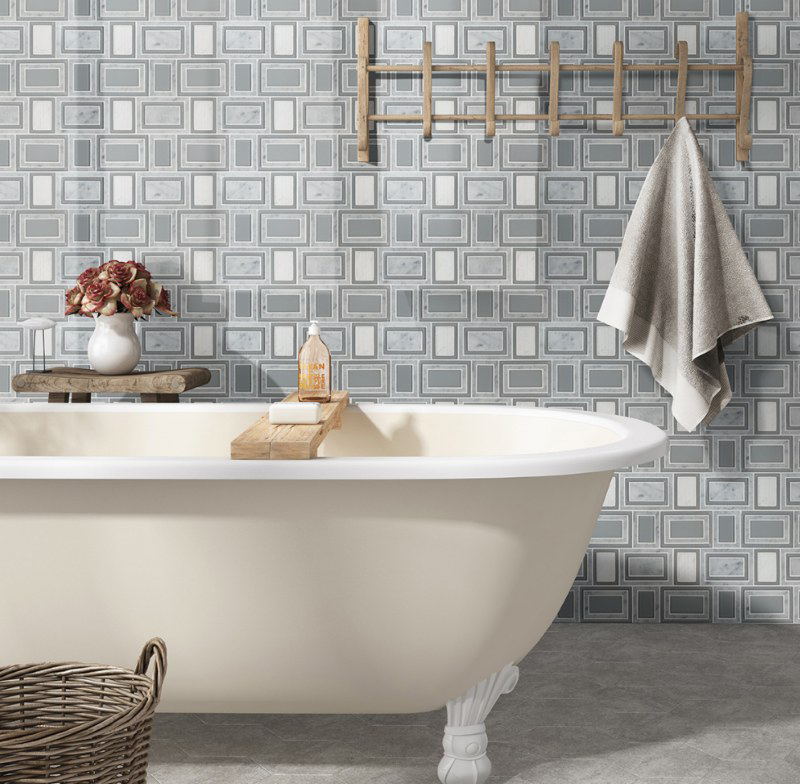
Geometry meets art in our Soho Stax tile crafted from glass and natural stone; this is a perfect blend of light-reflecting glass and natural marble combined in such a way as to create a modern look rooted in classical design. The white marble with the gray veins plays beautifully with the white and gray glass tiles—and the pattern is simply extraordinary. A pattern this bold could be too much for a traditional or transitional design, but the gray and white color pallet reins in the drama just enough to fit right in.
Backsplash designs today are available in virtually every color of the rainbow, in every material, and every shape and pattern allowing for creative installations in homes and businesses. Many of our specialty pattern tiles are rooted in a classic design with mid-century modern geometric looks gaining traction in design circles. Explore our collections of tile to find just the right shape, size, color, pattern, and texture to create the perfect accent wall or backsplash for your space.
READ MORE ABOUT MSI BACKSPLASH TILE
Pairing Granite Countertops With The Perfect Backsplash
Should You Align Backsplash Wall Tile Vertical Or Horizontal?
Standard Vs. Full Kitchen Backsplash: Which Is Right For You?
Striking New Marza Backsplash Tile Collection Offers One-Of-A-Kind Looks