How To Prep Your Subfloor For Wood Tile
October 26, 2018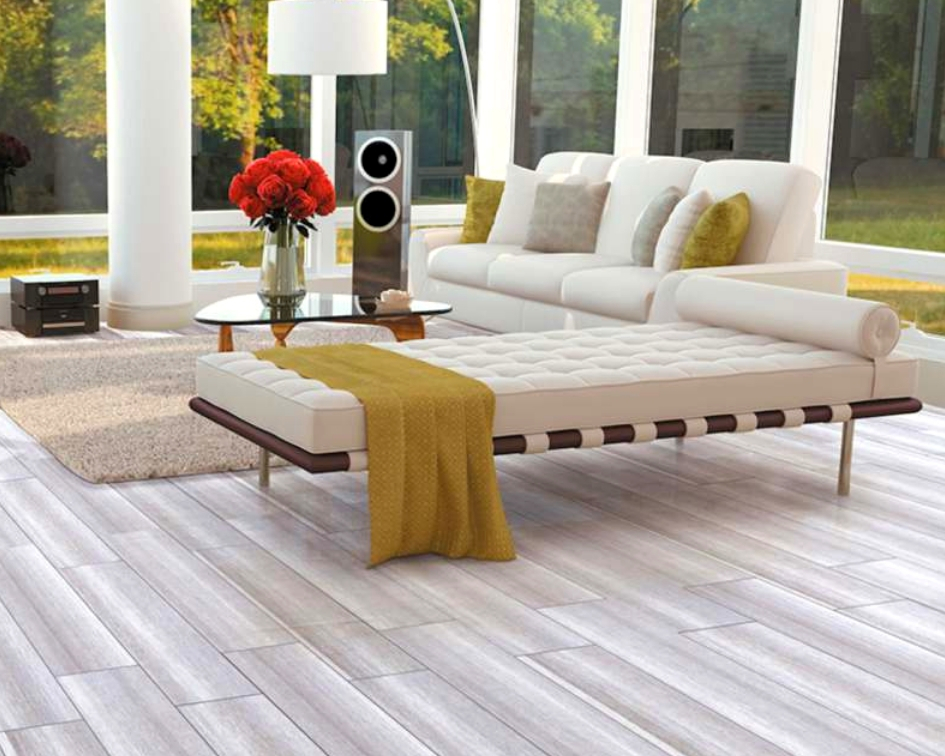
The wood-look tile trend is hot in design right now, and for good reason. Hardwood floors are beautiful, but they are generally not recommended for areas with moisture, like bathrooms, laundry rooms, or even kitchens. That’s why wood tile crafted from porcelain are an excellent option when you want to update your home.
After you’ve chosen the porcelain wood tile that best complements your personal style, it is time to prepare for installation. In addition to purchasing the right amount of tile and the proper grout, there is quite a bit of work involved in prepping the subfloor. This article provides you with the essential steps you need to undertake before laying tile on a wood subfloor. If you are laying tile on a concrete slab, there are other steps to take to prepare it, and they will be covered in another post.
Step 1: Determine the material of the subfloor.
It is important that the wood subfloor is not particle board—it will deteriorate when wet. The subfloor must be a wood material that won’t disintegrate when exposed to moisture; the thinset you use to lay the tile is wet and will harm particle board, putting your entire project in jeopardy.
Featured: Celeste Grayseas Wood Look Tile
Step 2: Determine if the subfloor is level.
A level base is also essential, particularly when installing plank tiles. Larger tiles like popular wood-look tiles are more prone to lippage (when one tile sticks up higher or lower than the one next to it), and are harder to level if you don’t start with a level base. Use a 6 ft level and sweep it over the floor, in all directions, to determine any valleys or dips. Mark them to be filled before laying your tile.
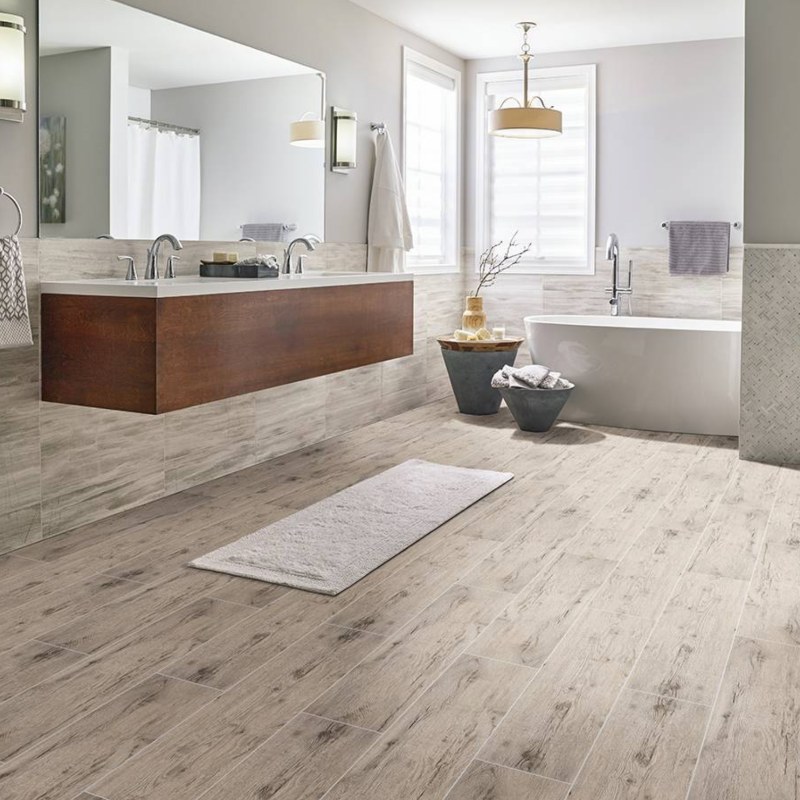
Featured: Grigia Caldera Porcelain Tile
Step 3: Fill any valleys and dips.
If your subfloor is not level, roll on a latex primer sealer over the subfloor prior to using a self-leveling underlayment. This provides a better surface for the self-leveling compound to adhere to. Mix the compound as directed by the manufacturer, and carefully pour it into the dips and valleys, then allowing it to dry for the recommended amount of time.
Step 4: Mix thinset for backerboard installation.
Once the subfloor is leveled, it is time to install the cement backerboard. This is a strong material that provides a solid surface to help prevent tiles from cracking. Cement backerboards are available in 3’x5’ and 4’x8’ sections—if it is your first time, using smaller sections may be easier.
Use a polymer-modified thinset to attach the backerboard to the subfloor. This gives strength and prevents movement. Mix only a small amount of the thinset at a time to prevent it from drying out while you are working. Also, be sure to wear safety googles and a mask when mixing.
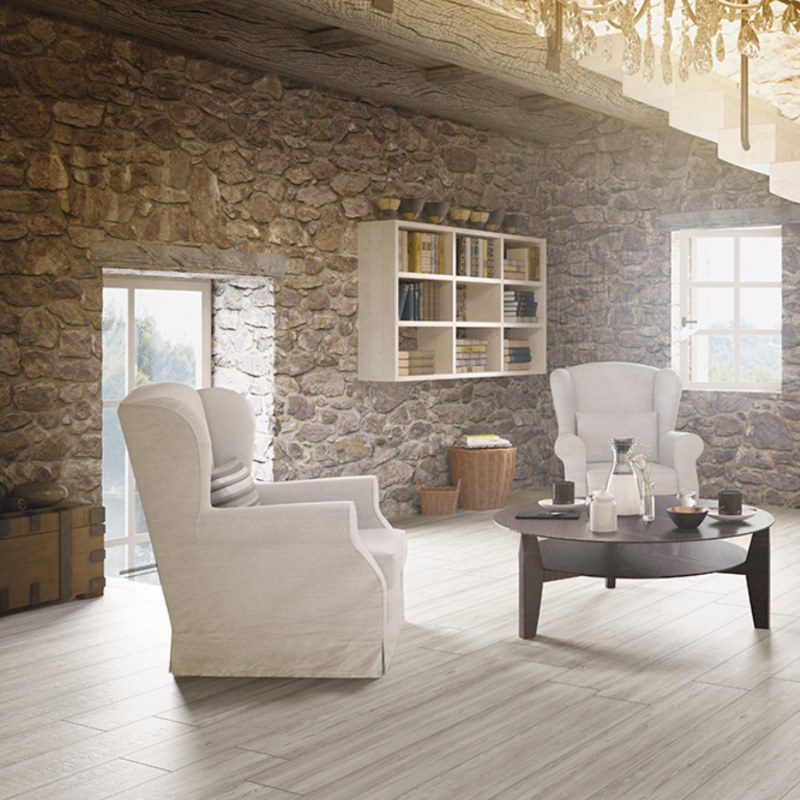
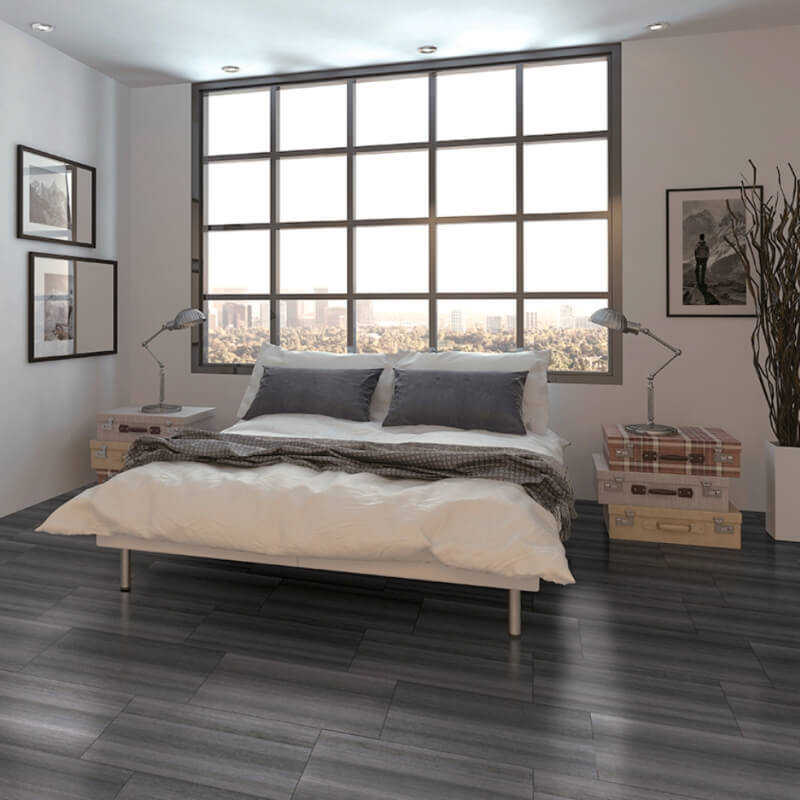
Featured: Dellano Moss Gray Wood Look Tile
Step 5: Trowel thinset and set backerboard.
Scoop and spread just enough of the thinset to cover an area slightly larger than the first piece of backerboard. Work quickly, and comb the thinset with the notched edge, and then press the backerboard into place. Keep a 1/4 gap at the edges to allow for expansion and contraction of the subfloor.
Step 6: Screw the backerboard into the subfloor.
It is important to screw down each piece of backerboard as you install it to ensure it doesn’t move. Once a piece is screwed into place, go back to step 5 again. Using the recommended size screws, affix every 8 inches. Some cement backerboard manufacturers mark where screws should be placed.
Stagger the cement backerboards so that the seams don’t align. This gives greater strength for the end product. It is also important that the backerboard seams don’t align with the wood subfloor. The screws must be flush with the top of the cement backerboard.
Important safety note: If you need to cut cement backerboard, DO NOT use a saw. The dust can be extremely hazardous when inhaled. Instead, measure, mark, score, and break the cement backerboard, and install as desired.
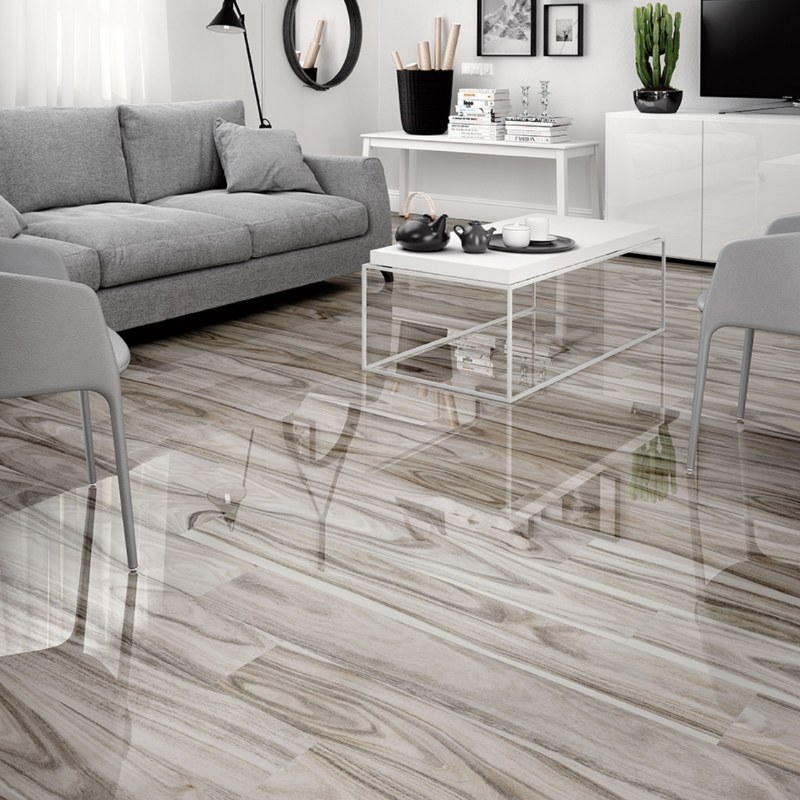
Featured: Turin Nero Wood Look Tile
Step 7: Reinforce the joints.
Use a self-adhesive alkali-resistant tape manufactured specifically for backerboards to seal the joints. Apply across each joint, and then cover with mortar. Keep the mortar as smooth and level as possible. Allow to dry fully, according to the manufacturer’s instructions. This may take a day or more, depending on the humidity in your home.
MORE WOOD LOOK TILE IDEAS
Tips From The Trade: Cost Of Wood Look Tile Vs. Hardwood Flooring
Where To Find Luxury Vinyl Tile Flooring That Looks Like Wood Flooring
Tips From The Trade: The Most Realistic Wood Look Tile Available Today
The Best Porcelain Tile That Looks Like Birch Wood
Wood Look Game Changers: Introducing-Everlife Luxury Vinyl Flooring