DIY TRAVERTINE PAVER INSTALLS YOU CAN DO THIS WEEKEND
May 03, 2019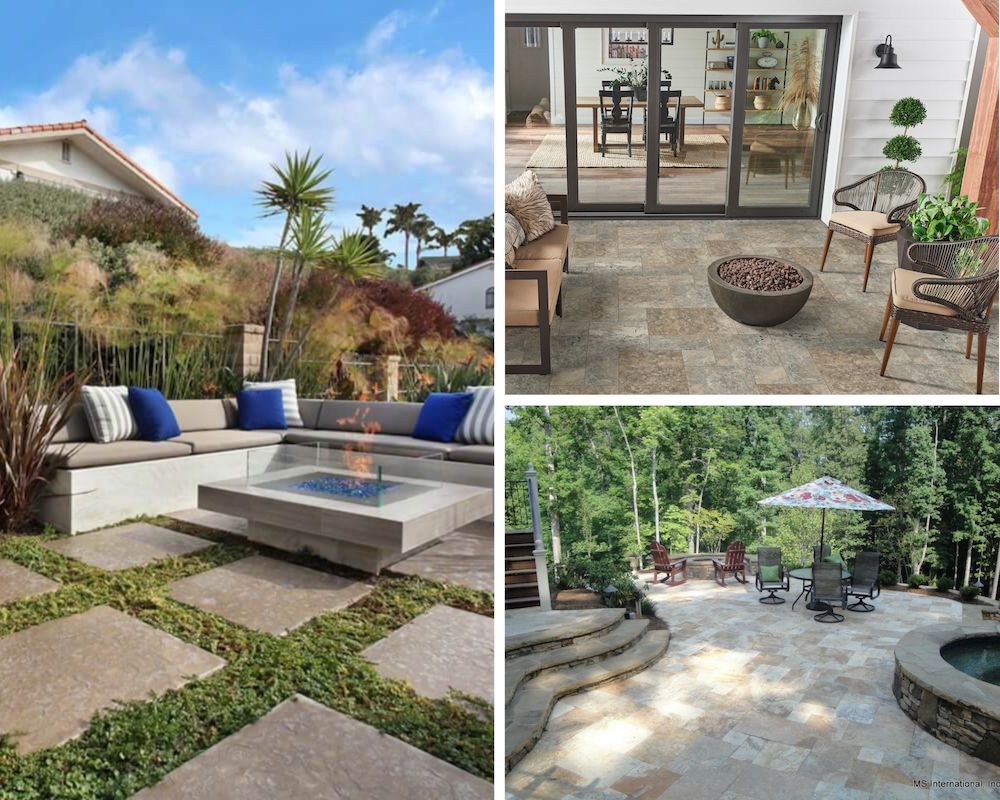
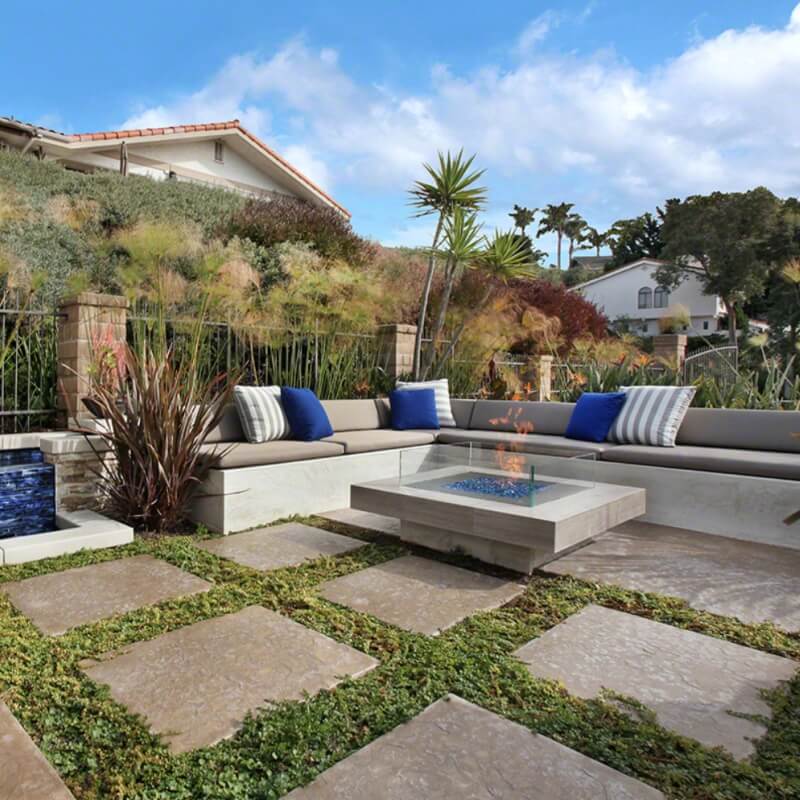
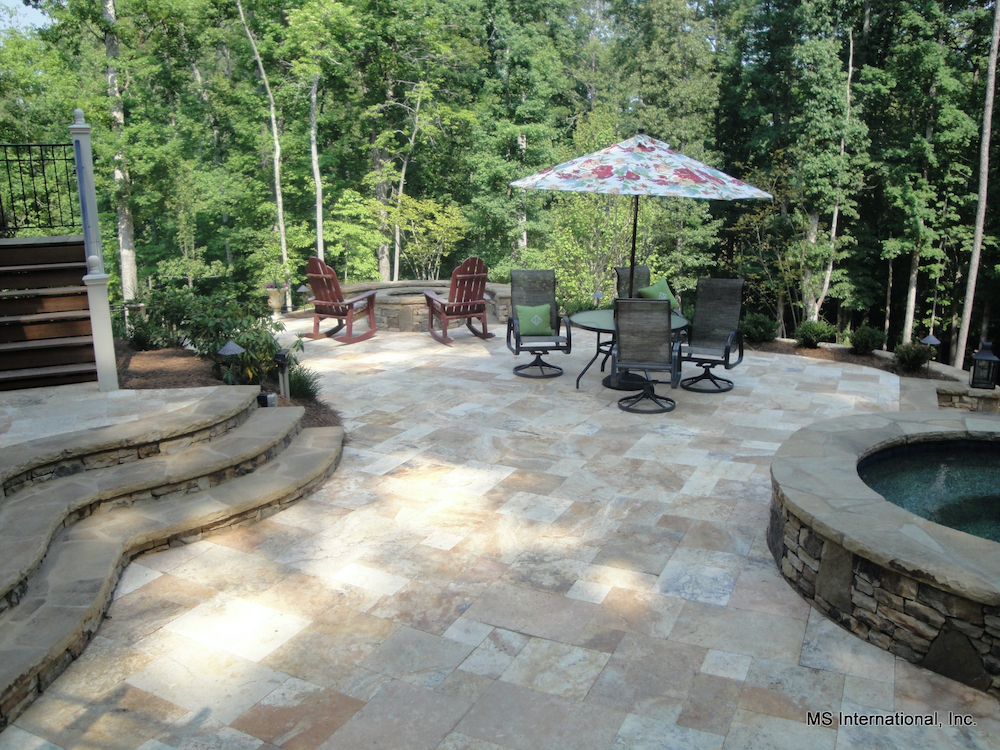
One of the easiest and most attractive ways you can update your outdoor space is with a travertine paver project, and tackling a patio or walkway installation this weekend is totally doable for DIY-ers! This natural stone material is extremely popular because it is an affordable option that also charmingly maintains its beauty over time.
Travertine pavers are excellent concrete alternatives since they enhance exteriors with its elegance, vibrancy, and durability. Unlike other stone, such as brick that can get too hot, travertine stays comfortable for bare feet because it absorbs the cool earth beneath it. Since this type of paver is freeze and thaw resistant, it is perfect for places that see drastic temperature fluctuations.
A patio is a great way to create an additional living space, and a walkway instantly ups the curb appeal. Both projects essentially follow the same installation methods but with a few differences. With this guide and a little planning, weekend warriors like you can transform your bland backyard into a spectacular space with one of these popular DIY travertine paver installs.
1. Plan First
Start planning by picking your paver pattern and style first. Whether you select simple patterns like Jack-on-Jack or running bond or more advanced ones like herringbone or pinwheel, remember that complicated designs may require more time, cuts and product.
For a patio, measure the length and width to ensure enough room for its intended use and space to walk around. Thicker pavers are better at handling heavier things like a large grill or hot tub. No matter if you plan for a straight path or a curved walkway, know that a 36-inch walkway is standard, but a 48-inch walkway more comfortably accommodates two people walking side-by-side.
Next, you will want to note a few things like the current grade, a clear path, and direct access for bringing materials to the patio space. Having a plan in place for where to put the excavated dirt will also make preparation easier.
 Featured: Tuscany Walnut
Then, figure out how much product you will need by visiting your local stone store. You can also utilize an online calculator to help determine how many travertine pavers and other materials are needed in addition to an estimated total cost. Having materials delivered is optimal since pavers and bags of sand are heavy, but having a pickup truck available also makes renting equipment possible.
2. Prepare the Foundation
Mark the layout of your patio or walkway using stakes and string. When the diagonal measurements are the same, you will know that the layout is square, and you can ensure a level string using a line level. For a curved walkway, use a hose to mark the bends, add a 2x4 to keep the width consistent, and cut the sod with a spade to show where you need to dig once the hoses are removed.
Both paver installs should always slope away from the house. A patio should have a one-inch drop for every four feet, while a walkway should follow a 1/4-inch drop for every foot.
Dig up the area with a shovel, rented sod cutter, or rented Bobcat. The total depth will vary depending on the four- to six-inch gravel base, one-inch sand layer, and thickness of the pavers. You want them to be at or above ground level, but if the entire space or a portion is above ground level, then you will likely need to add a wall around all or part of it. Digging approximately six inches past the strings allows for extra space for paver edging.
 Porcini Travertine
Next, use a hand tamper for small areas or a plate compactor for larger areas to compact the base. Finally, a layer of landscape fabric helps block weeds from popping up through the pavers.
3. Install the Base
A gravel paver base will provide proper support for your patio or walkway. The crusher run can vary from four to six inches, but it is best to add two-to-three inches of gravel at a time. Wet the area and tamp it down until you get a compacted layer. Continue until you reach the desired base thickness while also keeping the slope in mind.
 Silver Travertine
Then, place one-inch PVC pipes across the area or along the edge of the walkway. Add a one-inch layer of granite fines for a smooth, flat surface, but to achieve this, you will need to lay a 2x4 piece of wood on top of the pipes and drag it across the dumped sand so that you are left with a level, flat surface. After removing the PVC, fill in those gaps with sand and repeat the process to cover the entire area.
4. Install the Pavers
For a patio install, start laying pavers from a corner and continue working toward the middle leaving a 1/4-inch gap between the stone. For a walkway install, start laying pavers on the outer borders and continue filling in the rest leaving the same 1/4-inch gap between pavers. A 2x4 cut to the width of your walkway helps maintain a consistent width. Every so often, check that your travertine flooring is correctly aligned, and if not, adjust the sand beneath. Make the physical labor more comfortable with kneepads and work gloves.
 Featured: Silver Travertine
For both projects, install edging along the perimeter with spikes spaced every 12 inches. Make the needed cuts using a circular saw or a wet saw, but be sure to wear protective glasses, headphones, and a dust mask when cutting pavers.
5. Add Jointing Sand
Place paver jointing sand over the area, and use a push broom to sweep it well into the joints. Lastly, use a hand tamper or a plate compactor over the entire patio area to help the polymeric sand settle and to push the pavers into the base. Repeat if needed before removing excess sand with a leaf blower. Spray the patio or walkway area with a hose, and let the sand cure for approximately 24 hours. Last but not least, cut the excess weed barrier.
6. Finalize Finishing Touches
Before you can sit back and enjoy your DIY creation, wrap up your travertine tile project with some finishing touches. Adding furniture, plants, and other garden décor creates a cozy outdoor patio area, while landscape lighting and plants highlight a brand-new walkway.
For more detailed information on vinyl flooring, including installation costs for Luxury Vinyl Flooring, visit our website for our entire line of luxury vinyl planks.
Are you ready to get your DIY project started? First, find the perfect travertine paver by reviewing MSI’s expansive Pavers Collection, then find and visit an MSI Pavers Dealer in your area.