Insider Tips For Laying Plank Wood Look Tile Flooring
March 15, 2019
Durable and affordable, wood look tile comes in a wide range of colors and textures that mimic the appearance of real hardwood. It also complements any design style. Even though plank wood tile flooring follows a distinct install process, it still is a doable project for DIYers that will help save big on those labor costs. Follow these installation steps and insider tips to help you get the professional results that will have you floored for your new floor tile!
Planning for Install
Careful planning and preparation is key to any successful install. Before you begin, create an installation plan where you can leave the room without walking on the substrate or tile during the time the mortar needs to cure. Carefully follow all manufacturer instructions for things like curing, sealing, and cleaning.
Readying the Room
Laying tile will take a few days to complete, so plan around using that room for the time being. For kitchens, you will need to remove appliances like your dishwasher, refrigerator, or range. New tile may raise appliances and also affect the toe kicks, so check the height of those areas. Next, remove any base moldings.
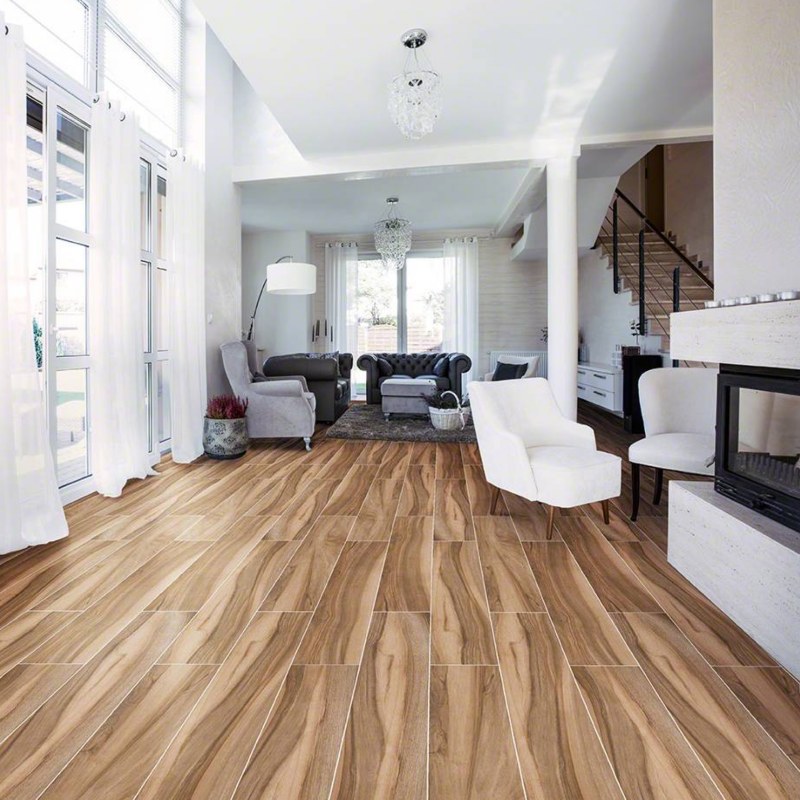 Featured: Aspenwood Cafe
Prepping the Subfloor
The subfloor is the foundation for your porcelain tile and one of the most important steps. Start with a sturdy base by ensuring the wood subfloor is tightly secured to the floor joists. Plywood with a 5/8-inch thickness should be enough for floor joists with 16-inch spaces between them. If you find that it is not thick enough, then you can add an additional layer of plywood or OSB.
A flat and level subfloor will help keep the wood tile planks from cracking due to lippage, which means that there is a vertical displacement between the edges and the adjoining tiles. While a perfectly level floor is nearly impossible, having less than a 1/8-inch deviation is ideal. When checking that the floor is level, be sure to use a large leveler or stretch chalk lines across the subfloor to identify any high or low spots. To get a flat surface, sand down the high spots and apply a leveling compound on the low spots. Finally, make sure that the subfloor is completely clean by vacuuming, mopping, and drying it.
Installing the Substrate
There are two types of substrates to use: a cement backerboard or a waterproof uncoupling membrane, which is ideal for water-prone areas like kitchens and bathrooms. When mixing mortar, it is extremely important to wear a mask because the inhalation of dust during mixing is very toxic. Add the powder to the water instead of pouring water into the powder to help reduce air-born cement particles when mixing. Next, use the flat side of the trowel to spread the mortar on the subfloor. Place the substrate on top and press it into the mortar using a float. Mark any floor registers to be cut later. For water-prone areas, it is a good idea to waterproof the seams. You can do this by spreading unmodified thinset mortar across the seams and pressing a waterproof band on top of the mortar. Cut out any floor registers and allow the thinset to cure.
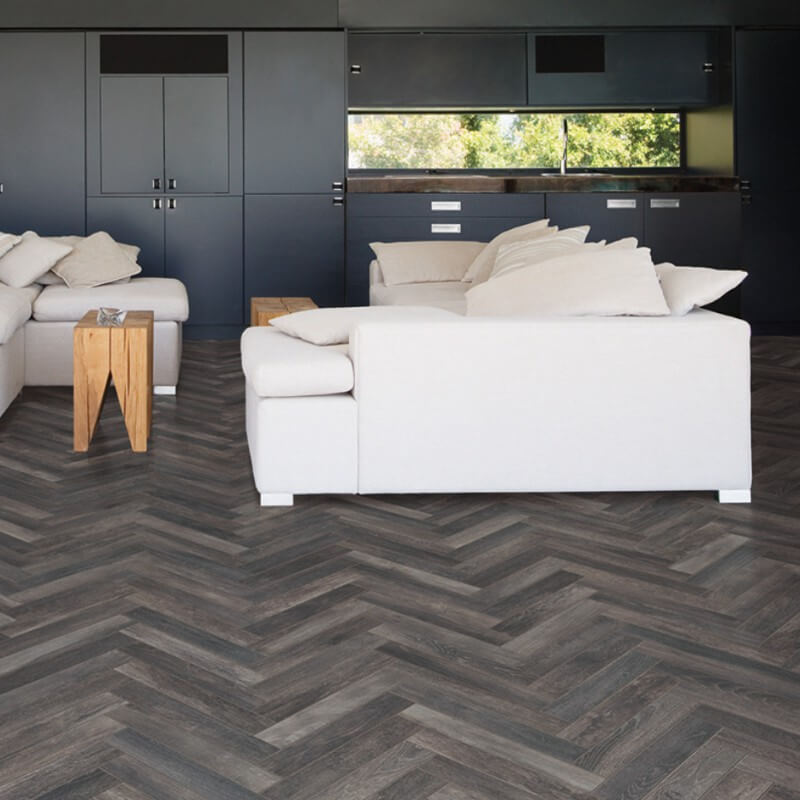 Featured: Bruno Upscape
Laying the Plank Wood Tile
Mark the center of two opposing walls or cabinets and snap a chalk line across the floor. Do the same thing on the other opposing walls or cabinets in order to get a cross point that should be square. Then, measure from the center point to the starting wall, and subtract the 1/4-inch expansion gap as well as the width of two tiles and spacers. Mark the distance at the two ends before snapping another chalk line on the floor to get your starting line.
Test your layout by doing a dry run with the porcelain wood tile and spacers to avoid narrow tiles around the perimeter. If this happens, then adjust and re-snap your starting line. This is also the perfect time to pay attention to the pattern of your wood look tile. Each box will have slight variation in color and tile patterns, so mix up tiles from different boxes to avoid sections looking the same.
Using the straightedge with something heavy on top will help keep your tile aligned. Mix thinset to have a peanut butter-like consistency and spread some mortar in a small area. Spread additional thinset with the notched side of a trowel held at a 45-degree angle. Back butter a piece of tile by adding a little mortar on the underside before placing it along the straightedge and pressing it into the mortar. Use 1/8-inch spacers between tiles, and check often that the porcelain is even and level.
 Featured: Country River Mist
Lippage makes a floor install look sloppy, can cause the tile to crack when something hits the lip, or become a trip hazard. Offsetting the tile by one-third helps to avoid lippage. Lay a couple rows before installing the row against the starting wall. Then, continue installing a couple rows at a time. Once the mortar has cured, which is typically 24 hours, apply a tile sealer.
Applying Grout
Getting the grout right is imperative. To mimic real hardwood, match the grout color with the tile color. Lines that are 1/16-inch or more will help minimize any slight lippage. Mix the grout to a paste-like consistency. Use a rubber float to press the grout into the joints and pull it diagonally across the joints to remove any excess. Do not fill the expansion gaps on the wall. Wait approximately 20 minutes to wipe the grout with a clean, wet sponge. Make sure that no one walks on the floor for at least 24 hours. Once the grout is dry, remove the spacers from the expansion gap along the wall and apply a silicone sealant around the perimeter. To help prevent stains, apply a grout sealer.
Finishing Touches
To finish off the look of your new plank wood look tile, reinstall the molding. Put back any appliances, furniture, and other items that were removed before the installation.
For more detailed information on vinyl flooring, including installation costs for Luxury Vinyl Flooring, visit our website for our entire line of luxury vinyl planks.
Are you ready to get your DIY project started? First, find your wood look tile by reviewing MSI’s expansive Wood Look Tile Collection, then find and visit an MSI Flooring Dealer in your area.
READ MORE ABOUT WOOD LOOK TILE:
Country River Collection: Naturally Elegant Wood Look Porcelain Tile
Signature Wood Look Luxury Vinyl Flooring Without the Worry