The Best Way To Grout Your Wall Tile
February 19, 2019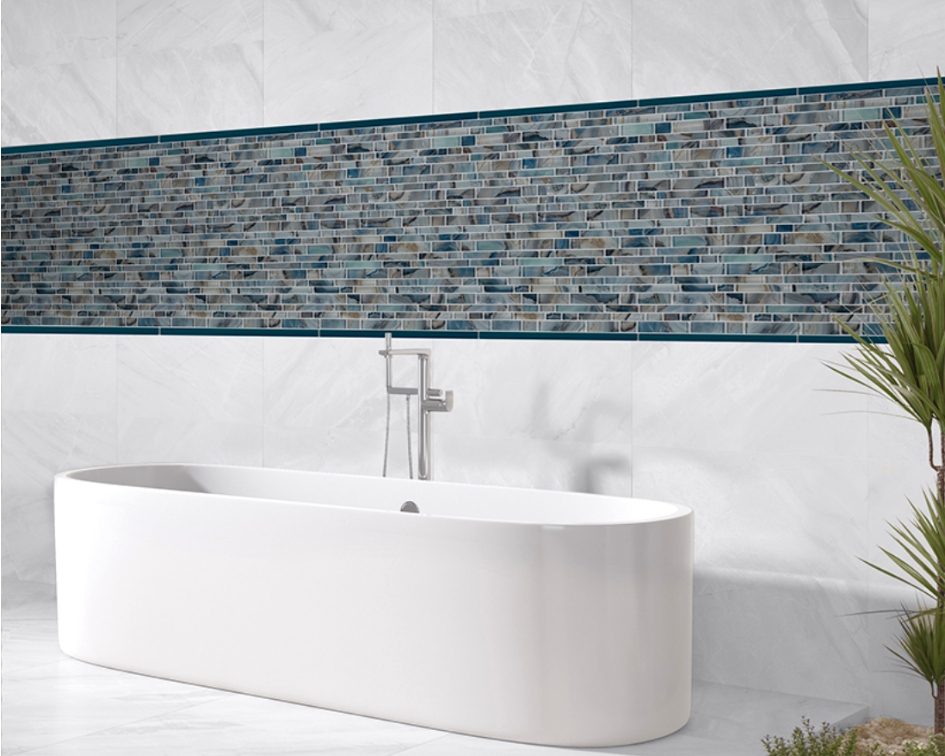
When it comes to wall tile and backsplash designs, there’s a lot to think about in terms of color, pattern, and shape. In fact, specific questions about tiles can dominate the conversation around backsplash as a whole: Should I go with ceramic or glass—a neutral or colorful hue—hex or penny round in terms of shape?
But determining the right grout in between your tile and installing it properly is also an important topic and is often overlooked. There are specific choices to make when it comes to determining the right grout for your wall.
There’s the cement versus epoxy question, for example; cement-based grout is technically the cheapest form and most commonly used, not to mention widely available. Epoxy grout is more expensive and generally more difficult to install. However, epoxy grout is ultimately more durable and provides greater resistance to stains and water damage—not to mention harmful chemicals found in cleaning products.
Then, of course, there’s the question of “sanded or unsanded” grout. Naturally, sanded grout provides greater resistance to shrinking and cracking; sanded grout, on the whole, should be incorporated if the spaces between the tiles are greater than 1/8 inch.
 Featured: Georama Nero Polished
Choosing the right color of your grout is also vital, as it can alter the ambiance of the room altogether. There are basically three routes you can go when it comes to determining optimal grout color: matching, contrasting and neutral. Matching is when you link the grout color and the tile with the same color, ultimately making the tile more pronounced. This is recommended with pop-out tile colors and expensive tiles, as you want them to stand out!
Contrasting grout allows you to reign-in attention to the layout of the tile, as well as its pattern. Many experts believe this to be the best choice when it comes to geometric patterns. Others may have sharp opinions, though, when it comes to contrast, especially when it pertains to darker grout juxtaposed with white tiles. (Some may think the grout looks dirty.) Then, of course, going the neutral route is common, where some think you get the best of both worlds.
In terms of darker versus lighter shades of grout—well, they both have their plusses and minuses. Lighter grout can give off an immaculately clean vibe when maintained; however, lighter grout can also dirty more visibly than darker grout, which hides dirt and stains, but more likely to fade from harsh cleaners.
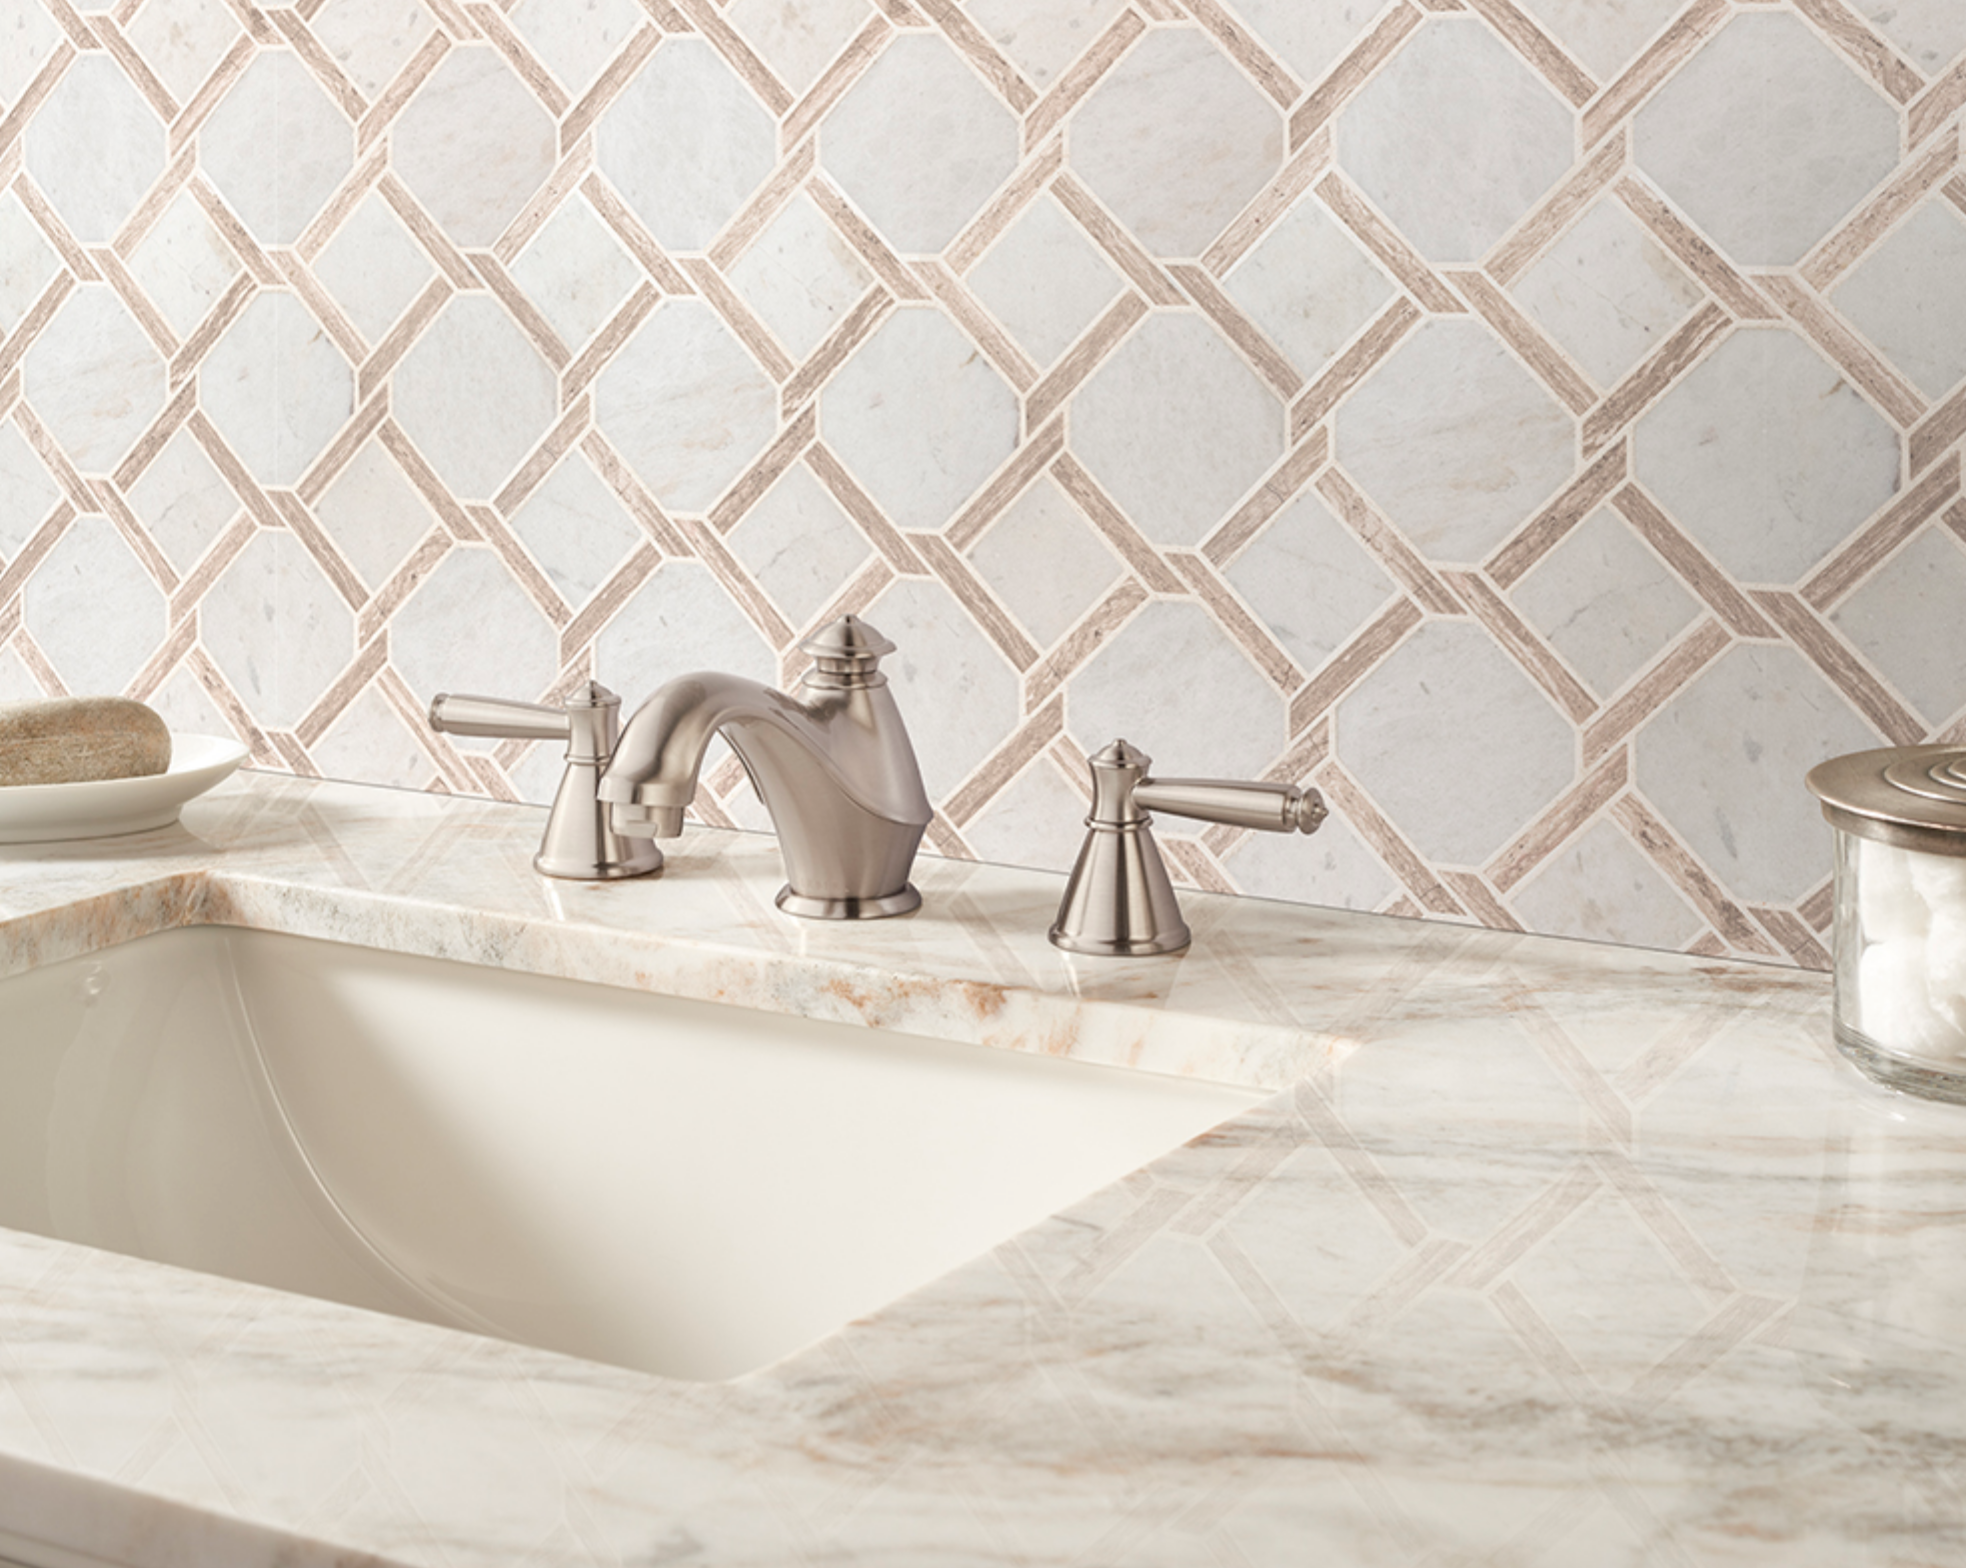 Featured: Marbella Lynx
All of these factors must be considered during this process, which then brings you to the main topic of this article. Yep, you guessed it—determining the best way to grout your wall.
When you begin the grouting process, you want to first and foremost begin with clean joints. This may mean you have to vacuum the grout lines, then scrape any that protrudes, thus, vacuuming again. Be careful not to scrape too hard, as you won’t want to chip the tile.
Second, you want to mix the grout by hand so that it’s completely powder-free. Feel free to roll the bucket frequently as you mix so make sure it all combines properly. Are you up for a pro tip? Try adding the powder to water instead of water to powder to avoid a plume of dust. This way, it’s easier on the grout as a whole—not to mention easier on you, who’s doing all the work! Also, you want to use purified water, if possible, as water heavy with minerals, such as well water, will cause a haze to form on the tile.
Using a grout float, you want to scoop the gooey substance onto the flat float surface, applying it to the tiled wall. You want to smear the grout deeply and diagonally across the tiles so that the substance isn’t sucked back out as your float slides along. Pro tip: You want to cover everything in your tiled room with plastic so it doesn’t get grout or residue on it—including sinks, toilets, showers and tubs and other tables and chairs. And speaking of the sink—it’s important not to put any of this stuff down there, as it can clog it and cause overflow issues. Instead, you want to pour any water from the job and leftover grout outside or safely concealed a plastic bag.
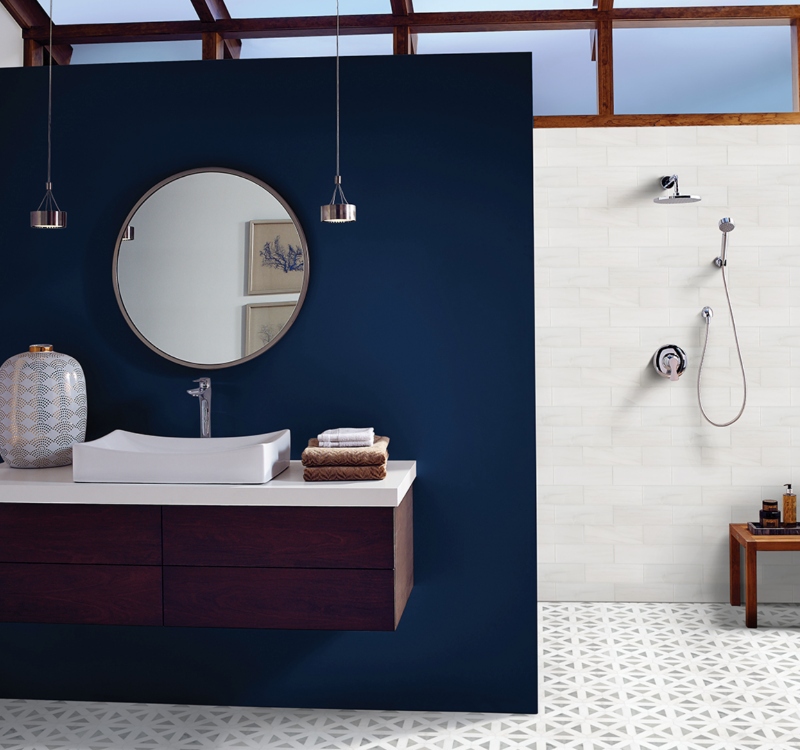 Featured: Bianco Dolomite Subway Tile 4x12 Polished
You want to wipe the bulk of the grout off in a serpentine motion, which helps it evenly distributed, preventing the grout float edge from digging into the actual lines. Once it’s been applied evenly, you can then sponge off the surface. Ready for another pro tip? You want to use a damp sponge, not a wet one, and work diagonally across the tile. You also want to rinse the sponge often and repeat until you’re left with a very thin hazy level of grout remaining on the tiles.
Once the grout film has completely dried, you want to polish away the remaining residue with a cotton towel. Another pro tip: A microfiber towel will actually do a better job of removing the residue if you have one handy. Your next step after cleaning will be then to caulk inside corners, where it’s important not to overfill the void, as that will just make it more difficult to later clean.
Grouting is a process that requires careful attention, not to mention a variety of important tips and tricks to make what’s in between your gorgeous tiles it's very best. Deciding your type of grout and color is your first step; the second, making sure the application is seamless, so you walk away with a truly gorgeous wall tile.
And to close out, how about one more pro tip? Hang onto a small quantity of unused grout in a Ziploc bag for future use. You never know when a touch-up will be needed, and instead of having to match the type and color, you can have some on-hand. If you don’t have a Ziploc nearby, a re-sealable plastic bag or canning jar will also do just fine!