4 Easy Ways To Finish Tile Edges Like A Pro
How to Finish Tile Edges: 5 Methods With and Without Trim
So what is the right approach on how to finish tile edges? Here are five tried and true methods: rail molding (either bullnose or pencil trim), metal edge profiles, caulk, bespoke bullnose grinding and mitered edges or tile returns. What to place on the margins of tiles depends on your tile type, the surface being tiled and whether matching trim is available. If you don't have a bullnose tile to match, caulk, mitered edges, and tile returns all give you a crisp, clean finish without the need for separate trim pieces – and each is described below, along with tile edge finishing alternatives for every room.
It is a blast to shop for tiles for a lovely space. There’s no shortage of natural stone, mosaics, glass and porcelain tile on the market nowadays. Premium tiles in nearly every size and style and every color of the rainbow may turn a ho-hum space into a show-stopper.
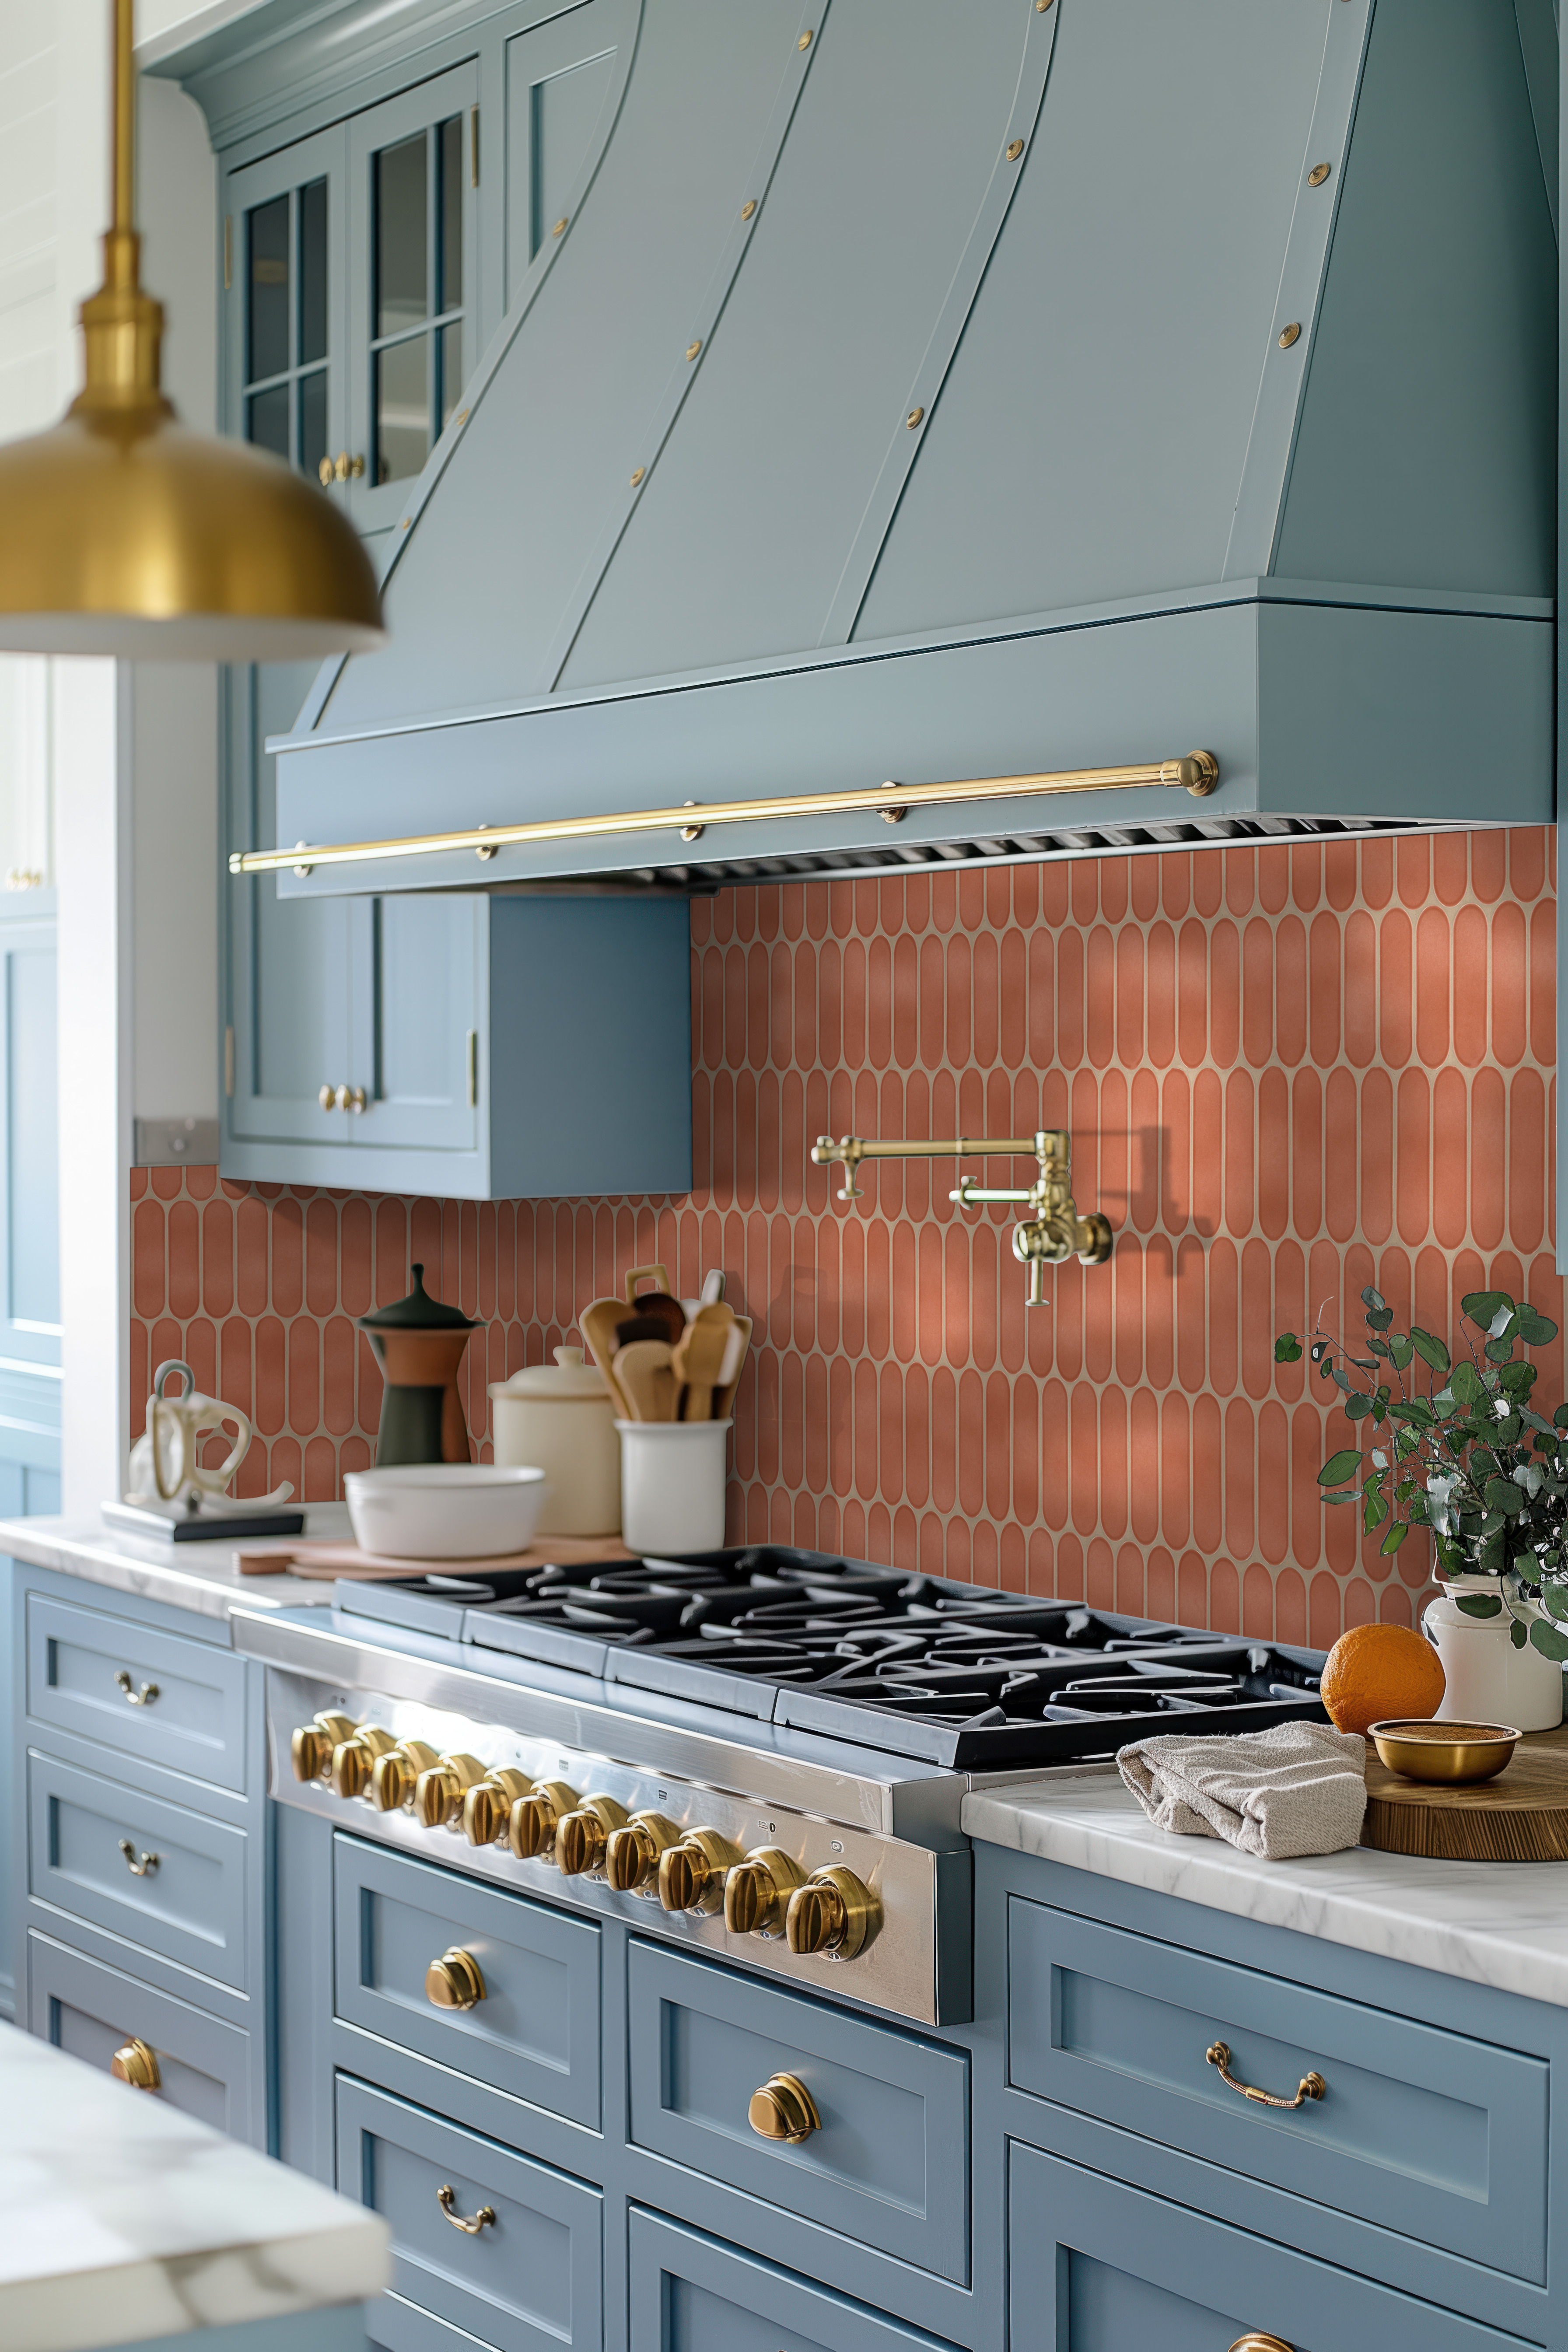
One of the issues many homeowners confront is how to finish tile edges along walls and floors – how to finish tile where it meets the wall, a doorway or another surface — to ensure correct installation and a beautiful finished product. Many tile lines offer bullnose pieces to coordinate with different tile sizes. But some of the newer products, especially the popular porcelain wood-grain looks, create true porcelain tile edge finishing concerns as they don't have bullnose tiles available yet. But don’t let it put you off choosing it. Tile edge trim and trim-free options are both available.
There are many ways to finish off the edges of tiles to make the transition to a wall, ceiling or other surface seem clean and polished, with or without trim. If you are trying to figure out how to finish herringbone tile edges, how to finish subway tile edges or something completely else, here are 5 tile finishing edge ways to finish tile edges like an expert.
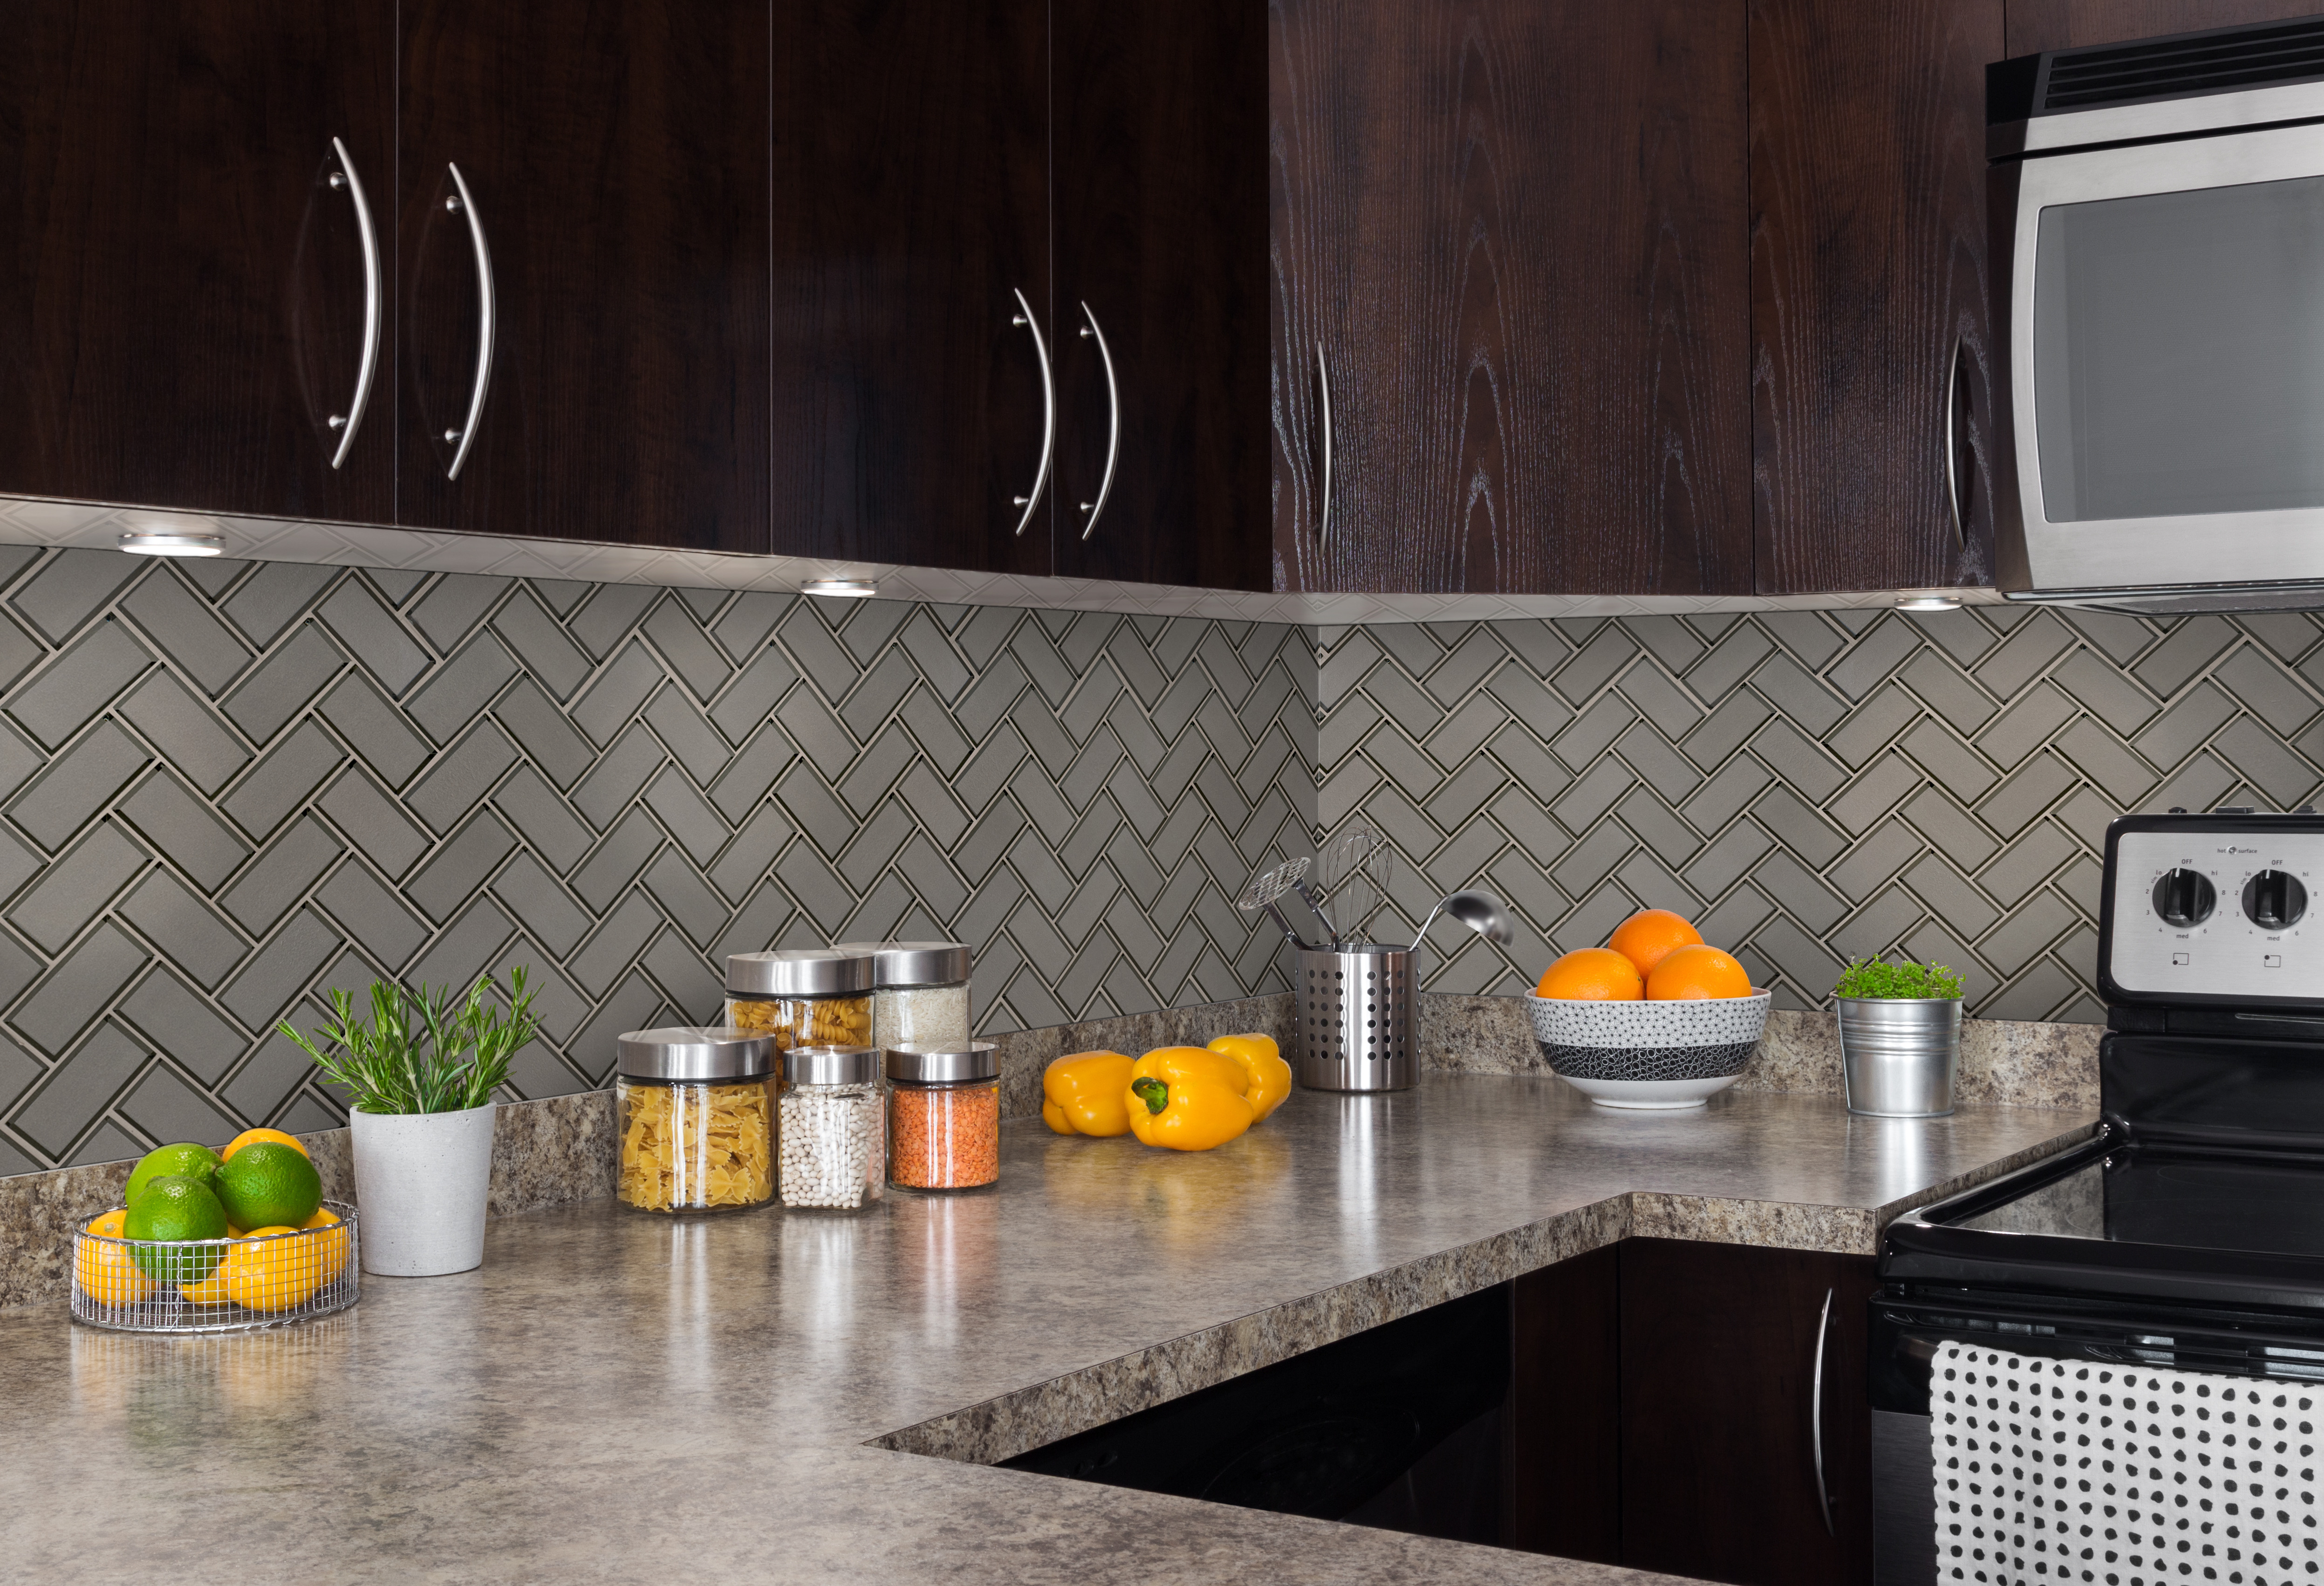
Champagne Bevel Herringbone 8mm
5 Ways to Finish Tile Edges
Method 1 — Seal the Edge With Caulk
Wondering how to finish tile edges with caulk? This is the easiest and most economical method. This technique is more suitable for tumbling stone, edges of mosaics, geometric designs and some porcelain tiles. Look at the tiles from the side. Are they raw or finished? Once installed and grouted, if it seems finished you may want to run a thin bead of caulking along the edge for a clean, water-tight seal. However, if the edges are raw, we would consider one of the alternative solutions below.
To have the smoothest effect, choose color matching grout – choose a caulk color that matches your grout, as most major grout brands have matching caulk colors created for this very purpose. (And if you’re wondering how to finish tile edges with grout and not caulk: grout is stiff and it isn’t meant to accommodate movement joints, which is why caulk is the more forgiving choice at transitions.) Caulk is the best no-trim option for tile meeting painted drywall, cabinetry, or countertops, especially at kitchen backsplash edge transitions.
Tile type note: Caulk works best on edges of glass tile, tumbling stone, mosaic sheets and matte-finish ceramic. If you are particularly asking how to finish a raw tile edge, this is not suggested for a raw tile edge or any exposed tile edge with visible cut lines or where the surface would be coming into frequent physical contact. Because caulk remains flexible (unlike grout), apply caulk at any tile-to-material transition connection. A good color match on caulk will absorb small movement rather than crack over time.
Method 2 — Rail Moldings (Bullnose and Pencil Trim)
Coordinating tile moldings are a classic style of tile edge trim, and natural stone and porcelain are generally readily available. These are thin and beautiful moldings that do a nice job of transitioning between different types of tile, or from tile to drywall. They make a very clean tie-in that finishes the project off well. If the tile you chose doesn’t come with moldings, you can find one that is similar or one that contrasts to add a little extra pizazz to the space.
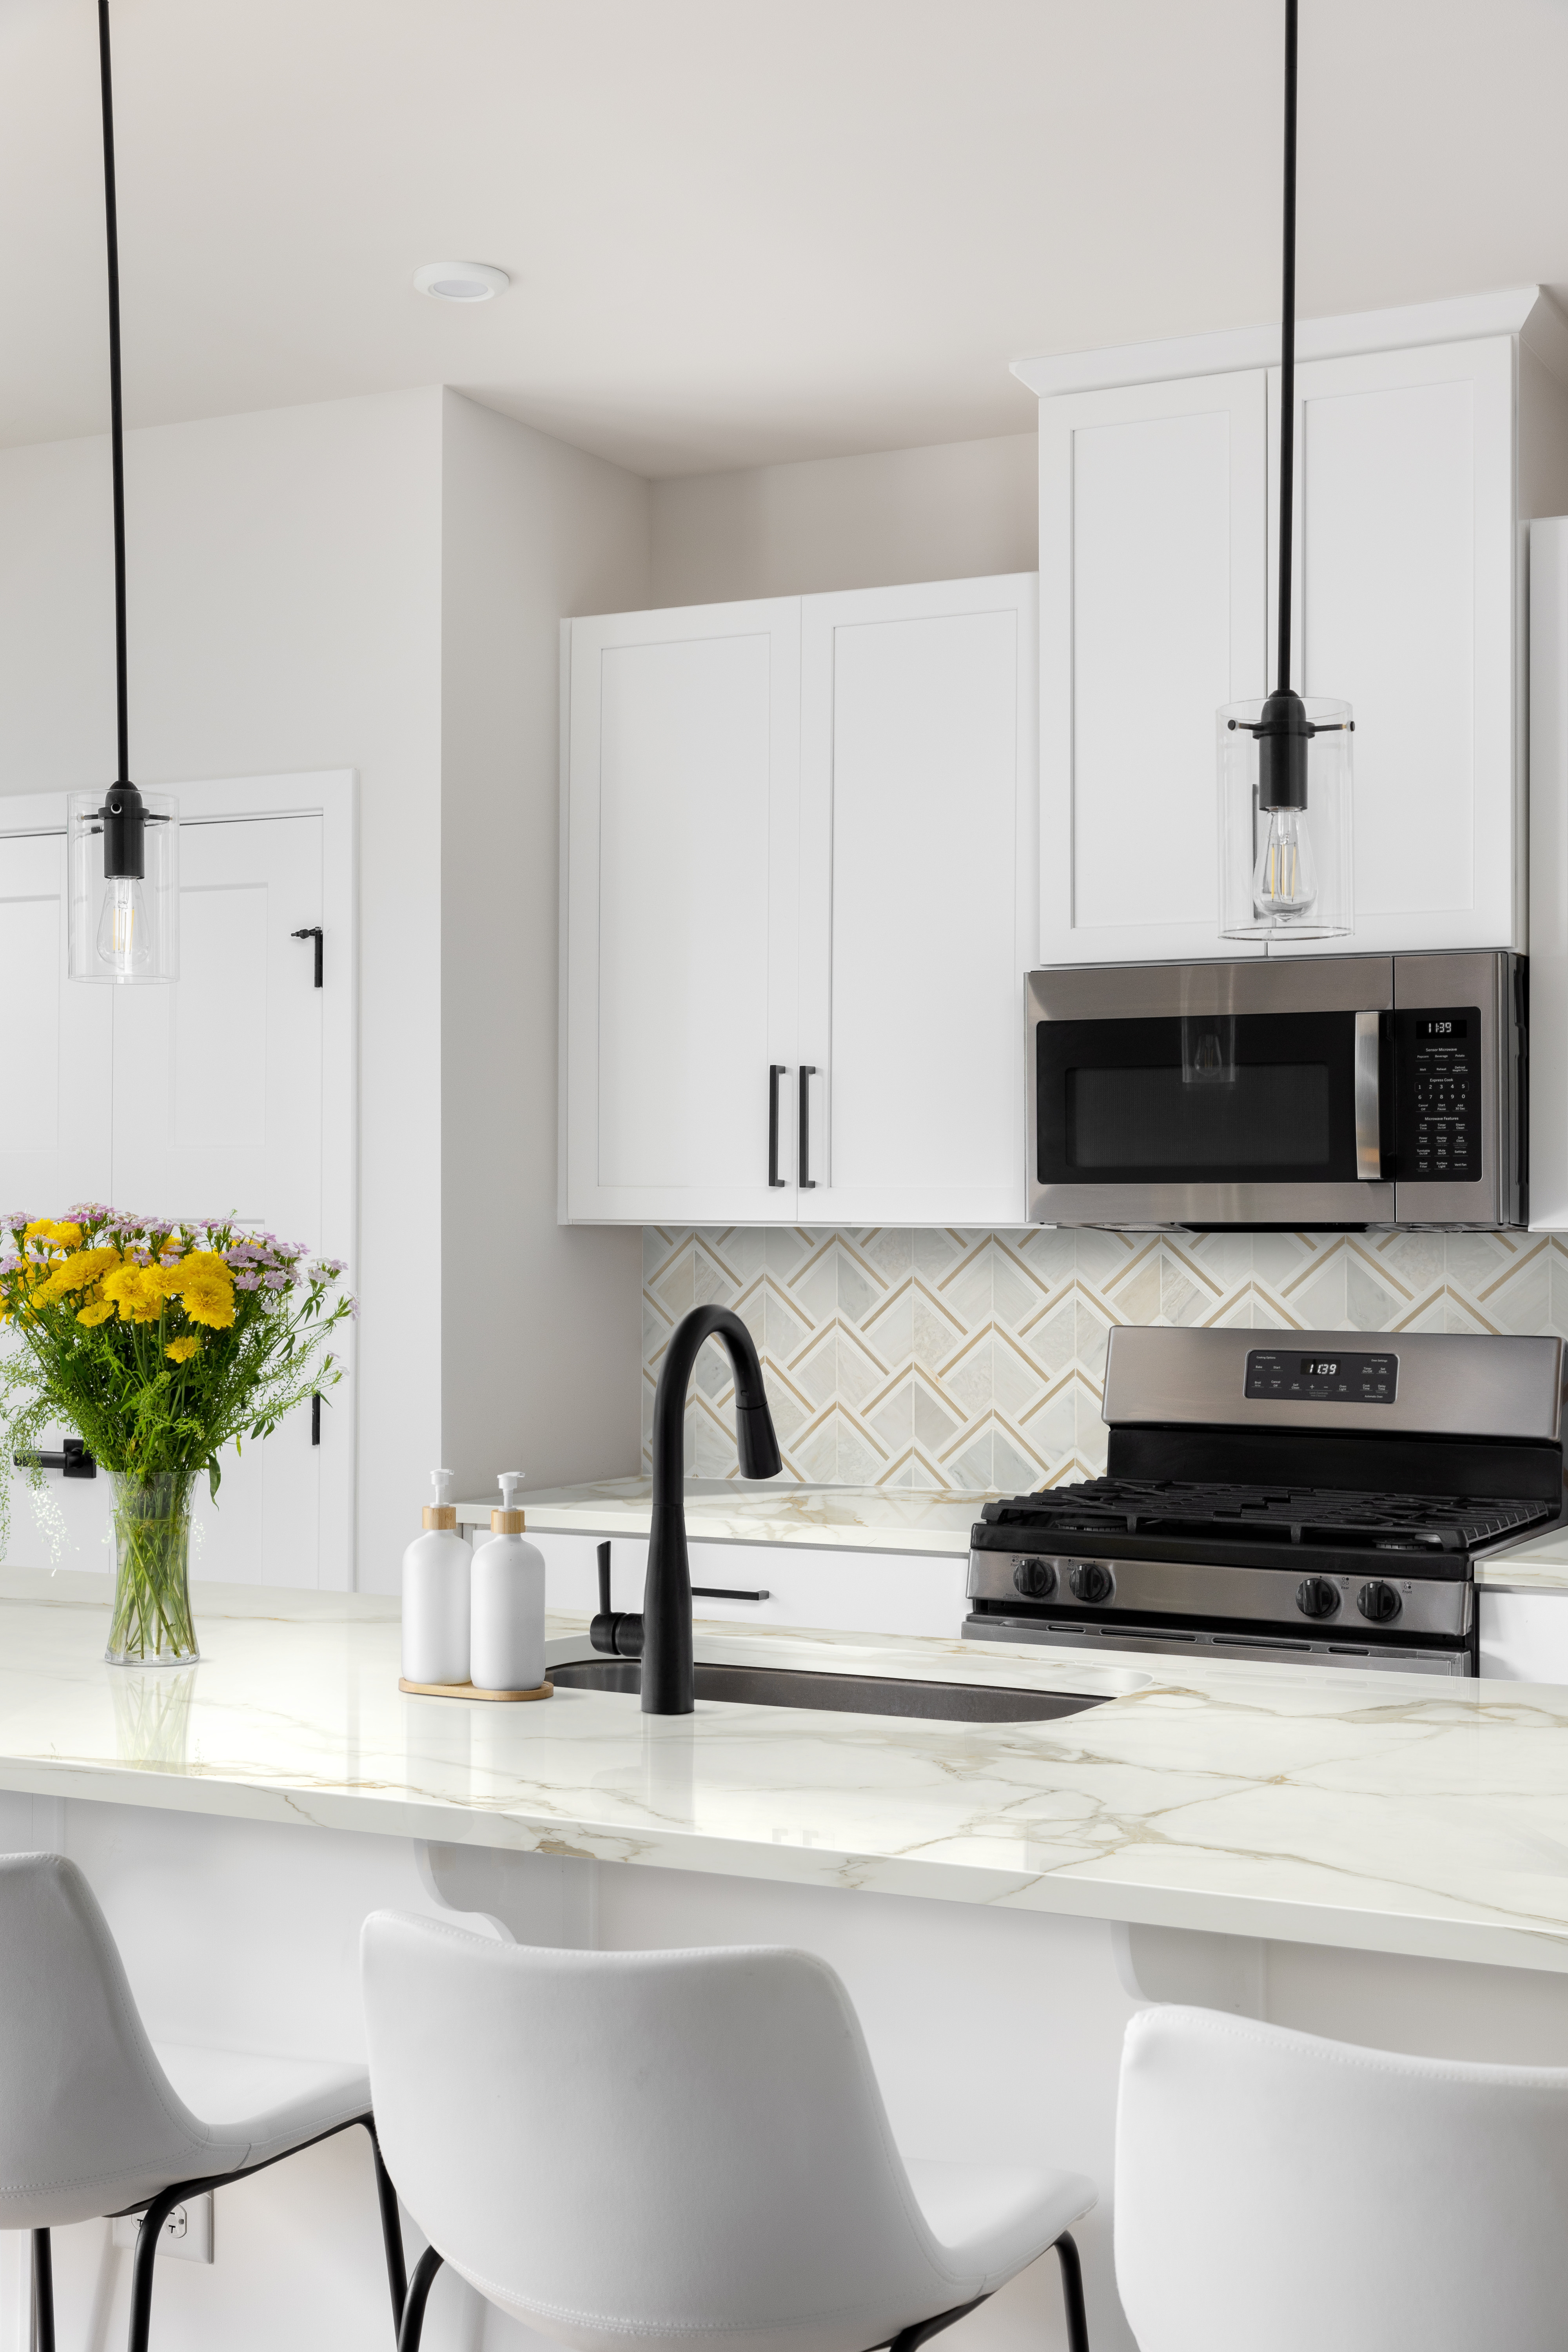
There are two basic kinds of rail moldings. Bullnose is a rounded edge, the default choice for wall tops and a neat wainscoting edge. A pencil trim tile is a skinny ornamental tile that is often used as a border accent for backsplashes. They are installed just like conventional field tile, set with thinset mortar, using the same grout and tools as the rest of the project, making this one of the easiest tile installation trim choices for DIYers.
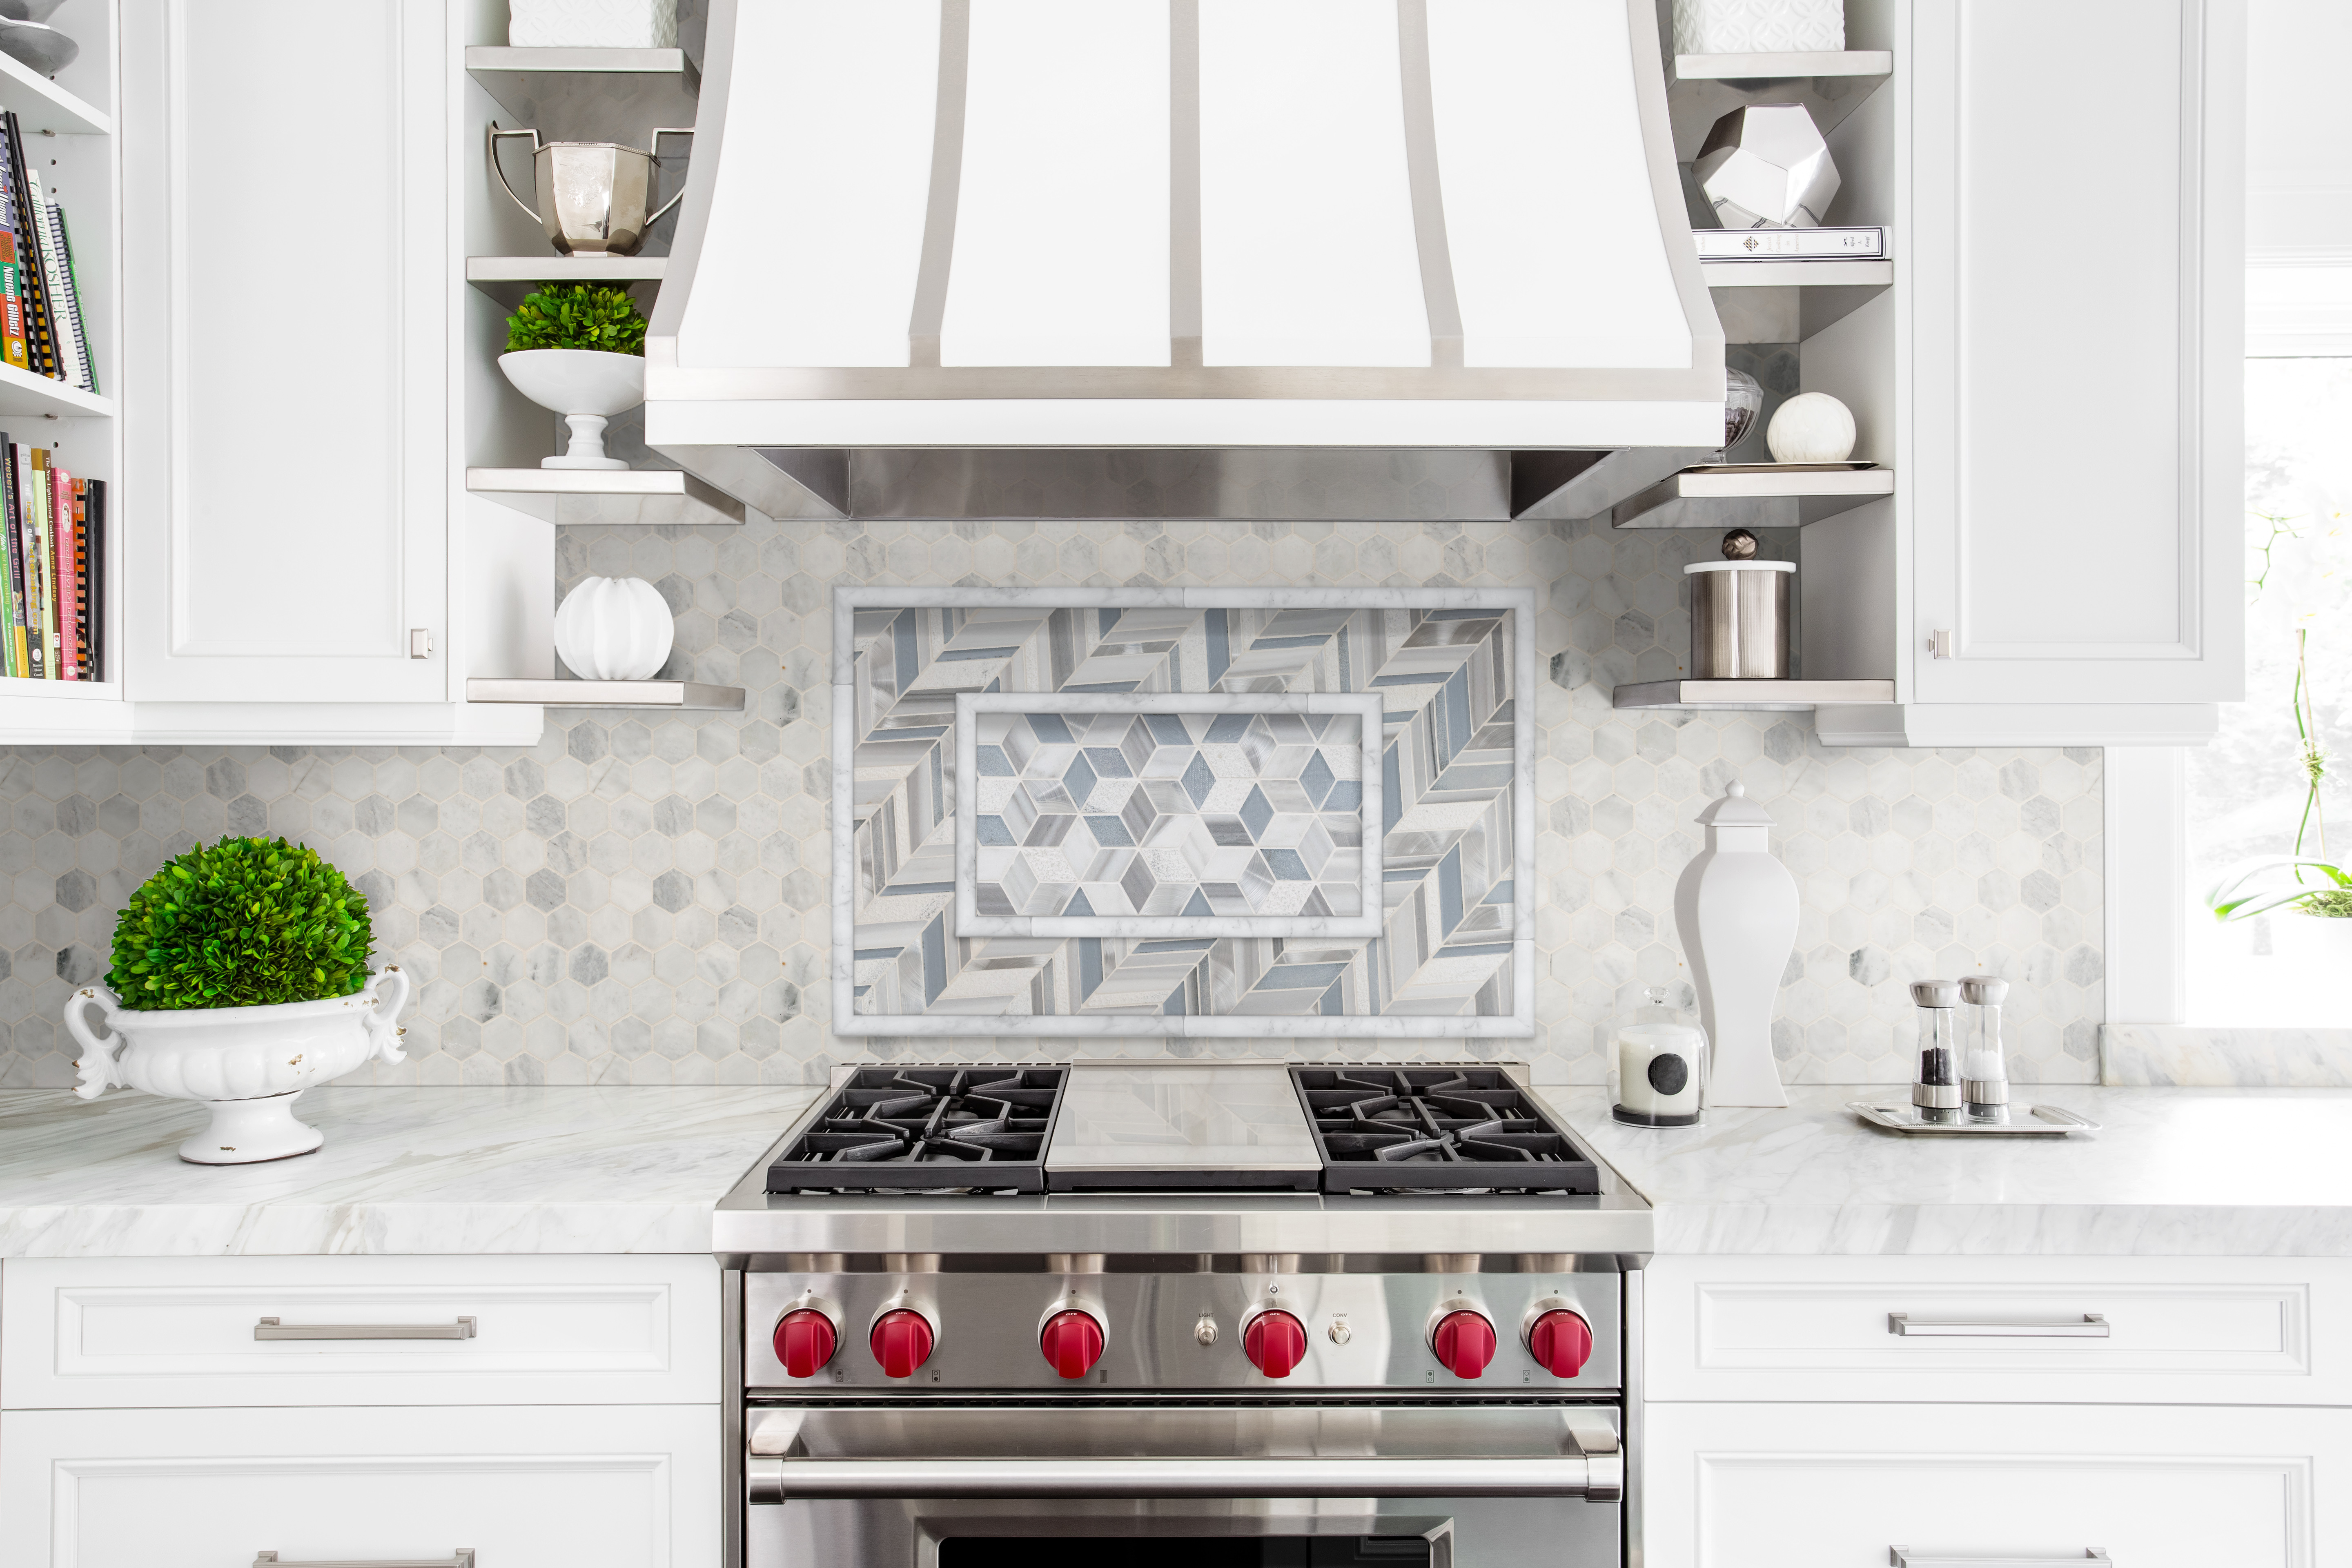
If you’re working on how to end tile countertop edges, rail moldings are good for that, as well as shower wall tops, wainscot caps and backsplash perimeters, then you’re on the right track. They work with most ceramic, porcelain and natural stone tile lines – consider natural stone pencil molding or check out MSI’s tile trim collection for matching possibilities.
Method 3 — Metal Edge Profiles
Metal edges come in many different forms and finishes. They may be used indoors and outdoors and are the perfect solution for how to finish tile edges in shower areas, on stairs, floors and accent walls where a clean, contemporary transition to another surface is desired. Metal edges are getting increasingly popular as a tile material and make a really lovely effect. Homeowners will sometimes choose a metal hue to correspond with a sink faucet or showerhead — polished chrome fittings with polished chrome edges provide a uniform, sophisticated look.
They are also termed Schluter type profiles or a Schluter strip. They are used as a tile transition strip when tile meets another surface. Available in Brushed Nickel, Oil Rubbed Bronze, Matte Black, Polished Chrome and Brass to coordinate with room fittings. One important installation tip: metal profiles go in before the last row of tile, not after. The flat leg sinks into the thinset mortar under the edge of the tile and the most common mistake made by DIY'ers is setting it too late.
Metal edge profiles are the perfect metal trim for tile edges at shower floor edges, floor to wall transitions and doorway tile terminations. The most frequent long-term answer for how to finish tile edges on stairs is a metal stair nosing profile. They work with any tile type but are especially handy for porcelain, ceramic and big format tiles that are rarely found with a matching bullnose. If you want metallic tiles to match metal trim, look at MSI’s metal tile range.
Method 4 — Creating a Custom Bullnose Edge
If you are set on a seamless integrated look to finish porcelain tile edges or natural stone tile edges this is the most difficult option, but not impossible. If you’ve chosen a tile that does not have a matching bullnose, and you want to avoid metal edges or other moldings, you (or your installer) can make custom bullnose edges from the tiles you’ve already selected. This only works with natural stone and some porcelain tiles that are solid through. Round off the edge of the tile by grinding, sanding and polishing it before installation. If you're doing it yourself, practice, practice, practice for optimal outcomes.
How to Smooth Tile Edges After Cutting: You’ll need a wet saw with a tilting blade, a diamond hand pad or angle grinder with a diamond wheel, and a rubbing stone for smoothing -- plus safety glasses and gloves. This technique is best for solid-body porcelain and natural stone such as marble, travertine, limestone and granite, when the color and material are continuous throughout the tile. Use is not suggested for glazed ceramic or glass tile, as the cut edge will show the unglazed body underlying and an apparent color contrast.
If bespoke grinding is too intimidating, there are simpler ways to bullnose tile grinding – a pre-made bullnose piece in the same or a complementary material like MSI's Renzo Dove bullnose tile will give you the same completed look with a lot less effort.
Method 5 — Mitered Edge or Tile Return
A final option is to finish the edge with the field tile itself, cut and set so that no trim is needed at all.
Mitered Edge This is the best answer to how to smoothly finish outside corner tile edges. No trim piece required, two tiles at complementary angles cut at 45 degrees to meet at a corner. It's the most seamless choice - the outcome seems like the tile covers the corner continually. Mitered edges are great for outside wall corners, shower niches, fireplace surrounds, kitchen islands and other high-visibility architectural details. The technique requires a professional-quality wet saw with a tilting blade, accurate measurements, and a dry fit before installation. It should be performed by a trained installer and is not advised as a DIY technique for novices or for handmade zellige tiles with substantial thickness variations.
Tile Return: The same field tile is cut straight and turned 90degrees so that the tiled surface loops around the edge. It’s perfect for the edges of open shelving, the perimeters of windows, half-walls and niche entry — basically anywhere the edge is visible but doesn’t meet another tiled surface. A tile return is more economical and less skill intensive than a mitered edge, plus it can be made with field tile excess from the installation. The return piece has to be a precise fit to the face tile, do a dry fit before setting.
Both methods require zero separate trim product. For projects where neither trim nor custom cutting is practical, MSI's range of pencil moldings and bullnose tile provides ready-made alternatives that match many tile collections — see the MSI tile trim collection for coordinating pieces.
Neither procedure requires a separate trim product. For applications where trim or custom cutting is not possible, pencil moldings and bullnose tile that coordinate with many tile collections are available as ready-made alternatives from MSI – explore the MSI tile trim collection for coordinating pieces.
How to Finish Tile Edges Without Trim
Many contemporary tile forms, especially large format porcelain, zellige and designer mosaics, don’t have a matching bullnose accessible. This is when homeowners start searching for how to finish tile edge without bullnose possibilities. No-trim finishes, which are not a workaround anymore, are the professional standard in such cases.
Three of the above procedures do not require a separate trim product:
- Caulk the edge — this is the easiest and cheapest way; it works well for low-contact transitions like a backsplash meeting drywall or tile meeting cabinetry; pick a grout-matching color.
- Mitered edge — the most polished choice; a 45-degree cut makes a continuous corner; professional installation is suggested; suitable for niches, feature walls and outdoor corners.
- Tile return — utilizes leftover field tile wrapped around the edge; great for window openings and niches; intermediate skill level.
Another alternative is a polished or sanded raw edge, cut the tile, and smooth the exposed edge with a diamond hand pad. This works nicely with artisan and handcrafted tiles when the raw edge is a design aesthetic due to natural diversity.
For tiles that have trim available, MSI’s rail moldings, metal profiles and cove base at floor-to-wall transitions remain the most durable tile edge solutions for wet areas and high-contact surfaces.
Which Tile Edge Method Is Best for Your Surface?
How to finish tile backsplash edges? How to finish tile edges on backsplash? How to end tile backsplash cleanly at a corner? How to finish tile edges in shower and wall applications? The correct finishing procedure depends on where the tile is installed.
- Kitchen backsplash edges: Rail Molding (Pencil Trim) at Kitchen Backsplash Edges for a clean look where the wall ends Caulk in open wall or under-cabinet gap Tile Returns for a seamless effect without extra trim pieces
- Shower walls and niches: Shower walls & niches Metal edge profiles are ideal for damp regions thanks to a corrosion-resistant finish. Mitered edges are ideal for exterior corners and niches. Steer clear of wood trim in the shower environment altogether.
- Bathroom or kitchen countertop edges: For a functional drip edge on bathroom tile edges or how to finish tile countertop edges, use a V-cap tile or bullnose rail molding, a metal profile for a modern, simple style, or custom bullnose grinding for stone worktops.
- Floor tile doorway transitions: At high-traffic termination points, a metal edge profile offers the most durable protection and helps avoid chipping at the exposed tile edge.
- Accent walls and wainscoting (how to finish tile edges on wall installations generally): Rail molding at chair-rail height for a traditional design A metal profile for a modern, contemporary look Caulk for informal or low-visibility edges
MSI offers a complete variety of tile trims, including pencil moldings in natural stone, ceramic bullnose in matching sizes and decorative moldings across several collections – so you’ll have options for finishing the edge of your tile for just about any surface. To learn more about picking backsplash tile finishes, check out MSI’s backsplash tile guide or explore complementary trim alternatives from an MSI authorized dealer.
If you are considering a new tile installation, remember the devil is in the details. The grout lines need to be uniform, the grout needs to be applied correctly, and there should be a seamless transition from the tiles to the wall, ceiling, or other surfaces. If you’ve fallen in love with a tile that doesn’t have a matching bullnose, don’t despair – try one of the five tile edging alternatives above.
Whether you choose a modern metal edge, a traditional natural marble stone rail molding, a mitered edge for a smooth corner, caulk the edges or take the effort to create your own unique bullnose edge, you can be sure your project will look full and finished.
Calacatta Cressa Pencil Moulding
Frequently Asked Questions
Q1: How do you finish tile edges after tiling?
Wondering how to finish tile edges after the fact? Run a bead of color-matched caulk down any exposed edge where tile meets a different surface – this works best when the tile’s factory edge is already smooth and finished. For a more polished finish, you can usually add rail moldings and metal profiles after installation, although metal profiles should ideally be put before the final row of tile is installed.
Q2: How do you make tile edges look nice?
The most elegant effects come from rail moldings (bullnose or pencil trim) that match or compliment the field tile, or a mitered edge where two tiles meet at a smooth 45-degree corner. When the color is exactly matched to the grout, color-matched caulk will visually disappear in a no-trim technique. The trick to getting good tile edges is to decide how you’re going to do them before you start installing, not after.
Q3: How do you finish tile edges without trim?
Three methods do not require a separate trim product: caulk (for low-contact transitions such as backsplash edges meeting drywall), a mitered edge (45-degree cut for outside corners and niches — professional installation recommended), and a tile return (field tile wrapped around the edge for window surrounds and open niches). A fourth alternative for artisan tile where the natural edge fits the design objective is a polished raw edge that has been smoothed with a diamond hand pad after cutting.
Q4: What do you put on the edges of tiles?
The most frequent alternatives for edging tiles are: bullnose or pencil trim (a corresponding tile piece with a finished edge), a metal edge profile (Schluter-style strip in various metal finishes), or color-matched caulk. If you don’t have matching trim for your tile, you can create a finished corner on mitered edges and tile returns using the field tile itself—no more product is necessary. The tile's type, its position on the surface, and whether the edge will be rubbed regularly will dictate the decision you make.
Q5: What is the best way to finish tile edges?
There is no one optimum approach to finish tile edges. The way to finish tile edges varies on the tile type, budget and the surface in question. For a quick, inexpensive finish, rail molding or caulk is typically the best solution to finish tile edges. The extra installation time for a mitered edge is worth it for a seamless, high-end finish. And when you’re trying to figure out how to finish off exposed tile edges on an existing installation, caulk and rail moldings are generally the quickest retrofit solutions.
Need help choosing the right edge treatment for tile project or wondering where to buy floor or wall tile, contact an authorized MSI countertop dealer, or visit one of our showrooms.
 SHARE
SHARE
 PIN
PIN
 TWEET
TWEET