How To Install Vinyl Plank Flooring On Top Of Tile
June 24, 2025
Getting the look of hardwood without all the headaches is possible with vinyl plank flooring. Along with being a more cost-effective solution and requiring minimal vinyl flooring care and maintenance, it’s also much easier for the average DIYer to install on their own — making it the perfect home improvement project to transform your space. There’s no need for hours of prep work because you can install your vinyl flooring directly over your existing tile floor.
Not sure where to get started? Everlife luxury vinyl planks are a great flooring option for your next home improvement project:
To help you get started, we’ve put together a guide that explains the steps you need to take to properly install your new vinyl plank flooring over your porcelain tile floor.
How to Prep Your Floors
Before you can get started applying the vinyl planks to your existing floors, there is a bit of prep work that needs to be done to ensure a smooth installation. In most instances, you will be able to install your new flooring over your existing porcelain tile. However, you need to measure the height of the planks when placed atop your current floors to check that they aren’t too high. Can you still open the door to the bathroom? Will the new floors prevent cabinets from being opened? If applying the vinyl planks over existing flooring causes an issue like that, you will want to remove the existing tile first. But in most cases you’ll be fine to move onto the next prep step without removing your tile floor.
Now it’s time for you to remove any baseboards. While you can install your new flooring around the existing baseboard, it is recommended that you remove them and reapply them after the floors have been installed for a more professional appearance. You can easily remove the baseboards with minimal damage to the wall by using a utility knife or box cutter to cut along the caulking seam to break its seal to the wall. Using a putty knife and pry bar you can gently pull the baseboard away from the wall and remove it in one piece. Removing baseboards slowly and carefully will enable you to reapply them to the wall following your vinyl plank tile installation.
You need a clean, solid surface to adhere the vinyl planks to. Inspect your existing floors for blemishes like cracks, loose tiles, or unevenness — all of which can impact the quality of your installation job! If anything is broken or likely to cause an issue, you will want to repair it prior to moving onto the installation of the vinyl planks.
 Acclima Waldord Luxury Vinyl Planks
Now that you’ve inspected the visual appearance of the floors for any problems that could impact installation, you need to level out the flooring to create the best possible surface to adhere your planks to. This often means that you will need to level out the grout lines between the tiles. Depending on the severity and depth of the grout lines, there are a few different tactics you can use to resolve this. The first option is to use a leveling compound to create a thin layer that fills the seams, making the floor even all the way across. The second option is to install an underlayment between the existing tile and the new vinyl planks that will help to prevent the lines from impacting the appearance of your new vinyl flooring. If left untreated, the luxury vinyl planks can settle into the gaps.
The last step during the prep phase is to thoroughly remove any debris. You want to have an even and clean surface to apply the vinyl planks, so you should use a broom or a vacuum to clean the floors — especially in the floors or under cabinets in harder to reach areas. Luckily, vinyl flooring care and maintenance is easy!
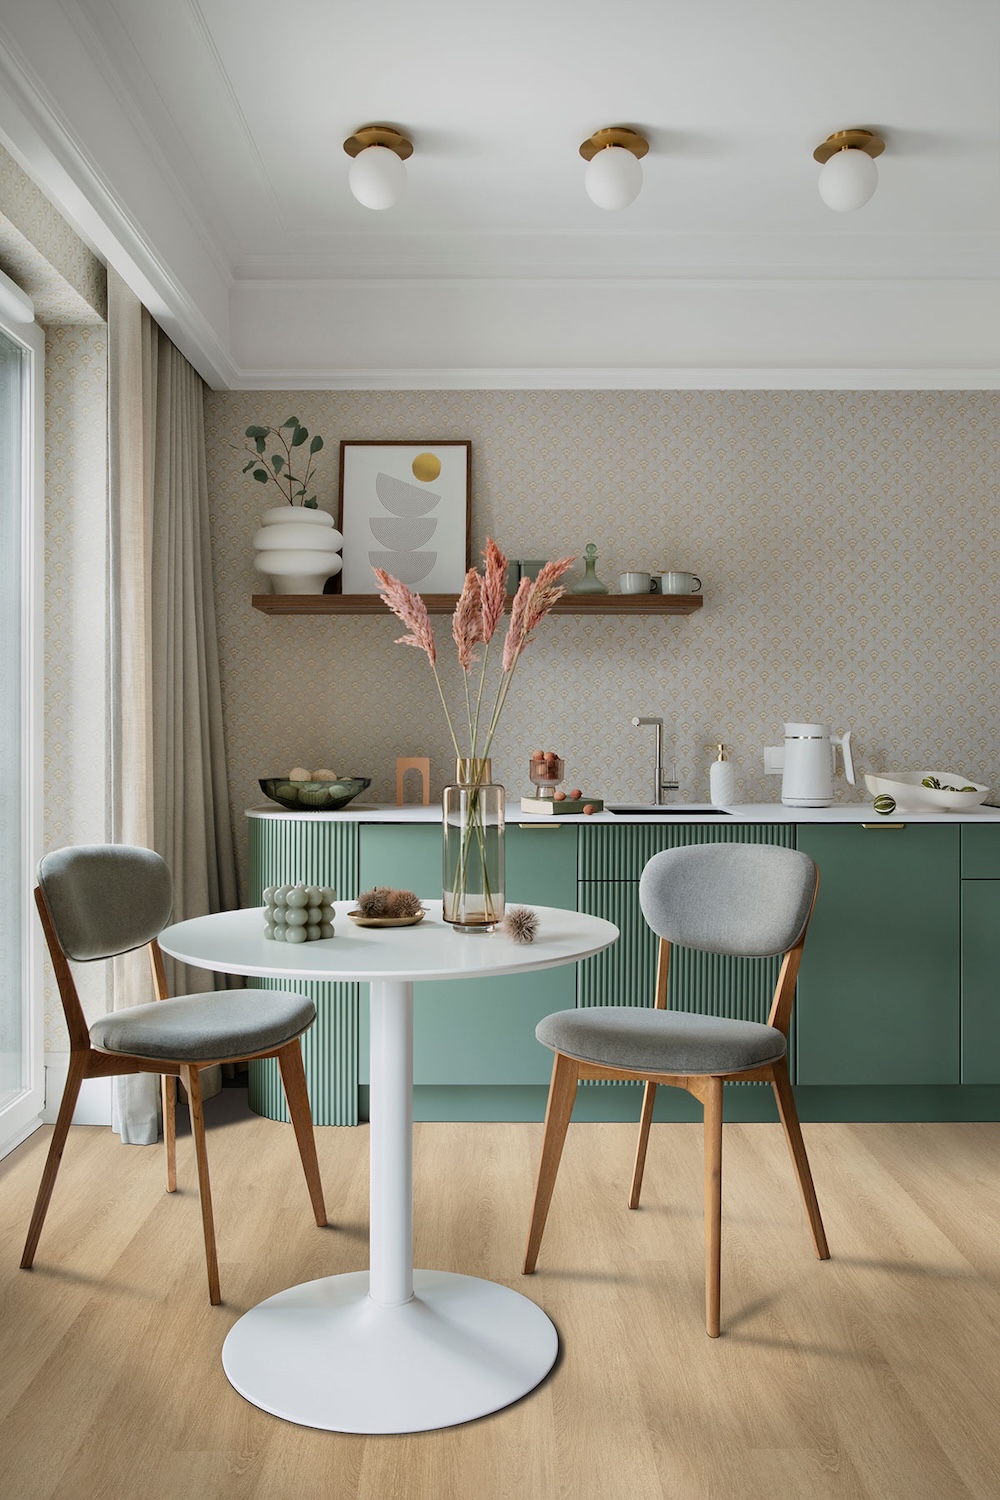
 Laurel Palmilla Luxury Vinyl Planks
How to Install the Vinyl Planks Over Tile
One of many luxury vinyl flooring benefits is its easy locking system. This makes the installation process much easier and more streamlined — it’s also more cost-effective than a glue-down option.
Determine the direction you want your planks to be laid in the room. We typically recommend laying the planks parallel to the longest room dimension, especially in smaller spaces, because it helps to make the room appear larger. Once you know the direction you’ll be going, you can get started. Some people start in the middle of the room when laying vinyl tiles, but when installing planks, most prefer to start along the wall that has a large feature such as a mirror or window.
Will your luxury vinyl tile or planks fit perfectly in the space or will you need a starter piece that gets trimmed down to fit? Measure the width of your room and the height of your tiles. This will help you calculate if you need 10 planks or 10 ½ planks to perfectly fill the room. Once you’ve calculated how many pieces you will need, trim that piece down using a table saw or a knife and get started installing.
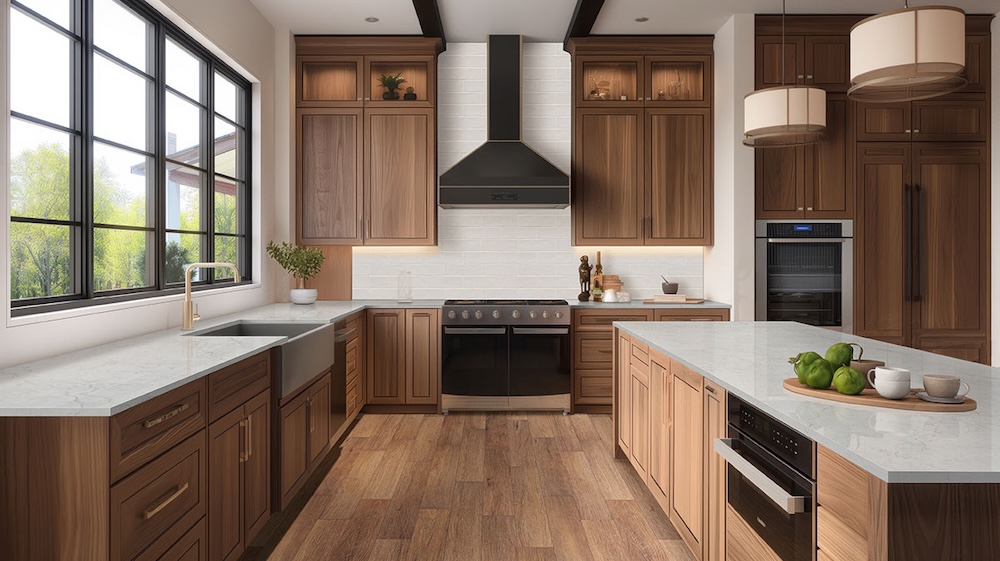 Bellamy Brooks Luxury Vinyl Planks
Lay out row by row, using the easy lock feature to lock your tiles in place. As you go, you might run into vent registers, piping, or cabinets that need the planks to be fitted around. Your vinyl planks can easily be trimmed to fit the space using any sort of blade, unlike other flooring options like tile that requires a wet saw. If you notice a little gap between the rows of planks, you can give them a light tap with a hammer to close up those seams for a more snug fit.
Once you get to the last row, you will need to make a slight adjustment since the easy locking system has a tongue and groove shape on the end of the planks. You will need to remove the tongue from the final row to have it fit beautifully between the rest of the floor and the wall.
To wrap up the installation project, you’ll likely need to install T molding in the doorway to help make the transition from room to room more seamless. Before applying your T molding, you will need to make sure the floors between the rooms are level with one another for the perfect fit.
For more detailed information on vinyl flooring, including where to buy luxury vinyl plank flooring and installation costs for Luxury Vinyl Flooring.
Are you ready to get your DIY project started? First, find the perfect Luxury Vinyl Tile and Luxury Vinyl Plank flooring by reviewing MSI’s expansive Luxury Vinyl Flooring Collection. Then chat online with us, visit one of our showrooms, or find an authorized MSI dealer near you.
More About Luxury Vinyl Flooring
How to Install Luxury Vinyl Plank Over Hardwood Floors
How to Get Professional Results Installing Luxury Vinyl Tile Flooring
Luxury Vinyl Tile for High Traffic Areas
4 Steps To A Perfect Vinyl Flooring Installation