Seamless Transitions: A Professional Guide To LVP Transition Strips
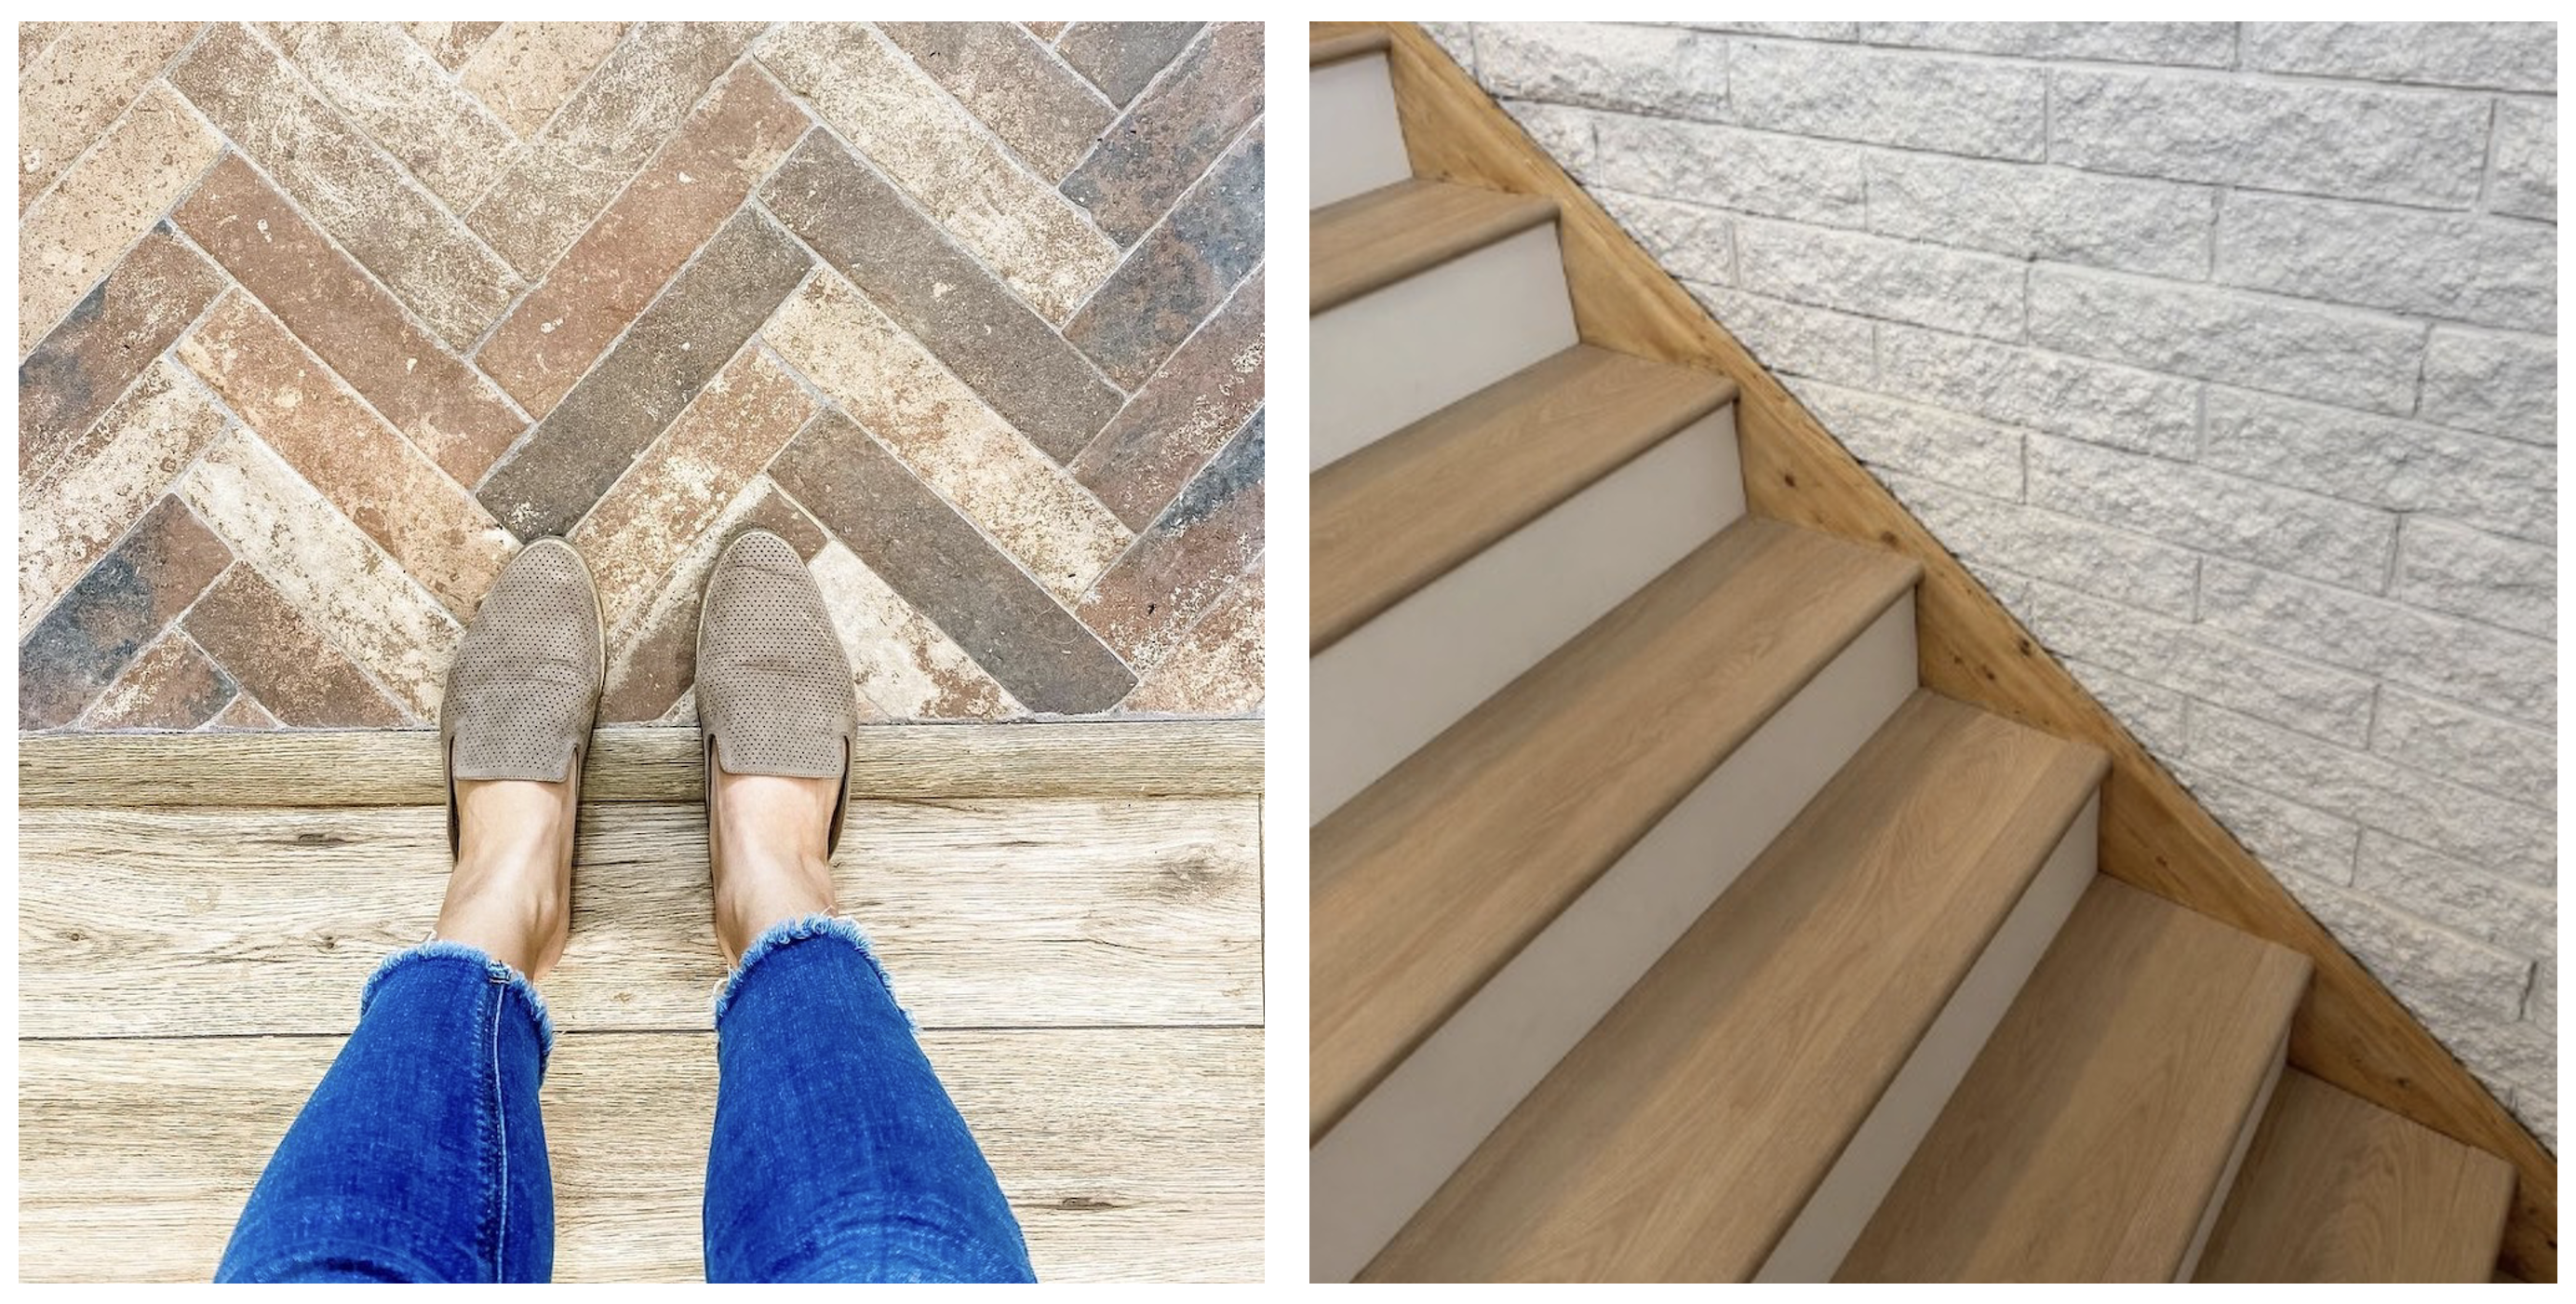
Typically, when laying luxury vinyl flooring, planning begins with the floor, followed by figuring out the transitions. This approach is logical, since transitions seem to be part of the finishing touches, an element that will be sorted out after choosing the base material. However, it's not a question of appearance — LVP transition strips make a floating floor do its intended job, and if it's not done right, it may cause problems that require professional help in six months.
LVP transition strips connect different surfaces, different rooms, or different heights of the same material. The main types of floor transition strips include T-moldings (when joining surfaces with the same height), reducers (for different surfaces' heights) and end caps (when flooring ends up against a wall). Each profile has a specific structural function, and it should be chosen based on that rather than aesthetics.
Expansions Gaps & Floor Movement
Why Floating Floors Require Expansions Gaps
Vinyl flooring installation on a floating system involves laying vinyl floors that are connected, hence when temperatures or humidity levels change, the floors will move as a unit. In general, it is recommended that an expansion of between ¼” to 3/8” be provided at all perimeter edges, including even larger gaps at wide-open areas. Failure to provide the space for expansion results in the expansion gaps being blocked, causing buckling, cupping. among other damage, to floorboards with seams popping up almost exclusively near where the gap should have been.
Floating floor transition strips are used to fill the gap from a visual standpoint. Everlife® LVP waterproof flooring products by MSI feature rigid core construction capable of handling expansion in an efficient manner. MSI's Everlife® LVP Waterproof flooring uses rigid core construction that handles expansion predictably across the system. Using a third-party transitional element with dissimilar specifications may cause issues fitting.
Deciding on a Transition: Profiles for Vinyl Flooring Transition Strips
T-Molding for Floors That Meet at the Same Height
The T-molding for vinyl plank connects two floors that meet at the same level at a doorway. The stem of the transition fits into a channel mounted onto the subfloor; the cap portion covers the two floor surfaces and shifts with them. This is the backbone of an LVP project, because most doorways between interiors have just that requirement.
Reducer for Floors That Meet at Different Levels
The LVP reducer makes a slope between two floor surfaces meeting at different levels. In a case where LVP meets another floor material such as tile, concrete, or sheet vinyl, this is your transition of choice. If the subfloors in two rooms aren't even, resulting in uneven floors, use this transition profile.
End Caps (Square Nose) for Edging at Perimeters
An end cap goes wherever the flooring ends and where nothing continues on the other side. Places to put end caps include slider door tracks, fireplace hearths, exterior threshold areas, and drop-off points where the flooring ends. This style is always the most neglected in pre-planning because it’s also the most noticeable absence in a completed project.
Stair Noses for Vertical Edging
If you are installing your LVP flooring in vertical areas like upstairs, a stair nose will be necessary for the top of each tread since the edge is under constant stress from the foot traffic. A stair nose can be installed either before or after your planks are installed to protect the vulnerable edge that takes all the pressure.
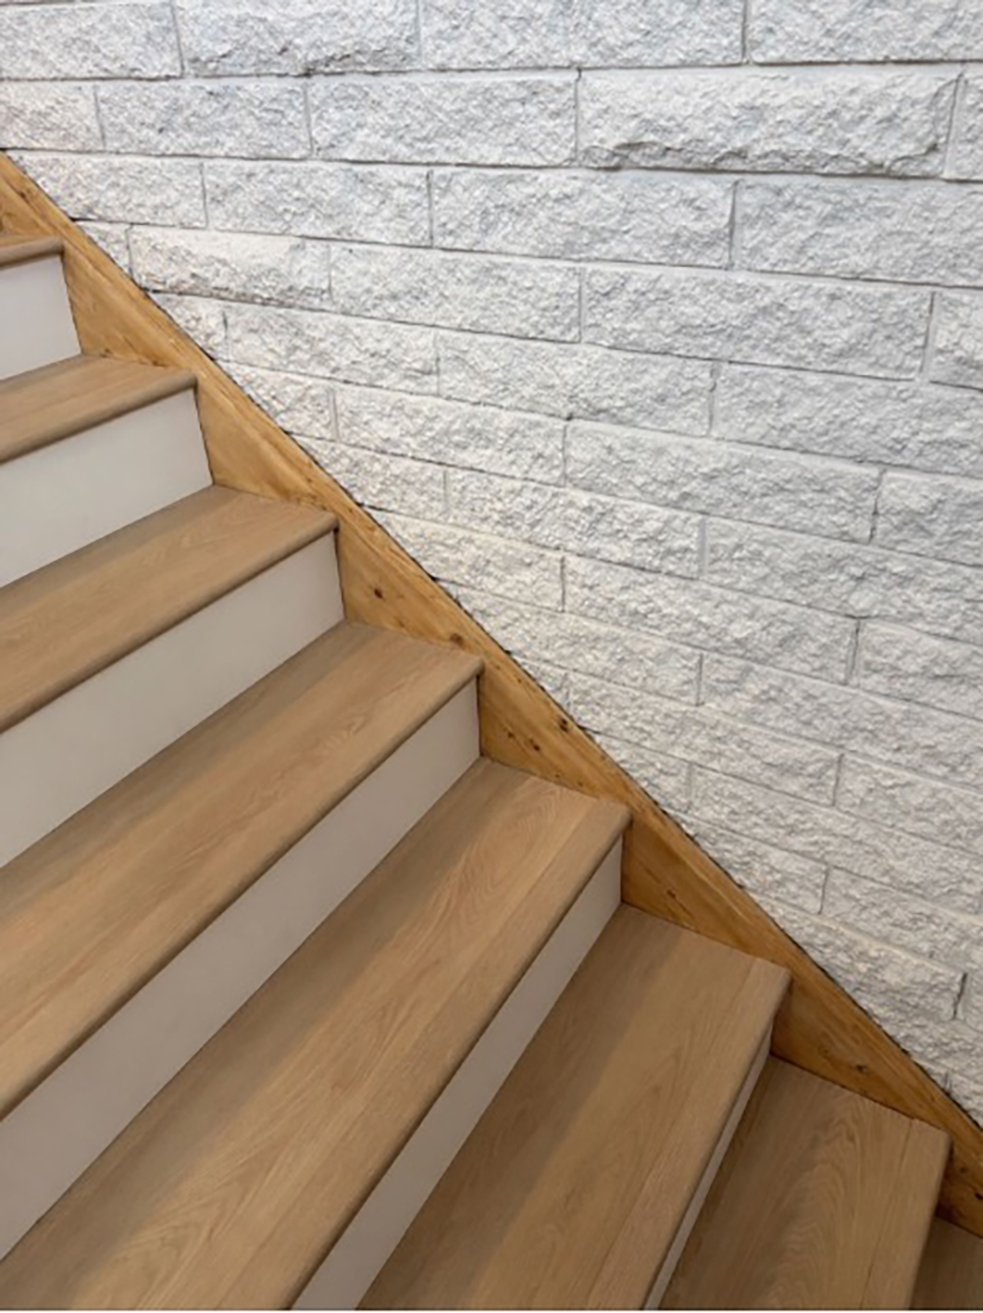
Laurel Reserve Larkin, Photo Credit: @chicopeemasonsupplies on Instagram
Diagram of Flooring Transition Profiles
MSI’s 4-in-1 trim kits include a coordinated track for Everlife® Series that is compatible with each other and with the floor color. This is because the transition strip connects to the track while the track attaches to the subfloor, and there’s a reason for that order: the track can never be installed to the floating plank.
| Profile | Cross-Section | Used When |
|---|---|---|
| T-Molding | Inverted T | Same-height floors meet in a doorway |
| Reducer | Sloped ramp | LVP meets a lower surface |
| End Cap | Right angle | LVP terminates at a wall or fixed threshold |
| Stair Nose | L-shape | LVP covers stair treads |
This track in the flooring transition profiles of the 4-in-1 kit is handy since it covers all possibilities.
Resolving Specific Scenarios: Tile to LVP and More
Expertise in Handling Tile to LVP Transition
Don’t select the profile for LVP to tile flooring transitions without determining the actual gap. Floating LVP usually lies at a lower level compared to the tile mounted on the mortar bed, but if the LVP is applied above the existing floor, it could mean the opposite. Measurement dictates everything here, since within ⅛" T-molding with shimming does just fine, while beyond ⅛", it becomes appropriate to use LVP reducer transition. Overlap reducer profile – which overlaps slightly with the tile instead of butt fitting into it – is what many contractors go for by default when dealing with the already finished edges of the tiles that are difficult to cut.
LVP to Carpet Transition
While the Z-bar is the standard LVP to carpet transition strip, where a thick padding raises the level of the carpet above the LVP surface by quite a lot, you'd be better off opting for a reducer. The issue that will generate the majority of callbacks in such cases is not a choice of the appropriate hardware, but failure to attach the carpet edge securely. An improperly tucked cut carpet edge will fray prematurely, looking unsightly long before that happens.
Selecting the Appropriate LVP Transition Strip
Firstly, the height difference needs to be measured — never rely on your own eyes. If less than ⅛", go for a T-molding; otherwise, use a reducer, a transition strip for uneven flooring. Secondly, think about moisture protection since standard aluminum profiles cannot withstand such conditions for long — apply the rule in bathroom entrances, laundry rooms, as well as all exterior entrances. Thirdly, consider traffic loading — an LVP transition strip that works for a bedroom floor would not be the same used in the hallway of a rented apartment building.
Matching and Contrasting Transitions: Aesthetic Consistency
The transition that does not match the flooring in open spaces appears like a mistake rather than a conscious choice by the designer. The presumption here would be that there is a problem. The seamless transition is what happens when the same profile, as well as matching color batch and luster level as the LVP, are used, especially in lighter flooring styles like those featured in Bright and airy spaces transforming your home with blonde luxury vinyl. Contrasting transitions are acceptable provided they were planned for that purpose; a dark metal transition from LVP with a wide plank, including lighter styles like Whitewash vinyl flooring planks, to a tiled entrance can easily be seen as an intentional area demarcation. However, using the same profile only because of availability makes things quite different.
Visibility of the Transition: Lighting Factors
Any transition running perpendicular to windows is visible since it creates a shadow due to the presence of raking light. However, if it runs parallel to the main lighting source, it is mostly invisible. This is something that needs to be considered while choosing a transition for a highly visible entrance.
MSI Trim Advantage – Color Coordination
When you lay down generic trim, you get an approximation of color and texture. What you will often end up with is something that is just "good enough" – and when it comes to flooring, good enough will look more noticeable than contrasting because it looks accidental. MSI's coordinating trim pieces for Everlife® floors use the same dye lot, texture, and finish as your plank flooring.
Transition Wear Resistance and Durability
Transitions wear faster than the rest of your floor. It's the natural effect of how your home is designed; people walk there more often, furniture is dragged there, and door frames constantly bump into them. If the wear layer in your trim piece isn't as thick as your plank, then it will start wearing out sooner than everything around it. It's also a much more involved process to replace a worn-out transition piece compared to simply swapping out a plank. Everlife® coordinated trim uses the same wear layer formula as your plank flooring.
Floor Transition Sound Management
Clicking at a floor transition will almost certainly be caused by a loose track. Tightening it to the subfloor resolves this problem; installing a new strip does not. The hollow sound created at the floor transition when stepping near the threshold is a different problem altogether, one of inconsistent underlayment installation past the transition point, where the sound difference between an installed underlayment and the lack thereof can easily be heard. Most lines of MSI’s Everlife® rigid core product lines include an underlayment in the planks, but not into the transition area, which makes MSI everlife luxury vinyl flooring collections with padding a useful reference when planning comfort, sound control, and transition details.
Best Installation Practices for Professionals and DIYers
The order is track first, floor second, and cap last, and homeowners reviewing how to install luxury vinyl planks should plan these transition steps before starting the floor. The track is screwed into the subfloor, not into the tile adjacent to it and not into the floating plank. The floor fits against the track edge with its necessary expansion gap intact; then, the cap clicks into place. Before installing the track, measure this gap. It should be neither too narrow nor too wide: if too narrow, the floor cannot expand and contract; if too large, the cap cannot cover it. For LVP installations that will float, track installation is correct. If adhesive is used, the installation is either glue-down or direct-bond, since adhesive on a floating floor limits the movement needed for expansion and contraction, leading to buckling at the threshold area; for a broader breakdown, see Types Of Luxury Vinyl Flooring Explained. For concrete subfloors, fasteners are required every 6–8 inches. For wood subfloors, pilot holes are advisable. Otherwise, the track may warp, leading to a rocking cap despite an adequate fit.

Cyrus Fauna, Photo Credit: @shopstylesquared on Instagram
Common Issues With Your Transition Strip and What You Can Do To Avoid Them
Why Does My Transition Strip Keep Rising Up?
The track popped out of place. It could be due to fasteners not being driven far enough into the subfloor, or that your subfloor itself is too unstable to hold them properly. Before you reattach the track, ensure it will stay in place with proper hardware designed for the subfloor material and that the subfloor itself is solid. If there were insufficient expansion space built-in, your flooring is simply pushing it up.
Why Is My Transition Making Noise?
It's a loose track, plain and simple. A hollow noise is more serious, since it indicates that the underlayment did not extend to the track itself, thus the plank in the area near your transitions will be less secure. In order to resolve the issue, you need to lay down the underlayment up to the track and then install your transition strips. Footfall noise usually occurs because the components do not match.
Uneven Transitions: Why Are They So Common?
In nine out of ten cases, it's due to the subfloor, which means there is an inconsistency in the heights between the two rooms and the transition is accentuating it, rather than leveling it. In the remaining tenth it's a T-molding where a reducer would be appropriate, because T-molding doesn't account for height differences and will inevitably appear to be uneven. Flatten the surface first and use the correct transition profile.
The Difference Between a Transition Strip and a Quarter Round
Quarter round is trim used to cover the opening between the floor and the baseboard, where it meets the wall. It's also not made for foot traffic, which is what happens with transitions that occur in a doorway. Installers sometimes use quarter round in place of a vinyl plank transition strip when they don't have access to the latter, and the outcome is a flimsy and unstable solution.
| Transition Strip | Quarter Round | |
|---|---|---|
| Function | Spans gap between two floor surfaces | Covers wall-to-floor perimeter gap |
| Takes Foot Traffic | Yes | No |
| Bridges Height Differences | Yes (Reducer) | No |
| Attaches To | Subfloor Track | Baseboard |
Installation Standards & Professional Recommendations
Transition installation of floating floors adheres to manufacturer specifications, NALFA standard for floating floors, and ASTM allowable tolerances in commercial environments. Conduct test for in-slab moisture prior to installing any flooring system – anything higher than allowable tolerance adversely affects the flooring and the transition materials and normally manifests itself in the form of thresholds. Flatness tolerance for resilient flooring is 3/16 inch over 10 feet. The subfloor not meeting the above criteria will reflect that deficiency around the areas of floor transition as well as no place else since it is two planes meeting at that point. MSI's specification department provides information about durability of our Everlife® transition systems, as well as their slip resistance and technical information.
Selecting The Proper LVP System
In choosing the right luxury vinyl plank flooring, it is important to consider floor transition issues before installing the actual flooring, not after. MSI's Everlife® series incorporates complimentary trim throughout the entire product family line. See real-life examples of beautiful transitions in MSI’s LVT Bathroom Gallery and LVT Kitchen Gallery and see how the transition systems complement MSI's Everlife® collection for bathrooms and kitchens. For project-specific recommendations or dealer referrals, locate the nearest MSI dealer or showroom or visit MSI Locations.
FAQs
Do I Need to Use LVP Transition Strips Between Rooms Using the Same Material?
Yes, and it's structural, not aesthetic. An LVP floor installed in connected rooms is really one very long plank; the expansion from the entire surface area builds up throughout all the connected areas. If there aren’t any transition strips separating them, the expansion will present itself in some kind of buckling seam in the material. Most flooring manufactures require transitions at every door and for every continuous stretch longer than 30 or 40 feet.
Can I Glue or Screw the Transition Strips to the LVP Flooring?
No. Attaching the strips to the floating floor by glue or screws fixes the expansion in place and makes it impossible to do its job. The transition tracks are fastened to the subfloor, while the caps snap onto the tracks.
What Should Be Used as the Ideal LVP Transition Piece at a Bathroom Entryway?
When it comes to bathroom thresholds, a reducer that works with water proofing makes all the sense. It will manage the height change between LVP and tiles. Besides, waterproofing transition pieces work well even under moist conditions, while other types such as aluminum profiles stop doing their job with time. MSI Everlife® offers its customers moisture resistant transition pieces that complement its LVP collections. The specifiers can get information on their slip resistance and load rating.
Why Does My Transition Strip Come Off the Floor?
It needs to be established whether the problem lies with the transition piece itself or the flooring around it. If the plank adjacent to the threshold has moved and cupped, then the transition piece simply follows it. Moisture or a defective subfloor cause those problems rather than the transition piece itself. On the other hand, when it is detached from the flooring edge, it means the fasteners of the track came loose.
 SHARE
SHARE
 PIN
PIN
 TWEET
TWEET