Granite Tile Installation
Granite is an igneous rock formed from volcanic activity. Granite tile remains a popular flooring choice because of its overall resiliency, strength, and number of unique color options. Our premium su ... Read More
Granite Tile Installation
Granite is an igneous rock formed from volcanic activity. Granite tile remains a popular flooring choice because of its overall resiliency, strength, and number of unique color options. Our premium su ... Read More
INSTALLATION
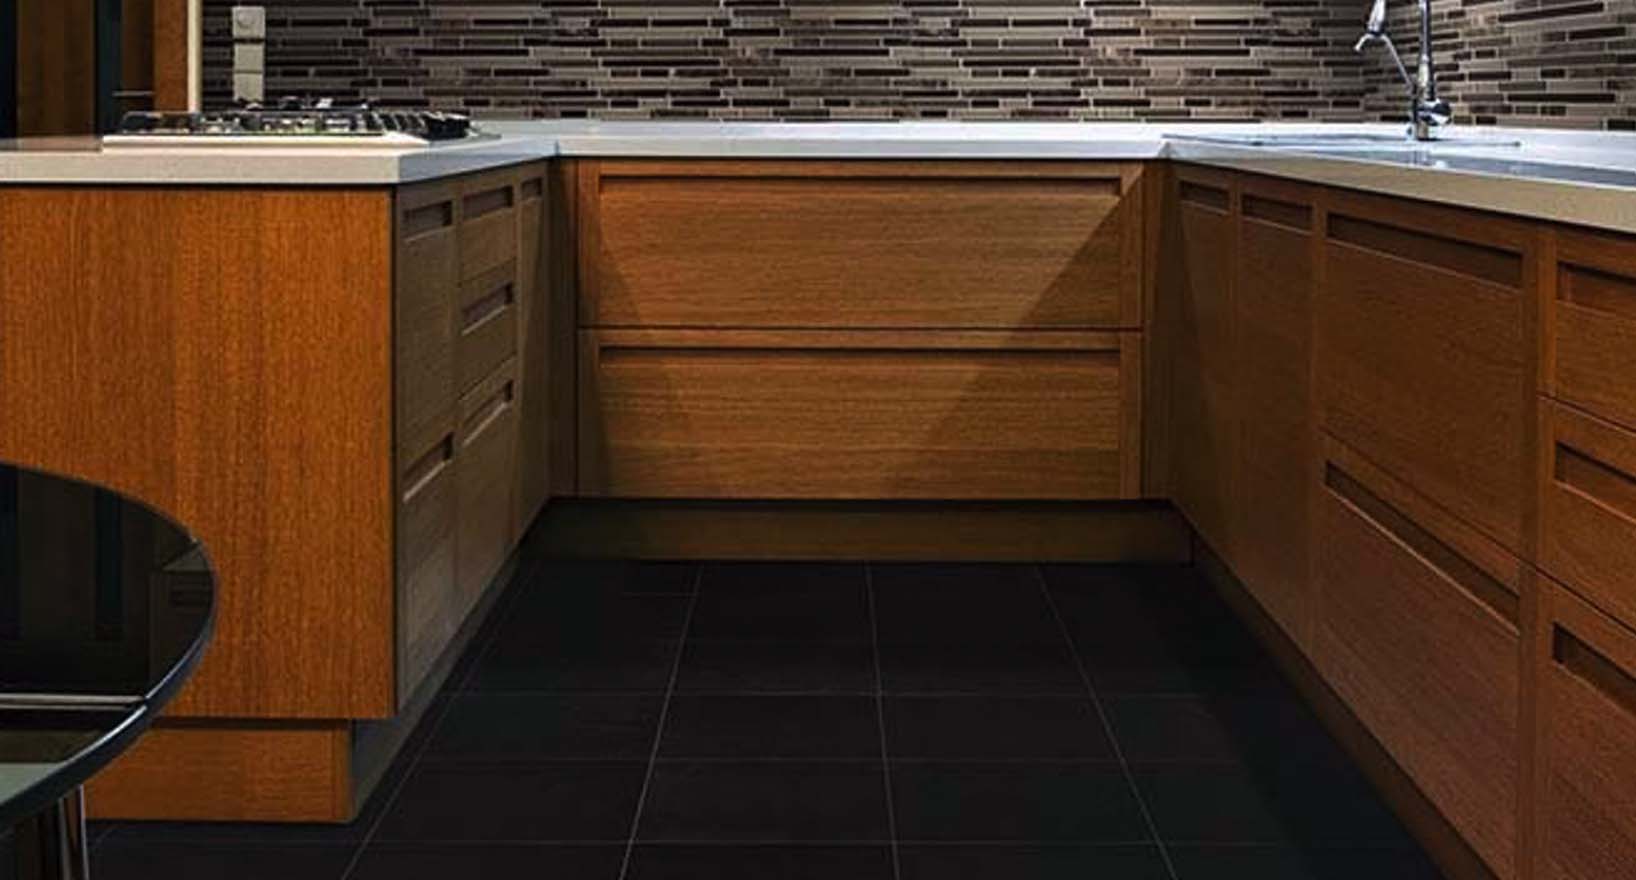
- Granite is one of the most attractive and durable flooring options available. Consider the area where you intend to install granite tile. Make sure that factors such as moisture levels, foot traffic, and slip resistance are carefully considered. Read all warranty information before purchasing tiles. Blend the tiles by taking them from several boxes at a time to ensure that color placement and variation are pleasing to the eye. Also check for possible breakage and other issues. Make sure to buy a few extra boxes in case of breakage and other issues. Take the time to determine the layout and pattern and where you will need to cut the tiles to make them fit.
- Mark the tiles to be cut with a pencil and a ruler for straight lines. Cut the tiles on a wet saw with a diamond blade and double check if it fits with the other tiles in the layout.
- Install granite tile on an even, clean and dry floor. Lay the tiles by spreading a small amount of white thin set mortar over the area to be tiled and pressing the tiles into the thin set one at a time, Twist the tiles slightly into place to ensure a good bond with the mortar and beat the tiles with a wooden mallet to ensure they are in level. Leave no spills to sit on your granite tile flooring.
- Allow the thin set to dry for 24 hours and then grout the granite tiles by pushing grout between tiles using a grout float. Wipe up any excess grout with a grout sponge. Allow the grout to dry for another 24 hours.
- Seal the granite. Paint the tiles with an impregnating sealer using a foam paint brush and wipe up the excess sealer with a line free cloth. Do not use acid-based cleaners or other agents on your granite tile.