Can Stacked Stone Be Installed On Drywall?
May 11, 2025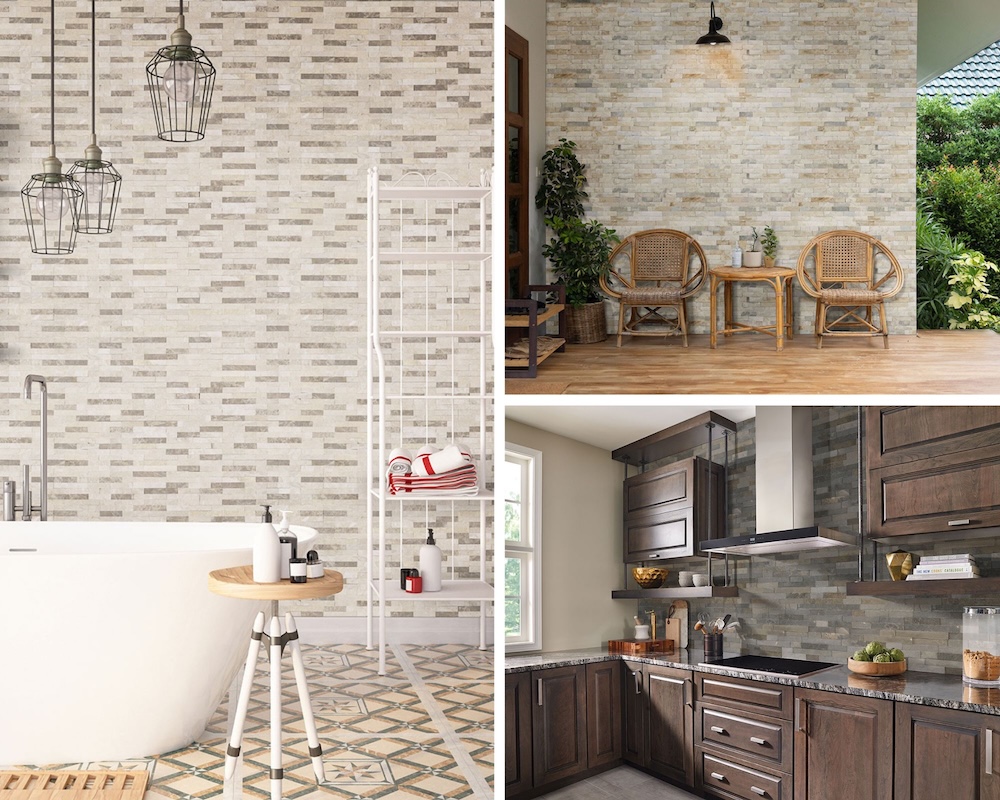
If your walls are feeling flat and uninspired, adding natural stone is a stunning way to give any room dimension, texture, and timeless appeal. From fireplace surrounds to living room feature walls, stacked stone veneer brings visual interest and earthy elegance into your home. But here’s the big question: Can you install stacked stone directly onto drywall?
The short answer is no, but there’s good news. There are easy workarounds that let you safely enjoy the look of natural stacked stone without damaging your interior walls. Below, we’ll explore why drywall isn’t the right surface for stone tile, what to use instead, and how to confidently install your stacked stone panels step by step.
Why You Shouldn’t Install Stacked Stone Directly on Drywall
While natural stone might not seem heavy at first glance, once you start working with full panels, the weight adds up quickly. Drywall isn’t designed to hold that kind of load—and trying to install stacked stone directly onto it can lead to serious issues. Over time, the panels could pull away from the wall, causing cracks, bowing, or even collapse.
The moisture involved in the thinset or mortar application can also weaken drywall. That means even a seemingly secure install can fail unexpectedly. If your goal is to enjoy a long-lasting, low-maintenance natural stone feature, it's critical to start with the right foundation.
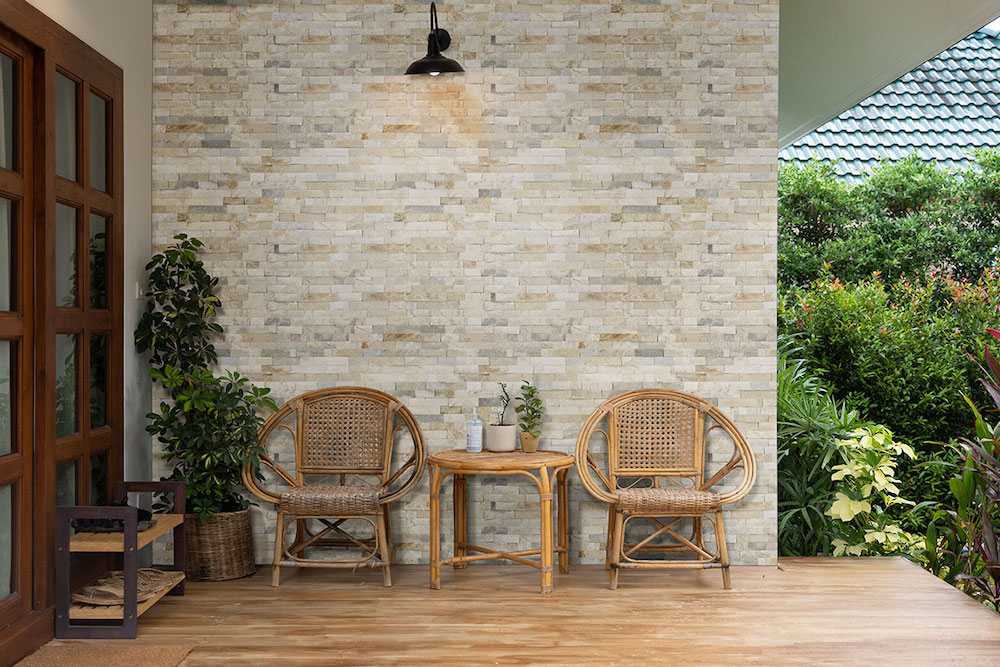 Arctic Golden Stacked Stone
Two Workarounds for Installing Stacked Stone With Drywall
While drywall isn’t a viable surface, you don’t have to give up on your stacked stone project. You have two main options:
1. Remove the Drywall and Replace with Cement Backer Board
If you’re doing a more extensive remodel or want the most secure option, removing the drywall and installing cement backer board is ideal. Cement board provides a durable, moisture-resistant surface specifically designed to hold the weight of stone, tile, and mortar.
2. Install Cement Backer Board Over the Drywall
If removing drywall isn’t feasible, you can install cement board directly over your existing drywall. Just make sure to use appropriate backer board screws, and be sure to stagger seams, tape joints, and apply mortar for a flat, secure surface. This method saves time while still ensuring a stable substrate for your stone veneer.
How to Install Stacked Stone Tile Inside Your Home
Once your wall is prepped with cement board, you’re ready to bring your space to life with DIY stacked stone tile installation. From a dramatic living room feature wall to a cozy stacked stone backsplash in your kitchen, the steps are largely the same.
Here’s a breakdown of how to successfully install your stacked stone panels:
Step 1: Calculate How Much Stacked Stone You Need
Before making any cuts or mixing mortar, measure the surface area where you plan to install it. Multiply the height by the width of each wall section to determine the square footage.
- Order at least 10% more material than your final calculation to account for cuts, corners, and mistakes.
- If your design includes corners, be sure to include L-shaped corner panels in your order, along with flat panels for straight wall sections.
- MSI’s stacked stone panels include interlocking edges to make installation easier and create seamless transitions.
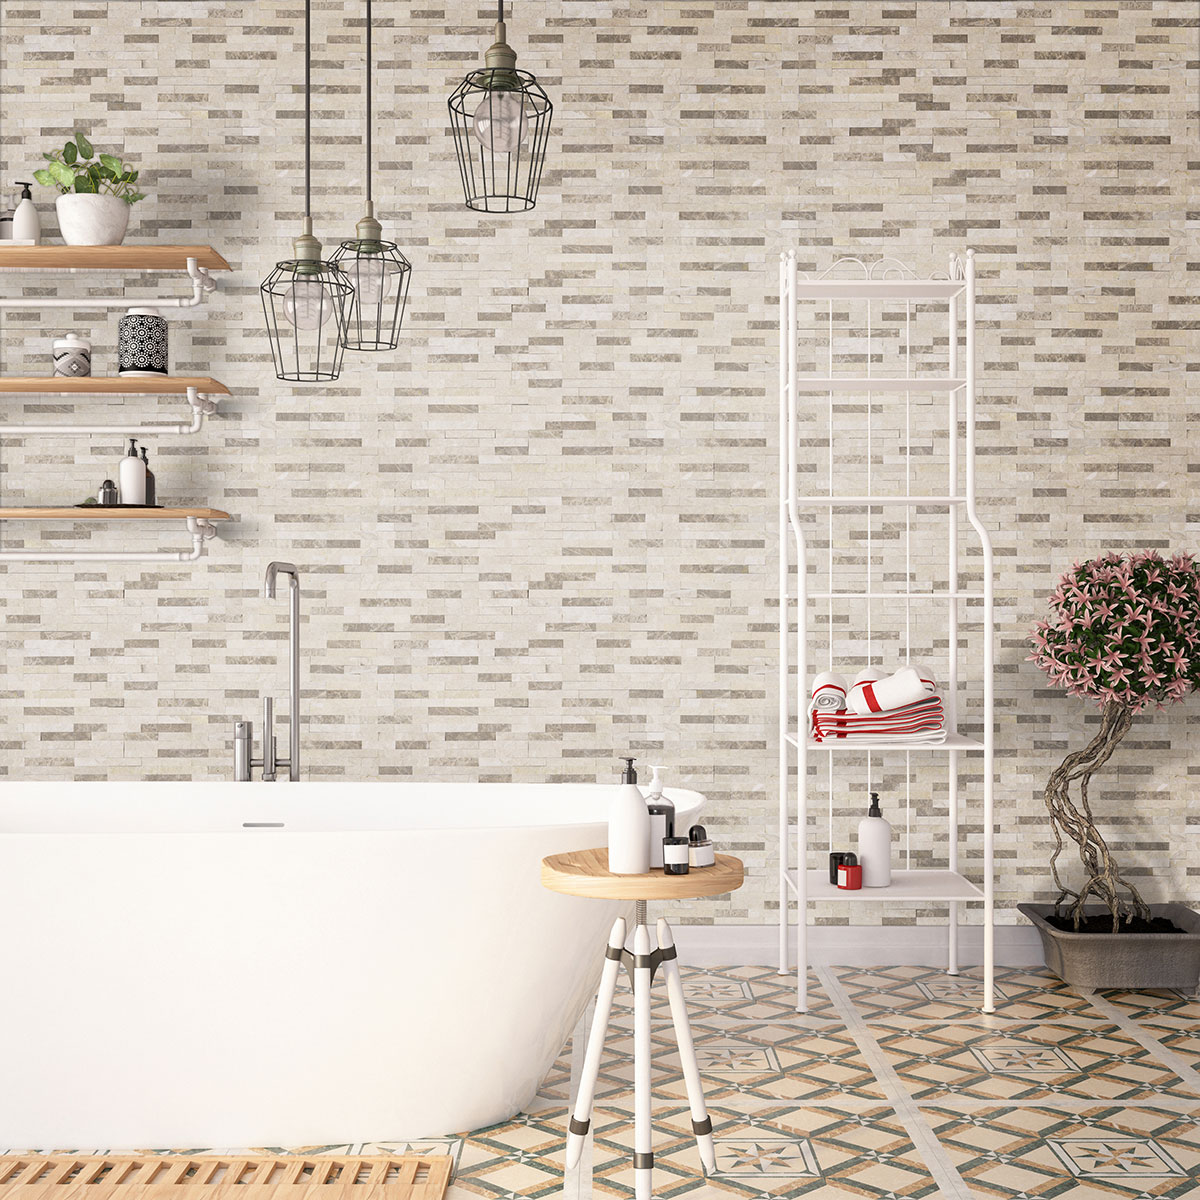 Colorado Cream Stacked Stone
Step 2: Prep the Space and Protect Your Floors
Stacked stone installation can get messy, so take a few minutes to protect surrounding surfaces.
- Lay down drop cloths or protective sheets on the floor with minimal gaps to prevent damage from stone chips, mortar, or tools.
- If you haven’t already, install your cement backer board according to the manufacturer's instructions.
- Wipe down the cement board to remove any dust or debris that could interfere with ledger panel adhesion.
Don’t skip this step; a clean, flat surface is essential for strong bonding and a professional finish.
Step 3: Plan Your Panel Layout
Because natural stone varies in tone and texture, it’s important to lay out your stone panels on the floor before sticking them to the wall. This lets you:
- Mix colors and textures evenly
- Identify any chipped or irregular panels
- Plan a cohesive design that flows from bottom to top
By spending time on this step, you’ll avoid awkward color groupings or repeating patterns that can make the wall feel artificial.
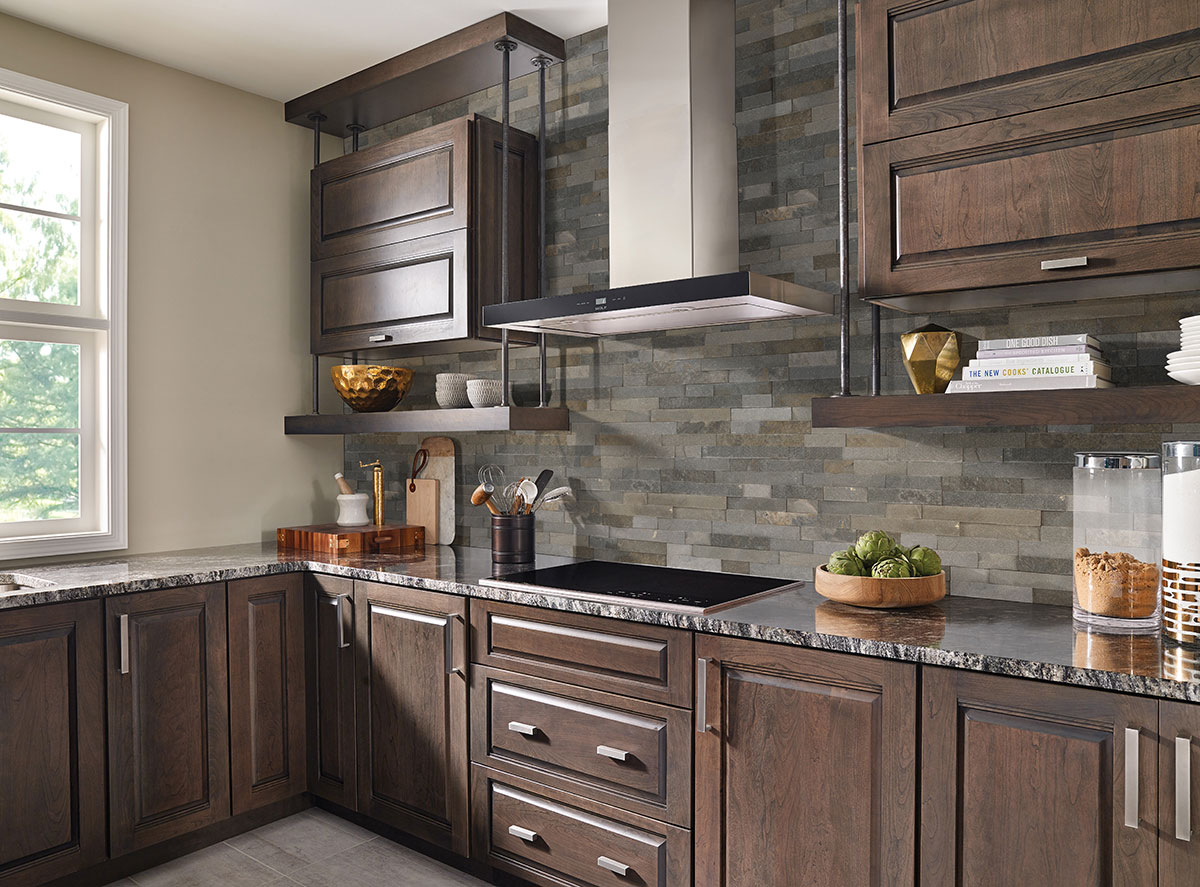 Sedona Grey Stacked Stone
Step 4: Start the Installation — From the Bottom Up
Begin applying the stacked stone panels from the bottom row upward. This technique ensures that each panel supports the weight of the one above it, preventing slippage.
- Use a level to ensure your first row is perfectly even—it sets the tone for the rest of the wall.
- Apply a high-quality thinset mortar designed for stone veneer and press each panel firmly into place.
- For corners, start each row with a corner piece and then move inward with flat panels.
- Use a wet saw to trim panels for a snug fit around outlets, edges, and ceilings.
Continue working row by row, double-checking alignment as you go.
Ready to Transform Your Wall With Stacked Stone?
Ready to create a wall that wows? Explore MSI’s wide selection of natural stacked stone panels to find the right color, texture, and size for your next project. Whether you’re creating a rustic retreat or modern focal point, our stone panels help you achieve a polished, professional look.
Need guidance or want help knowing where to buy stacked stone? Chat with us online, visit an MSI showroom, or connect with a local MSI-authorized retailer to start planning your project today.
For more information on installing stacked stone, check out this helpful video: